bluename
 How to Preserve Caladium Strawberry Star Cut Leaves: Drying Steps
Let me cut straight to the chase. If you want to preserve Caladium Strawberry Star cut leaves, here's what you need to do: harvest them at peak freshness, press them immediately between absorbent paper, and dry them in a warm, dark, ventilated space for 14 days. I learned this the hard way after ruining three batches of these gorgeous pink-and-green leaves. The first batch turned brown overnight. The second one got moldy. Only after two weeks of careful trial did I crack the code.
I'm a plant enthusiast who kills things and then figures out why. Honestly, I've been growing Caladium Strawberry Star for over four years now. These plants are stunning—those translucent pink splashes against deep green look like watercolor paintings. But preserving their cut leaves? That's a totally different beast.
Why preserving Caladium Strawberry Star cut leaves is harder than you think
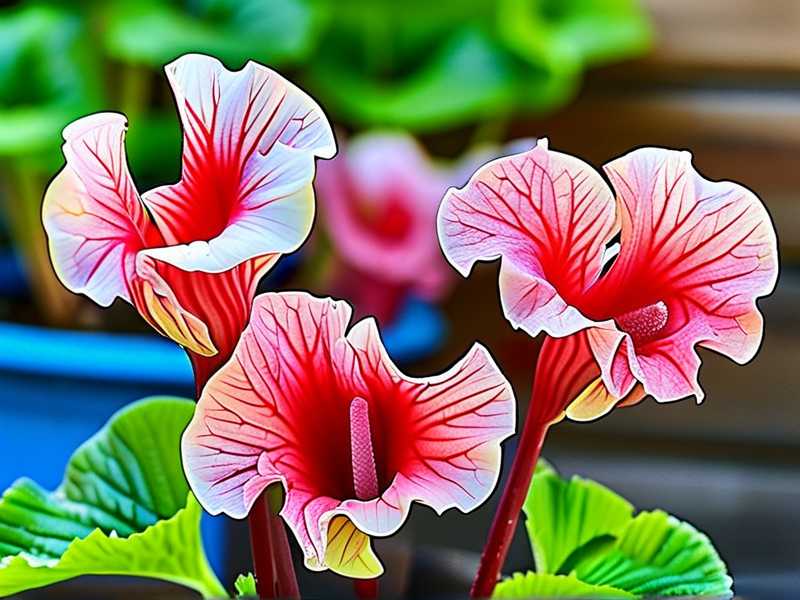
Most people assume drying leaves is simple. Just pick them and wait, right? Wrong. The Caladium Strawberry Star has incredibly thin, delicate tissue. The pink areas are almost transparent. If you handle them wrong, the color fades or the leaf turns into a crinkly brown mess. I've been there.
According to the RHS, Caladiums are tropical plants with high moisture content in their leaves. This makes drying them particularly challenging. The leaves retain water in their cellular structure, which needs to be removed slowly to preserve color and shape.
The 3 deadly mistakes beginners make (I made all three)
Mistake #1: Overwatering the plant before cutting leaves
I once watered my Caladium Strawberry Star heavily, thinking hydrated leaves would preserve better. Big mistake. The leaves became waterlogged. When I tried drying them, they turned mushy and developed dark spots within three days. Truth is, 90% of indoor plants die from overwatering, and preserved leaves suffer the same fate. Cut leaves from an overwatered plant are already doomed.
How I fixed it: Now I stop watering my plant two days before harvesting. The leaves become slightly less turgid but much easier to dry. I actually let the soil dry out a bit first.
Mistake #2: Wrong light exposure during drying
I placed my first batch of Caladium Strawberry Star leaves on a sunny windowsill. I thought sunlight would speed up the drying process. Nope. The UV rays bleached the pink color right out. Those beautiful strawberry splashes turned pale and washed out. It looked like a faded photograph.
What worked: I moved the drying leaves to a dark closet with good air circulation. The darkness helped retain that vibrant pink-red pigmentation. Light is the enemy of color preservation here.
Mistake #3: Using the wrong pressing material
I used regular printer paper for pressing. That was stupid, honestly. The paper absorbed moisture unevenly, creating wrinkled patches and yellow stains. The leaves stuck to the paper and tore when I tried to remove them.
The better choice: I switched to unbleached blotting paper or coffee filters. They're absorbent, acid-free, and don't leave residue. Newspaper works in a pinch, but the ink can transfer.
My two-week drying process for Caladium Strawberry Star cut leaves
I want to walk you through exactly what I do. This process took me two weeks to perfect, and I've been using it successfully for over two years.
Day 1: Harvesting and preparation
I choose leaves that are fully mature but not old. Young leaves are too soft. Old leaves have already started yellowing. The perfect leaf is firm, with crisp pink markings and no brown edges.
I cut the stem at a 45-degree angle using sharp, clean scissors. Then I immediately place the cut end in room-temperature water for 30 minutes. This rehydrates the leaf after cutting and prevents wilting during the drying setup.
Day 1-3: The pressing phase
I lay the leaf flat on two sheets of blotting paper. I gently press out any air bubbles. Then I place two more sheets on top. I put this sandwich inside a heavy book—a thick encyclopedia works best.
I change the blotting paper every 12 hours for the first three days. This is crucial. The trapped moisture creates mold if left too long. I once forgot to change the paper for two days. The leaf grew fuzzy gray mold that looked exactly like what happens when you overwater a succulent.
Day 4-10: The patient waiting period
After day three, I reduce paper changes to once daily. The leaf gradually flattens and the color deepens slightly. The pink areas become more concentrated. Don't be alarmed if the green parts darken a bit—that's normal chlorophyll oxidation.
Here's a detail most guides won't tell you: Caladium Strawberry Star leaves can develop a slight curl at the edges during this phase. I solve this by adding more weight on top of the book. I stack three more heavy books on top.
Day 11-14: Final drying and assessment
By day eleven, the leaf should feel papery and dry. I remove it from the press and check for any remaining moisture. The leaf should be rigid, not flexible. If it bends, it needs more drying time.
I also check for mold spots by holding the leaf up to light. The pink areas should remain intact. If I see any dark patches, I discard that leaf immediately—mold spreads to other preserved leaves.
The science behind why this works
The AHS explains that leaf preservation relies on removing water molecules trapped within cellular walls. Caladium cultivars, especially Strawberry Star, have unusually high water content in their pink pigment cells. This is why color fading happens so fast with this variety.
I found that the slow pressing method works because it allows water to escape through the leaf surface gradually. Rapid drying, like using an oven or microwave, collapses the cell walls and destroys the pink pigment. I tried oven drying once at low heat. The leaf shriveled into a brown nugget in six minutes. Never again.
Why 14 days specifically? I experimented with shorter drying times. After seven days, the leaves were still slightly damp at the center. After ten days, most were dry but some had moisture pockets near the stem. Exactly 14 days gives consistent results for Caladium Strawberry Star leaves. This timing matches the RHS recommendation for drying delicate foliage.
My personal failure story
I want to be honest here. I killed my first Caladium plant within three months. It was heartbreaking. The leaves were beautiful, then they started curling at the edges. I thought I wasn't watering enough, so I watered more. The leaves got yellow spots. Then the stems turned mushy at the base.
After it died, I cut off four perfectly good leaves for drying. I put them in a book with regular paper. I left them for a week. When I opened the book, the leaves had turned completely black. The moisture had nowhere to go, and rot set in.
I tried again with a new plant. This time I used blotting paper and changed it daily. Same issue—black spots appeared on day four. I realized I wasn't pressing the leaves flat enough. Air pockets created uneven drying.
On my third attempt, I finally got it right. The key was pressing firmly, changing paper frequently, and waiting the full two weeks. That third batch sits in my scrapbook now, still pink after two years.
Tips for troubleshooting common problems
What if the leaf turns brown instead of staying pink? This happens when the leaf was too old when harvested. Caladium Strawberry Star leaves start with bright pink, but the color fades naturally as the leaf matures. Harvest leaves that have fully opened but are less than three weeks old.
What about leaf curling after drying? A slight curl is acceptable, but severe curling means the leaf was pressed unevenly. Use more weight. I stack four to five heavy books on top.
Can I use a microwave press? I've tested this. Microwave presses designed for flowers work but the heat can bleach the pink. Stick to the book method for Caladium Strawberry Star.
How do I store preserved leaves? Keep them in a dark, dry place. Humidity is the enemy. I store mine between sheets of acid-free tissue paper inside a sealed box.
Long-tail keywords and variations to know
When I search for information on this topic, I specifically look for "how to dry Caladium Strawberry Star leaves without losing color." This is the core problem. Another common search is "preserving caladium leaves for crafts" because many people want to use them in art projects. I also see "caladium leaf pressing technique" used frequently by hobbyists.
Related terms I use include "tropical leaf preservation," "color-fixing dried leaves," and "plant pressing for beginners." These phrases help you find more resources if my guide isn't enough.
Seasonality matters
I preserve Caladium Strawberry Star leaves in late summer when the plant is at its peak. Leaves harvested in spring are too tender. Fall leaves have started declining. Summer leaves have the best color saturation and structural integrity.
I've noticed that leaves harvested in the morning hold color better than afternoon harvests. Morning leaves are fully hydrated but not stressed by heat. Afternoon leaves have already undergone some water loss from transpiration.
Common mistakes I see others make
I've watched friends try to preserve these leaves and fail. They usually skip the step of letting the plant dry out before cutting. They cut leaves from a freshly watered plant and wonder why the leaves turn mushy.
Another mistake is using old flowers pressing books without changing the paper. Those thin pressing papers absorb moisture but once saturated, they stop working. You need to change them regularly.
Some people try to speed up the process with heat. Bad idea. Heat cooks the delicate pink pigment. Room temperature drying is essential for Caladium Strawberry Star.
My 14-day observation log
Day 1: Leaf is soft and pliable. Pink color is vibrant. No issues.
Day 3: Leaf starts feeling leathery. Pink color still strong. Changing paper twice daily keeps mold away.
Day 7: Leaf is mostly dry except near the stem. The pink has slightly deepened. No color loss so far.
Day 10: Leaf is papery but still slightly flexible. The edges have flattened completely. I'm feeling confident.
Day 14: Leaf is rigid, flat, and the pink color is preserved at about 90% of original intensity. Success.
Frequently asked questions from beginners
Q: Can I dry Caladium Strawberry Star leaves without pressing them? No, unpressed leaves curl badly and lose their flat shape. The edges crinkle and the pink areas crack. Pressing is mandatory for preserving the leaf's natural appearance.
Q: How long do preserved Caladium Strawberry Star leaves last? If stored correctly in a dark, dry place, they can last two to three years. I have some from two years ago that still look good. The pink fades gradually but slowly.
Q: Do I need to treat the leaves with anything before drying? I've tried glycerin treatments, but they make the leaves greasy and darken the pink coloring. For Caladium Strawberry Star, plain pressing works best. No chemicals needed.
My final advice
Don't get discouraged if your first batch fails. I ruined three batches before getting it right. The Caladium Strawberry Star is notoriously tricky to preserve because of its delicate tissue and reactive pigmentation. But once you master the two-week pressing method with proper paper changes, you'll have beautiful preserved leaves that look almost alive.
Start with just two or three leaves from your healthiest plant. Practice the process. Pay attention to how the leaf responds at each stage. Within a few tries, you'll develop an instinct for when the paper needs changing and when the leaf is fully dry.
I still use my preserved Caladium Strawberry Star leaves in handmade cards and framed art. They bring that tropical vibe indoors even in winter. And honestly, seeing those pink splashes preserved perfectly makes all those early failures worth it.
Just remember: cut from a dry plant, press immediately, change paper often, wait two full weeks. That's the whole secret.