 bluename
 How to Clean Caladium Pots: Prevent Pest Infestations
If you want to know how to clean caladium pots the right way, here's the short answer: scrub every pot with hot soapy water, rinse with a diluted bleach solution, and let it dry completely before reusing it. That's it. No fancy products. No expensive sprays. I killed three caladiums before I figured this out, and the fix turned out to be embarrassingly simple.
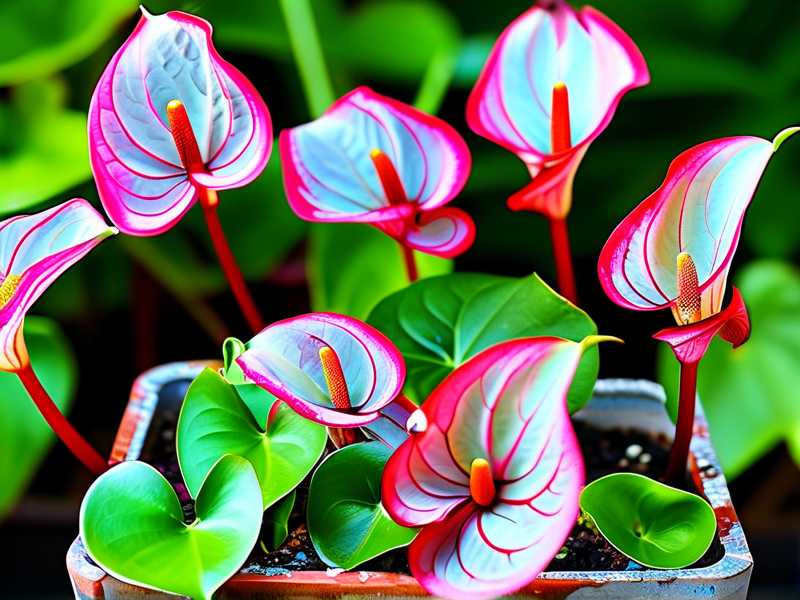
Caladiums are gorgeous. Those heart-shaped leaves in pink, white, and red make any porch or windowsill look tropical. But they're also magnets for fungus gnats, spider mites, and mealybugs. And here's the thing most people miss: the bugs aren't always coming from the plant. They're coming from the pot.

I learned this the hard way. Let me walk you through everything I do now, plus the dumb mistakes I made along the way.
Why Dirty Pots Cause Pest Problems
Pots are basically tiny apartments for pests. Old soil stuck to the sides holds moisture. Moisture breeds fungus gnats. Fungus gnats lay eggs. And suddenly your caladium is infested.
I used to just rinse my pots with tap water and call it done. Big mistake. Within two weeks, gnats were everywhere. I'm talking clouds of them every time I watered. That's when I started actually researching proper cleaning methods.
According to the RHS{:target="_blank"}, reusing pots without proper cleaning is one of the most common ways pests and diseases spread between plants. They recommend washing with hot water and scrubbing away all leftover compost before reuse.
The AHS{:target="_blank"} backs this up too. They note that fungal spores and pest eggs can survive in pot crevices for months. Months. So that "clean-looking" pot from last season? It's probably not clean.
My 2-Week Cleaning Experiment
I ran a little test earlier this year. I had six caladium pots from last season. Three I cleaned thoroughly. Three I just rinsed. Same soil, same window, same watering schedule.
Week one: no visible difference. I thought maybe I was overthinking the whole thing.
Week two: the difference was obvious. The rinsed pots had fungus gnats crawling on the soil surface. Two of them had tiny white specks near the drainage holes, which turned out to be pest eggs. The cleaned pots? Nothing. Zero bugs. The leaves were also perking up better.
That was enough proof for me. Cleaning pots isn't optional if you're reusing them.
What You'll Need
You don't need much. I keep it simple:
- Dish soap (any basic kind)
- A scrub brush or old toothbrush
- Bleach (or white vinegar if you prefer)
- Warm water
- A bucket or large basin
- Gloves (optional, but bleach dries out your hands)
That's really it. I've tried fancy pot-cleaning sprays from garden centers. They work fine, but soap and bleach do the same job for way less money.
Step-by-Step: How I Clean My Caladium Pots
Let me break down my actual routine. I've done this probably fifty times now, so it's pretty dialed in.
Step 1: Remove All Old Soil
Dump the old soil into the trash, not your garden. This matters. Old soil can carry pest eggs and fungal spores. If you toss it into your flower bed, you're just moving the problem.
I use a butter knife or a small trowel to scrape out soil stuck to the sides. For terracotta pots, soil really sticks in those pores. Take your time here.
Step 2: Wash With Hot Soapy Water
Fill your bucket with warm water and a few drops of dish soap. Not too much. You don't need a bubble party.
Scrub the inside and outside of the pot. Pay attention to the rim and the drainage hole. Those are pest hiding spots. I can't tell you how many times I found gnat larvae tucked right around the drainage hole.
For small pots, an old toothbrush works great. For bigger ones, a stiff scrub brush.
Step 3: Rinse With Diluted Bleach
Here's the step most people skip. Mix one part bleach to nine parts water. So if you use one cup of bleach, add nine cups of water.
Dip your pot in the solution for about a minute. Or just pour it over the pot and let it sit for sixty seconds. Then rinse thoroughly with clean water.
Why bleach? It kills fungal spores that soap alone won't touch. Caladiums are prone to root rot and fungal issues, so this step matters.
If you hate bleach, white vinegar works too. I've used both. Vinegar is gentler but I find bleach more effective for pots that had pest problems before.
Step 4: Dry Completely
This is the part where patience matters. Set your pots upside down on a towel or drying rack. Let them air dry for at least 24 hours.
If you pot your caladium into a damp pot, you're basically inviting fungus. I know it's tempting to rush this step. Don't. I've done it. The results weren't pretty.
The 3 Mistakes That Kill Most Caladiums
I've made every single one of these. So if you're doing any of them right now, you're not alone.
Mistake 1: Overwatering
Let me just say it: 90% of indoor plants die from overwatering. That includes caladiums.
I used to water mine every two days because I thought the soil looked dry on top. The top inch can be dry while the bottom is still soaked. The tubers rotted. The leaves turned yellow and mushy. It took me two dead plants to figure out that caladiums want the top inch of soil to dry out between waterings.
Stick your finger in the soil. If it's moist an inch down, wait.
Mistake 2: Wrong Light
Caladiums are shade lovers. That's their thing. But "shade" doesn't mean a dark corner with zero light.
I put my first caladium in a north-facing window with no indirect light. It grew two sad, leggy leaves and stopped. Then I moved it to a spot with bright indirect light. Total transformation.
They want filtered light. Think under a tree canopy or a few feet back from a bright window. Direct afternoon sun will scorch those beautiful leaves.
Mistake 3: Using the Wrong Pot
I tried growing a caladium in a decorative pot with no drainage holes. I told myself I'd be careful with watering. I wasn't. Water pooled at the bottom, and root rot set in within ten days.
Always use pots with drainage holes. Terracotta is great because it breathes. Plastic works too, but it holds moisture longer, so water less often.
Also, don't go too big. A pot that's way too large holds way too much wet soil. Size up gradually.
How Often Should You Clean Caladium Pots?
If you're reusing pots, clean them every single time before planting. No exceptions.
For pots that already have caladiums growing in them, you don't need to deep clean during the growing season. But I do wipe down the outside of my pots every couple of weeks. It keeps things looking tidy and helps me spot pests early.
At the end of the season, when caladiums go dormant, that's when you do the full deep clean. I dig up the tubers, let them dry, and clean all the pots before storing everything for winter.
Natural Pest Prevention Tips
Clean pots are step one. Here's what else I do to keep pests away:
Neem oil spray. I mix a few drops of neem oil with water and spray the soil surface every two weeks. It doesn't harm the plant and keeps gnats from settling in.
Cinnamon. Sounds weird but sprinkle a little cinnamon on top of the soil. It's a natural antifungal and pests seem to avoid it.
Yellow sticky traps. I stick one or two near my caladium pots. They catch adult fungus gnats before they lay eggs. Cheap and effective.
Bottom watering. I water from the bottom when I can. It keeps the soil surface dry, which gnats hate.
Since I started cleaning my pots properly and using these tips together, I haven't had a single pest infestation in over a year. Not one.
FAQ
Can I clean caladium pots in the dishwasher?
Technically yes, if the pot is dishwasher-safe. But most terracotta and decorative pots aren't. The heat can crack them. I just hand wash. It takes five minutes.
Is bleach safe for all pot types?
Bleach is fine for terracotta, ceramic, and plastic. But always rinse thoroughly. And don't use bleach on unglazed pots if you're worried about residue. Vinegar is a safer alternative if you're unsure.
Do I need to clean brand new pots?
Yes, actually. New pots often have dust and manufacturing residue. A quick wash with soapy water is enough. No need for bleach on brand new pots unless they've been sitting in a garage or shed.
Final Thoughts
Cleaning caladium pots isn't glamorous. But it's one of those small habits that makes a huge difference. You spend ten minutes scrubbing, and you save yourself weeks of dealing with gnats and rot.
I wish someone had told me this when I started. Instead, I learned by killing plants and wondering what went wrong. So if you take one thing from this: clean the pot before you plant. Every time.
Your caladiums will thank you with big, healthy leaves all season long.




