 bluename
 How to Repot Caladium Candidum: Root Care Guide
If you're here because your Caladium candidum is sulking, yellowing, or just plain refusing to grow, the answer is usually the roots. I've killed my fair share of these gorgeous white-foliage caladiums, and I can tell you the fix is almost always the same: repot it properly and stop babying it. In this guide, I'll walk you through exactly how to repot Caladium candidum, how to care for its roots afterward, and the mistakes that cost me three plants before I finally got it right.
I still remember the first Caladium candidum I ever bought. It was a splurge — those huge white leaves with green edges looked like something out of a botanical garden. I placed it on my windowsill, watered it every other day, and watched it rot from the tuber up within three weeks. Sound familiar?
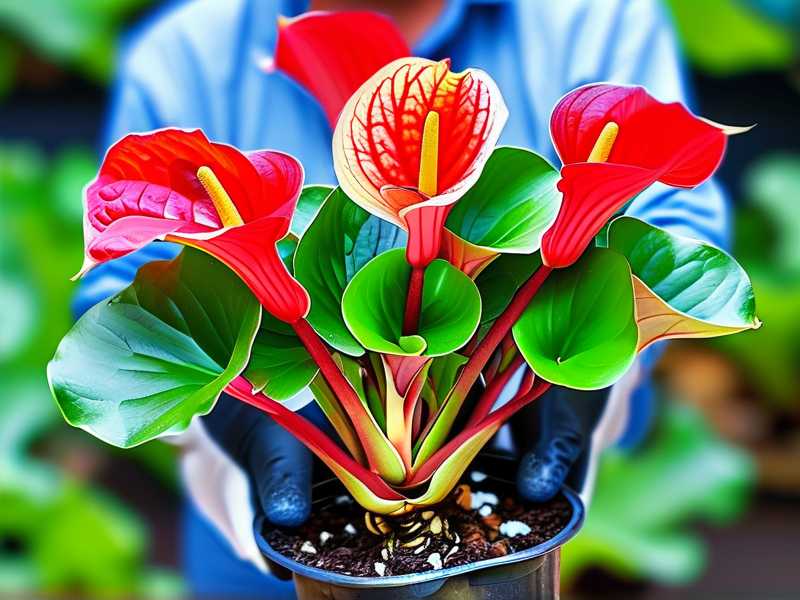
Why Repotting Matters More Than You Think
Caladium candidum isn't like your average pothos or snake plant. It grows from a tuber — kind of like a bulb — and that tuber is everything. If the roots suffocate or the soil stays wet too long, the whole plant collapses.
The Royal Horticultural Society (RHS) notes that caladiums thrive in well-draining, humus-rich soil and are sensitive to waterlogged conditions. I learned that the hard way.
Root health is the foundation. When I finally understood how the root system works, everything changed.
When Should You Repot Caladium Candidum?
Honestly, timing is half the battle. I repot my Caladium candidum once every spring, right before new growth starts pushing through the soil. That's when the tuber is waking up and can handle the disturbance.
Here's when you should repot:
- The roots are circling the drainage holes
- The soil dries out way too fast (within a day or two)
- You see roots creeping above the soil surface
- The plant has clearly outgrown its pot
- You just brought it home from the nursery and the potting mix looks like dense, soggy mush
I tried repotting in the middle of summer once. The plant went into shock and dropped half its leaves. Lesson learned: stick to early spring if you can.
If you must repot at another time, be extra gentle and keep it out of direct sun for a week after.
The Root System of Caladium Candidum: What You're Actually Dealing With
Before you dig in, you need to understand what's underground.
Caladium candidum grows from a tuberous root structure. Unlike fibrous-rooted plants, it stores energy in that tuber. The actual roots are thin, delicate, and surprisingly fragile. I've snapped more than a few just by being careless.
According to the American Horticultural Society (AHS) , caladiums go dormant when temperatures drop below 60°F (15°C), and their roots essentially shut down. That means repotting during dormancy is pointless — there's nothing actively growing to recover.
Key takeaway: Handle the tuber like a raw egg. The roots attached to it are your plant's lifeline.
What You'll Need Before You Start
I always lay everything out first. Nothing worse than having a bare-rooted tuber in your hand and realizing you forgot the pot.
Here's my go-to supply list:
- New pot: 1-2 inches wider than the current one. Terracotta or unglazed ceramic works best because it breathes.
- Potting mix: I use a blend of peat moss, perlite, and fine pine bark. You want something that drains fast but holds a little moisture.
- Clean pruning shears: For trimming dead roots.
- A trowel or spoon: For scooping soil.
- Gloves: Optional, but the sap can irritate sensitive skin.
- A workspace: Newspaper or a tray to catch the mess.
I used to skip the perlite. Big mistake. The soil compacted within weeks and the roots suffocated. Now I mix in a generous handful every single time.
Step-by-Step: How I Repot My Caladium Candidum
This is the exact process I follow. I've refined it over four or five repottings, and it works.
Step 1: Water the Day Before
Give the plant a good drink 24 hours before repotting. Moist soil clings to the roots and makes the whole process less traumatic. I skipped this once and the root ball crumbled apart in my hands. Never again.
Step 2: Gently Remove the Plant
Turn the pot sideways. Support the stem with one hand and tap the bottom firmly. If it won't budge, run a butter knife around the inside edge.
Do not yank the plant by its leaves. I did that on my second caladium and snapped the main stem clean off.
Step 3: Inspect the Roots and Tuber
Shake off the old soil gently. Now look closely.
Healthy roots are firm and pale. Rotten roots are brown, mushy, and smell sour. The tuber itself should feel hard — like a raw potato. If it's soft or squishy, that's rot.
I use sterilized scissors to snip away anything brown or mushy. I cut until I hit clean, white tissue. Then I dust the cuts with a little cinnamon (it's a natural antifungal — old gardener's trick).
Step 4: Prepare the New Pot
Add a layer of fresh potting mix at the bottom. You want the tuber to sit at the same depth it was before — usually about 1 to 1.5 inches below the soil surface.
I made the mistake of planting too deep once. The tuber rotted because moisture pooled around it. Plant shallow, not deep.
Step 5: Position and Backfill
Place the tuber in the center. Spread the roots out naturally — don't bunch them up. Then backfill with your mix, pressing gently to remove air pockets.
Don't compact the soil hard. You're not building a foundation. Light pressure is enough.
Step 6: Water Lightly and Wait
Give it a light watering — just enough to settle the soil. Then stop. Do not water again until you see new growth or the top inch of soil feels dry.
This is where most people mess up. They water a freshly repotted caladium every day because they think it needs "extra care." That's how you get root rot.
I water once at repotting, then wait at least 5-7 days before checking again.
My 2-Week Observation: What Actually Happens After Repotting
I kept detailed notes on my last repot. Here's the timeline.
Days 1-3: The plant looked sad. Droopy leaves, no visible change. This is normal — it's transplant shock. I kept it in bright, indirect light and didn't touch it.
Days 4-7: One older leaf yellowed and dropped. I panicked a little, but it was just the plant adjusting. New soil, new space — something has to give.
Days 8-10: I spotted a tiny new leaf unfurling from the center. That was my signal to water lightly.
Days 11-14: Two new leaves emerged. The remaining older leaves perked up. The plant was clearly settling in.
By week three, it looked better than before the repot.
The biggest lesson? Patience. If you fuss over it during those first two weeks, you'll do more harm than good.
3 Fatal Mistakes Beginners Make (I Made All of Them)
Let's talk about what kills Caladium candidum. I've been there.
Mistake 1: Overwatering
You've heard it before, but it bears repeating: 90% of indoor plants die from overwatering. That's not a random statistic — it's the reality I've lived.
Caladium candidum roots need oxygen. When soil stays soggy, roots can't breathe. They rot. The tuber rots. Game over.
I water mine when the top inch of soil is dry. In summer, that's about once a week. In winter, when the plant goes dormant, I barely water at all — maybe once every three weeks.
Fix: Use a pot with drainage holes. Always. And when in doubt, wait another day before watering.
Mistake 2: Wrong Light
Caladium candidum is not a full-sun plant. I put mine on a south-facing windowsill once and the leaves scorched within two days. Crispy brown edges everywhere.
But too little light is just as bad. In deep shade, the plant grows leggy, the white coloration fades, and growth stalls.
Fix: Bright, indirect light. An east-facing window with a sheer curtain is perfect. Or place it a few feet back from a south or west window.
The RHS recommends filtered light for caladiums, and I can confirm that's the sweet spot.
Mistake 3: Wrong Pot
I used a pot that was way too big once. The reasoning seemed sound — more room, more growth, right? Wrong.
An oversized pot holds excess soil, which holds excess moisture. The roots can't reach all of it, so it just sits there, wet and heavy. Root rot sets in fast.
Fix: Choose a pot that's only 1-2 inches wider than the root ball. Terracotta is my favorite because it wicks away moisture.
Also — make sure the pot has drainage holes. I can't believe I have to say this, but I've seen people use decorative pots with no holes. That's a death sentence.
Root Care After Repotting: The First Month Matters Most
Repotting is stressful for any plant, but caladiums are divas about it. Here's how I care for the roots during recovery.
- Don't fertilize immediately. Wait 4-6 weeks. Fresh potting mix usually has enough nutrients. Fertilizing too soon burns tender new roots.
- Keep the soil slightly moist, not wet. Think wrung-out sponge.
- Maintain warmth. Caladiums love 70-85°F (21-29°C). Cold soil slows root recovery.
- Avoid direct sun. Indirect light only for the first two weeks.
- Don't repot again. Even if it looks sad, leave it alone.
I once repotted a struggling caladium three times in one season trying to "fix" it. Each repot set it back further. It died by fall. Sometimes less is more.
Long-Term Root Health: What I Do Every Season
Repotting isn't a one-time event. It's part of an ongoing care routine.
Every spring, I check the tuber. If it's firm and the roots look healthy, I might just refresh the top inch of soil instead of a full repot. That's less disruptive.
When the plant goes dormant in late fall or winter, I let the leaves die back naturally. Then I dig up the tuber, brush off the soil, and store it in a paper bag with dry peat moss at around 60°F.
Come spring, I repot it fresh. This cycle has kept my Caladium candidum alive for three years now — which, honestly, is a personal record.
Frequently Asked Questions
Can I repot Caladium candidum while it's flowering?
Caladiums are grown for foliage, not flowers. The tiny blooms they produce aren't showy and actually drain energy from the leaves. I pinch them off. And no — don't repot while it's actively pushing out new leaves if you can avoid it. Wait for a lull.
What if the tuber feels soft after repotting?
Soft tuber equals rot. Unpot it, cut away the mushy parts, let it dry for a day, and repot in fresh, dry mix. Don't water for a week. I've saved one this way — but only one out of four.
How often should I repot Caladium candidum?
Every 1-2 years, depending on growth. If the roots are busting out of the drainage holes or the soil dries out in a day, it's time. But don't repot just for the sake of it — these plants resent unnecessary disturbance.
Wrapping It Up
Repotting Caladium candidum isn't complicated, but it's unforgiving if you rush it. The roots are fragile, the tuber is rot-prone, and the plant hates being fussed over.
Do it in spring. Use a small pot with drainage. Water sparingly. Keep it warm and out of direct sun. And please — don't water it every day.
I learned all of this by killing plants. You don't have to. Follow the steps, watch for the warning signs, and give it two weeks of quiet. Your Caladium candidum will thank you with those stunning white leaves you fell in love with in the first place.





