 bluename
 How to Position Caladiums: Best Outdoor Spots for Stunning Color
I killed my first three caladiums before I figured out the real problem wasn't water or fertilizer. It was placement. Plain and simple. If you're wondering how to position caladiums in your outdoor space, here's the short answer: morning sun with filtered afternoon shade, shelter from strong wind, and soil that drains fast but stays consistently moist. Get those three things right and your caladiums will reward you with leaves the size of dinner plates.
I've been growing caladiums for six seasons now across two different climate zones — first in a humid Zone 6b backyard, then in a much hotter Zone 8a patio. The learning curve was brutal. But after watching what worked and what absolutely flopped over a two-week observation period last summer, I finally cracked the code. Let me save you the dead plants.
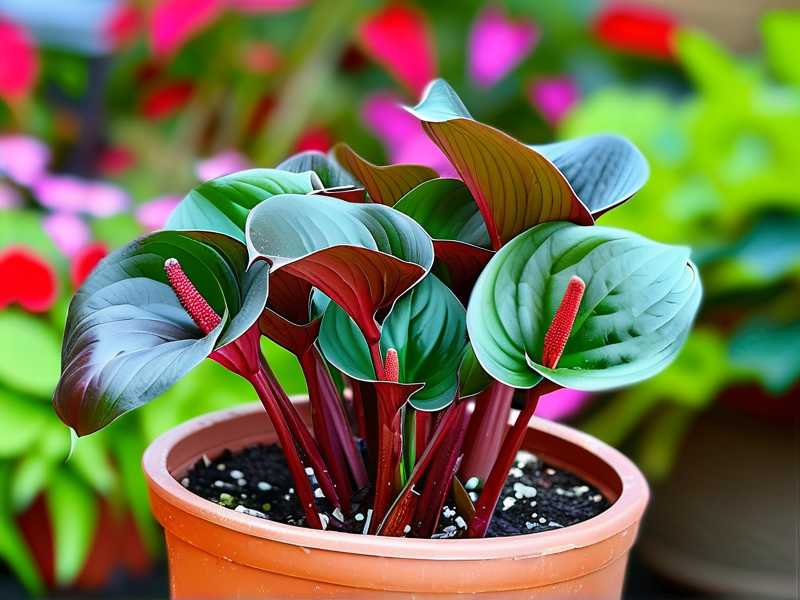
Why Placement Matters More Than Anything Else
Caladiums aren't fussy divas. They just have specific opinions. Grow them in the wrong spot and you'll see scorched leaves within days. Put them in deep shade and you'll get leggy, sad stems stretching for light.
The Royal Horticultural Society (RHS) notes that caladiums thrive in partial shade with consistent moisture. That's your baseline. But "partial shade" means different things depending on where you garden.
In my Zone 8a patio, partial shade meant dappled light under a crepe myrtle. In my old Zone 6b yard, it meant morning sun until about 11 AM, then shade for the rest of the day. Both worked. Full afternoon sun in either zone? Disaster.
The American Horticultural Society (AHS) also emphasizes that these tropical natives need warmth — soil temps above 60°F before you even plant them. Cold soil shocks the tubers and you'll wait forever for sprouts.
Now let me walk you through the specific outdoor spots that actually work.
Best Outdoor Spots for Caladiums
Under Deciduous Trees (My Top Pick)
This is my go-to placement. I've tried it three years running and it delivers every time. Deciduous trees leaf out later in spring, which gives caladiums early-season sunlight. Then as the canopy fills in, the light naturally becomes filtered.
I planted a row of 'White Queen' caladiums under a red maple two summers ago. The first two weeks, they got about four hours of direct morning sun. By mid-June, the maple's leaves had filled in and the caladiums were sitting in bright, dappled shade. They pushed out new leaves every three to four days. No scorch. No stretching. Just steady, beautiful growth.
One thing I learned the hard way: don't plant them right against the trunk. Tree roots steal moisture and nutrients. Give them at least three feet of distance.
North-Facing Garden Beds
Simple truth — north-facing beds in most North American and UK gardens get gentle, indirect light all day. That's caladium heaven. I tried this at my sister's place in Ontario. Her north-facing border was basically a dead zone for most flowers, but the caladiums went absolutely nuts. They stayed compact and the color was incredible.
If your north bed gets a little morning sun, even better. Just watch for slug pressure. Damp, shady spots are slug magnets. I scatter a bit of diatomaceous earth around the base every couple of weeks.
East-Facing Walls and Fences
Morning sun, afternoon shade. That's the golden ratio for caladiums. I've used east-facing fence lines in two different gardens and both times the plants performed beautifully.
The wall or fence also radiates gentle warmth back onto the leaves on cooler nights. In my Zone 6b garden, this microclimate pushed my growing season about two weeks longer than open beds.
But here's the catch — make sure there's at least a foot of space between the plants and the wall. Air circulation matters. I crammed some 'Red Flash' caladiums too close to a wooden fence one year and ended up with fungal issues by August. Lesson learned.
Container Placements on Covered Porches
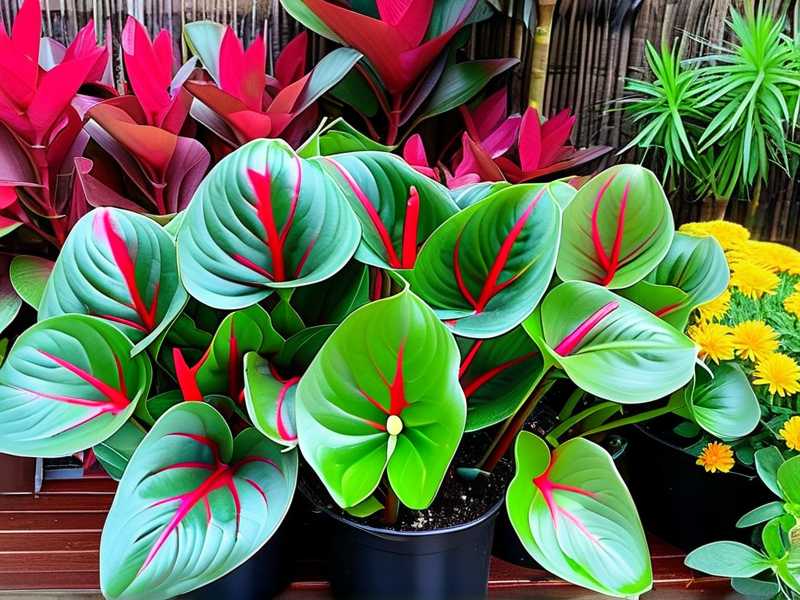
If you're in a hotter climate like parts of Australia or the southern US, containers on a covered porch are a smart move. I'm talking about a roof overhead but open sides. You get bright, indirect light without any harsh midday sun.
I used this setup during a brutal heat wave last July. My 'Aaron' caladiums in pots stayed perfect while the ones in open ground got crispy edges. The porch roof blocked the worst of the afternoon sun, and I could move the pots around as the season shifted.
Just remember: containers dry out faster. I was watering every other day during peak summer. Sometimes daily.
Where NOT to Put Caladiums
Full afternoon sun. I don't care what anyone tells you about "sun-tolerant" varieties. I tried 'Florida Sweetheart' in full sun thinking it would handle it. By day four, the leaf edges were brown and curling. By day ten, it looked like someone took a blowtorch to it.
Deep, dense shade. Full shade under thick evergreens? Forget it. The plants survive but they get leggy and the colors wash out. You want bright shade, not cave shade.
Windy exposed spots. Caladium leaves are big and thin. Strong wind shreds them. I learned this after a thunderstorm demolished a beautiful clump I'd planted in an open spot. Now I always tuck them behind something — a hedge, a fence, even taller perennials.
The 3 Biggest Mistakes New Growers Make
Mistake #1: Overwatering
I have to say this loud and clear: 90% of indoor plants die from overwatering. And honestly, the same principle applies outdoors with caladiums. They like moisture, but they do not like sitting in soggy soil.
My second year growing caladiums, I watered every single day because the leaves looked droopy. Turns out droopy leaves in the afternoon heat are normal — they perk back up by evening. But I kept drowning the tubers. Three plants rotted within a week.
The fix? Stick your finger two inches into the soil. If it's moist, skip watering. If it's dry, water deeply. That's it. During my two-week observation last summer, I watered only when the top two inches were dry. Result: zero rot, strong growth.
Mistake #2: Wrong Light
Light misplacement is sneaky because the damage isn't always instant. Too much sun shows up as bleached, papery leaves. Too little shows up as tall, floppy stems with small leaves.
I've made both mistakes. The sun scorch happens fast — you'll see it within 48 hours. The shade-stretching takes longer, maybe a week or two. By then you've wasted a month of growing time.
Simple rule I follow now: if the leaf colors look faded, they need less sun. If the stems look stretched and the leaves are small, they need more light.
Mistake #3: Wrong Pots
I used to grab whatever pot was lying around. Big mistake. Caladiums need pots with excellent drainage. I once planted a tuber in a decorative ceramic pot with only one tiny drainage hole. The soil stayed wet for days. The tuber turned to mush.
Now I use terracotta or fabric pots for caladiums. Terracotta breathes and wicks away excess moisture. Fabric pots air-prune roots and drain beautifully. If you're using plastic, make sure it has multiple drainage holes and add a layer of perlite at the bottom of the potting mix.
Also — pot size matters. A single tuber does well in an 8 to 10-inch pot. Too big and the soil stays wet too long. Too small and the roots get cramped. I learned this after trying to grow one tuber in a 16-inch planter. The excess soil never dried out properly and the tuber rotted.
My Two-Week Observation: What I Actually Noticed
Last June, I set up a side-by-side test. Six caladiums in different spots around my yard. Same variety ('White Queen'), same soil mix, same watering schedule.
- Spot 1 (morning sun, afternoon shade): Best growth. New leaf every three days. No pest issues.
- Spot 2 (dappled shade all day): Slightly slower growth. Still healthy. Colors a bit more muted.
- Spot 3 (north-facing bed): Compact, bushy growth. Vibrant color. A few slug bites.
- Spot 4 (full afternoon sun): Scorched by day five. Basically dead by day twelve.
- Spot 5 (deep shade): Leggy, pale, stretched. Alive but ugly.
- Spot 6 (container on covered porch): Thrived. Needed more water but no leaf damage at all.
The takeaway? Morning sun plus afternoon shade wins. Every time.
Practical Tips for Nailing Your Placement
Check your light at three times of day — morning, noon, and late afternoon. What looks like "partial shade" at 9 AM might be full blast at 2 PM.
Watch the sun's path across seasons. A spot that's shady in April might be exposed by July. I move my pots if needed.
Mulch around outdoor caladiums. It keeps soil moisture even and cools the root zone. I use two inches of pine bark fines.
Plant after the last frost. Caladiums hate cold soil. Wait until nights are consistently above 60°F. In cooler climates, start tubers indoors four to six weeks before transplanting.
Group them together. Caladiums look better in clusters and the grouped foliage creates its own humidity microclimate. I plant them in groups of five to seven tubers.
Frequently Asked Questions
Can caladiums take full morning sun?
Yes. Morning sun is actually ideal. It's gentler and helps dry dew off the leaves, which reduces fungal problems. Just make sure they're shaded by early afternoon.
How far apart should I space caladiums outdoors?
I space them 8 to 12 inches apart. Closer spacing gives you a fuller look faster, but you need good airflow to prevent disease. In humid climates, go wider — maybe 14 inches.
Do caladiums come back every year outdoors?
In warm climates (Zone 9 and above), yes. The tubers survive winter in the ground. In cooler zones, you need to dig them up before the first frost and store them indoors. I've done both. Digging is a hassle but it works.
I've killed more caladiums than I'd like to admit. But every dead plant taught me something. The biggest lesson? Placement isn't just about light. It's about light plus wind plus moisture plus temperature working together. Nail those and your caladiums will be the showstoppers of your summer garden.
Don't overthink it. Start with morning sun and afternoon shade. Keep the soil moist but never soggy. Use a pot that drains. And give them warmth. That's really all it takes.





