 bluename
 How to Grow Caladiums for Beginners: Step-by-Step Basics
I remember the first time I saw a caladium. It was in a friend’s shaded patio, a burst of electric pink and deep green that seemed to glow from within. I was instantly captivated but equally intimidated. “Those look tropical and fussy,” I thought. “I’ll probably kill it.” If you’re holding your first caladium bulb, feeling that mix of excitement and dread, I’ve been there. The core challenge for beginners isn’t just planting; it’s understanding the simple, non-negotiable needs of these foliage stars to avoid the common pitfalls of rot, poor color, or simply a plant that never wakes up. After years of trial, error, and two-week observation journals, I’ve distilled the process into a fail-proof guide. Let’s transform that odd-looking bulb into a season-long spectacle.
Understanding Your Caladium: More Than Just a Pretty Leaf
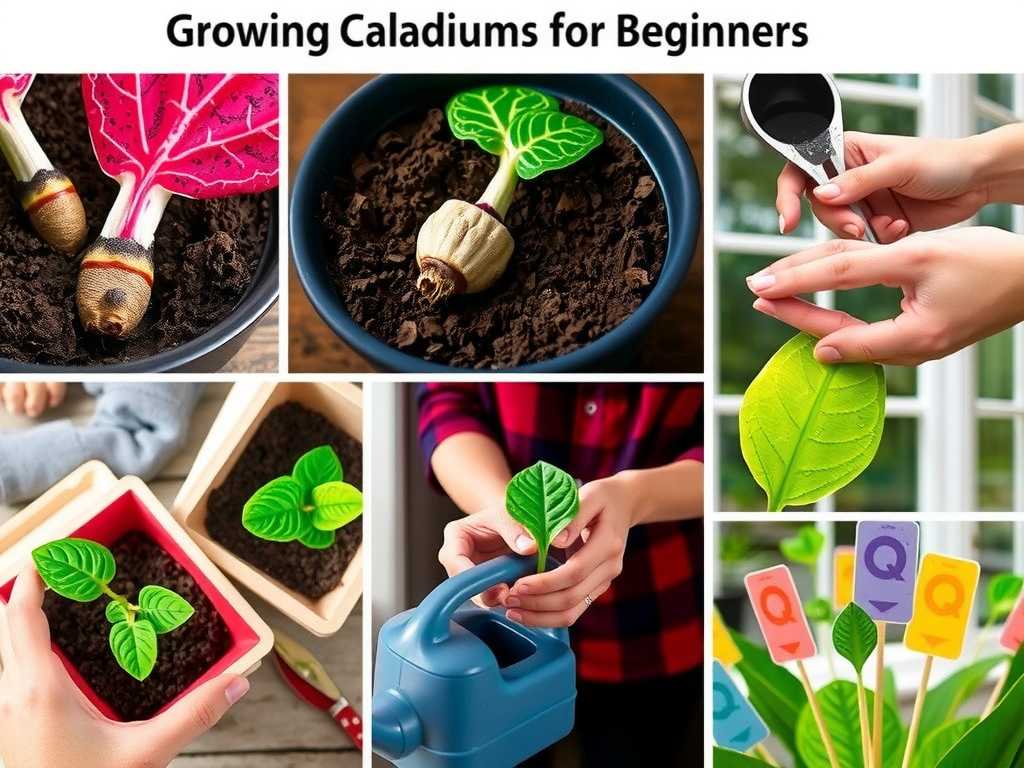
Before we get our hands dirty, it’s crucial to know what you’re working with. Caladiums are tropical perennials grown primarily for their stunning, heart-shaped leaves. They thrive on warmth, humidity, and indirect light. The American Horticultural Society (AHS) notes that caladiums are ideal for adding vibrant color to shady garden spots where flowering plants often struggle, which is a key piece of advice for placement.
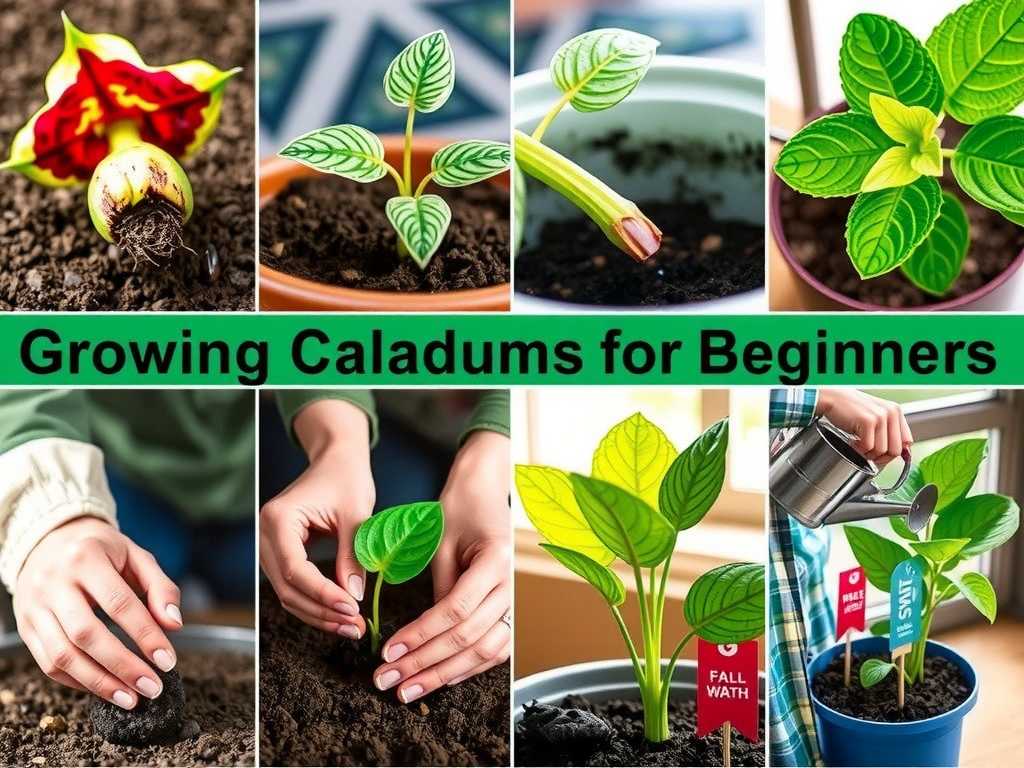
You’ll primarily encounter two types: fancy-leaf and strap-leaf. Fancy-leaf varieties, like the classic ‘White Queen’ or ‘Red Flash’, have large, dramatic leaves. Strap-leaf types, such as ‘Miss Muffet’, have narrower, more compact foliage and often tolerate a bit more sun. Choosing the right type for your light conditions is the first step to success.
Gathering Your Supplies: Setting the Stage for Success
You don’t need fancy equipment, but having the right basics makes all the difference. Here’s my go-to list:
- Bulbs: Start with firm, healthy bulbs. Avoid any that are soft, shriveled, or moldy.
- Containers or Garden Bed: Ensure excellent drainage. For pots, drainage holes are non-negotiable.
- Potting Mix: A light, airy, and well-draining mix is critical. I use a standard potting soil amended heavily with perlite or orchid bark. The Royal Horticultural Society (RHS) emphasizes that a water-retentive yet free-draining medium prevents bulb rot, a primary killer.
- A Warm, Bright Space: Not direct sun, but a spot with plenty of bright, filtered light.
The Step-by-Step Planting Process: My Hands-On Method
This isn’t just theory; this is the exact process I followed with my last batch of ‘Candidum Junior’ bulbs, documented over a critical two-week period.
Step 1: Timing is Everything Caladiums despise cold. Plant them outdoors only after all danger of frost has passed and soil temperatures are consistently above 65°F (18°C). For most, this is late spring. I started mine indoors in pots 4-6 weeks before our last frost date to get a head start.
Step 2: Prepping the Bulb Look at the bulb. You’ll see knobby bumps (these are the growth points, or “eyes”) and a smoother side. The knobby side goes up. If the bulb is large with several eyes, you can carefully cut it into pieces, ensuring each piece has at least one eye. Let the cuts callous over for a day before planting.
Step 3: The Planting Depth & Technique This is where I made my first big mistake. I planted too deep. The correct method is to plant the bulb about 1.5 to 2 inches deep. Place it knobby-side up and cover it gently with your moist potting mix. Don’t pack it down tightly.
Step 4: The Initial Watering & Warmth Water the soil thoroughly after planting until water runs out the drainage holes. Then, place the pot in a consistently warm location (75-80°F is ideal). Here’s the critical part: do not water again until you see growth. The bulb has all it needs to start roots. Overwatering now is an invitation for rot.
My Two-Week Observation Journal: Patience is a Virtue
- Days 1-5: Nothing. The soil surface is dry. The temptation to water is strong, but I resist. I keep the pot in my warmest room, near a bright east window.
- Days 6-10: Still nothing visible. I gently poke a finger into the side of the pot to check moisture an inch down. It’s barely damp. I continue to wait.
- Day 12: A breakthrough! The tiniest, pale pink nub pushes through the soil from one pot. In another, nothing yet. This variability is normal.
- Day 14: The first sprout has unfurled into a tiny, translucent leaf. The second pot now shows a shoot. Success! At this point, I give them their first gentle watering since planting, targeting the soil around, not on, the sprout.
This waiting period is the ultimate test. Trust the process. The bulb is building its root system underground.
Ongoing Care: The Secrets to Lush, Colorful Leaves
Once your caladium is up and growing, the care shifts.
Light: The Color Dictator Caladiums need bright, indirect light. Morning sun is often tolerated, but harsh afternoon sun will scorch the leaves and wash out their vibrant colors. My plants in bright shade consistently outperform those that get any direct afternoon light.
Watering: The Balancing Act Keep the soil consistently moist but never soggy. I stick my finger an inch into the soil; if it feels dry, it’s time to water. They are thirsty plants but hate wet feet. During a heatwave, I learned this the hard way when leaves started to wilt daily. The solution wasn’t more frequent watering (which risked rot), but moving the pots to a slightly shadier, cooler location to reduce stress.
Feeding: Less is More A month after growth appears, I begin feeding with a balanced, water-soluble fertilizer diluted to half strength every 4-6 weeks. Over-fertilizing, especially with high-nitrogen formulas, can lead to more green and less of those spectacular reds, pinks, and whites.
Humidity: The Invisible Boost As tropical plants, they love humidity. If your indoor air is dry (especially in winter for houseplants), group plants together, use a pebble tray, or a small humidifier. Brown, crispy leaf edges are a classic sign of low humidity.
Seasonal Cycle & Overwintering: Saving Your Bulbs for Next Year
Caladiums are tender perennials. When temperatures drop in fall and leaves begin to yellow, it’s time to rest them. For potted plants, I stop watering and let the foliage die back. Then, I store the pot in a cool, dark place (around 50-60°F) where it won’t freeze, leaving the soil completely dry. For garden bulbs, I carefully dig them up, let them dry for a week, brush off the soil, and store them in a mesh bag filled with dry peat moss or vermiculite.
Troubleshooting: The Problems I’ve Faced and Fixed
- Yellowing Leaves: This can be natural aging, overwatering, or underfeeding. Assess your watering habits first—it’s usually the culprit.
- Leggy, Weak Growth: This screams “not enough light.” Move the plant to a brighter location.
- Rotting Bulb/Stem: Caused by cold, wet soil. Unfortunately, it’s often fatal. Prevention through proper planting depth and disciplined early watering is key.
- Faded Leaf Color: Too much direct sun bleaches the colors. Provide more shade.
Why are my caladium leaves mostly green and not very colorful? This is usually due to too much light or the wrong fertilizer. Caladiums produce their best color in bright, indirect light. Direct sun forces them to produce more chlorophyll (green), washing out the other pigments. Also, ensure you’re using a balanced fertilizer.
Can I grow caladiums indoors year-round? Absolutely. Treat them as a houseplant, providing bright, indirect light from a north or east-facing window is ideal, consistent moisture, and increased humidity. They may go dormant in winter due to lower light levels, but will often re-sprout in spring.
My caladium sprouted but then stopped growing. What happened? Check for two things: temperature and moisture. If conditions turned cool, growth will stall. Also, ensure the soil hasn’t become too dry now that it’s actively growing. A gentle feeding might also give it the boost it needs.
Growing caladiums is a rewarding journey that teaches patience and observation. Start with a quality bulb, plant it shallow, resist the urge to overwater at the beginning, and provide that sweet spot of bright shade. The payoff is months of breathtaking color that makes all the careful steps worthwhile. There’s nothing quite like the satisfaction of those first luminous leaves unfurling, a direct result of your care.





