 bluename
 How to Repot Caladium Fannie Munson: Container Upgrade Steps That Actually Work
If your Caladium Fannie Munson is looking cramped, with roots poking out of the drainage hole, you need to repot it. My container upgrade steps are simple: pick a pot one size up (2 inches larger), use fresh, well-draining soil, and keep the tuber at the same depth. I have done this dozens of times, and the window for success is narrow. Honestly, the biggest killer isn't the move itself; it’s what you do in the two weeks after. 90% of indoor plants die from overwatering, and Caladiums are no exception.
I remember the first time I tried to upgrade my Fannie Munson. I thought I was being kind by giving it a massive new home. I was wrong. The soil stayed wet for weeks, and the tuber rotted before my eyes. That was the expensive lesson that taught me the exact rhythm of this process. So, let’s skip the guesswork. I’m going to walk you through the precise steps, the container size logic, and the two-week observation phase that determines whether your plant thrives or just survives.
The 3 Fatal Mistakes Newbies Make (And How To Avoid Them)
Before I touch a single tuber, I always check my own habits. Most people fail at this stage because they treat Caladiums like typical houseplants. That’s a recipe for disaster. Here are the three biggest errors I see, and frankly, I have committed all of them at least once.
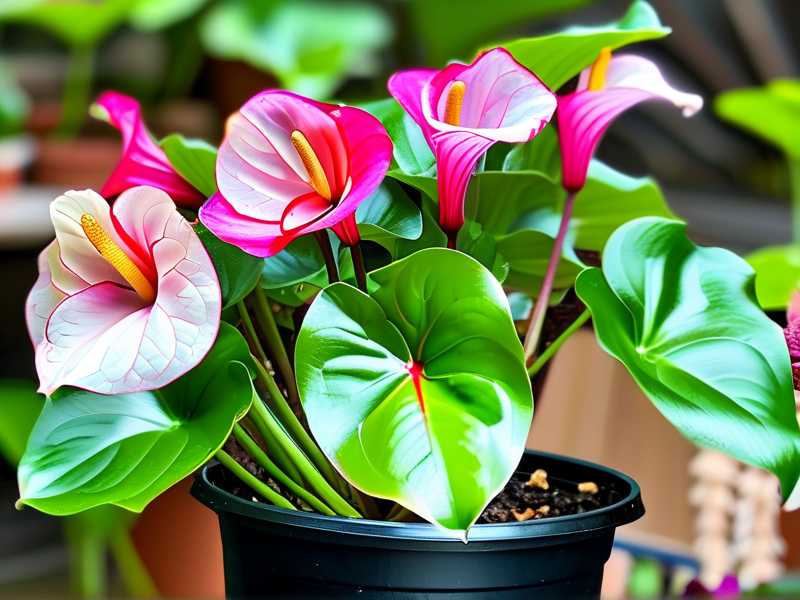
① Overwatering: The Silent Killer This is the number one mistake. Look, I know you want to help the plant settle in. But a freshly potted Caladium doesn't have the root mass to drink that much water. I used to water my plants until water ran out the bottom every single time. With Caladiums, that’s too much. The soil stays soggy. The roots suffocate. The fix is to moisten the soil lightly before potting. After you place the tuber, do not drench it. Wait 48 hours, then give it a light watering. I lost my second Caladium to this. I potted it, watered it thoroughly, and then left for the weekend. The combination of cold draft and wet feet was fatal. The tuber turned to mush. It taught me to err on the side of dryness, especially in the first few days.
② Wrong Light Placement: Scorched Leaves Caladium Fannie Munson loves bright, indirect light. Many people think "sunny spot" means direct sun. I tried putting my newly repotted Caladium on a south-facing windowsill to "help it recover." The sun scorched the leaf edges. They turned brown and crispy within three days. The light intensity after repotting is crucial. The roots are stressed. They can't supply enough water to the leaves to keep up with transpiration. You need to place it in a spot with dappled light or behind a sheer curtain. East-facing windows are usually perfect. North-facing might be too dark, causing leggy growth.
③ Using the Wrong Pot: The Size Trap This is where "container upgrade steps" go wrong. Choosing the wrong material is just as bad as the wrong size. I tried a giant ceramic pot without drainage once. Bad idea. The water pooled at the bottom, creating an anaerobic zone. Always use a pot with drainage holes. If you love a decorative pot without holes, use it as a cachepot (put a plastic pot inside). Plastic pots are forgiving because they retain moisture. Terracotta pots are better for those who overwater, as they wick moisture away. I prefer a plastic grow pot that fits snugly inside a ceramic outer pot. It makes watering and checking for root health much easier.
Step-by-Step Container Upgrade Steps
Now, let’s get our hands dirty. I am assuming you have a tuber that has sprouted or is about to sprout. Here is the safe way to do it.
Step 1: The Pre-Watering Ritual (24 Hours Prior) This sounds counterintuitive, but I water my Caladium before repotting, not after. About 24 hours before the move, I water the plant thoroughly. This ensures the root ball is hydrated and flexible. Dry roots snap easily. Wet roots bend. When you disturb the roots, you want them to be pliable.
Step 2: Choosing the "Slightly Larger" Home Let’s talk about size. You don't want a massive jump. If your Fannie Munson is in a 4-inch pot, go to a 6-inch pot. That is the maximum jump I recommend. If you go from 4 inches to 8 inches, the soil volume is too high. The water will sit in the soil without roots to absorb it. This creates a high risk of root rot. I have killed more plants with oversized pots than any pest. The pot should look snug. Also, check the tuber. Caladiums like to be slightly crowded. It encourages more leaf growth.
Step 3: The Soil Mix (The Magic Ratio) I never use straight bagged potting soil for Caladiums. It’s too heavy. I mix 2 parts high-quality potting mix, 1 part perlite, and 1 part orchid bark. This mix ensures exceptional drainage while retaining enough moisture. The roots need oxygen. Perlite provides air pockets. The bark adds structure and prevents compaction. I wrote down this ratio after trying a local nursery’s mix. It mimics the forest floor where Caladiums naturally grow.
Step 4: The Gentle Transfer I turn the pot upside down, supporting the stem and soil with my hand. I tap the rim on the table edge to loosen the root ball. Once it’s out, I don't rip the roots apart. I gently tease the outer roots loose with my fingers. If the roots are circling the bottom (root-bound), I score them lightly with a clean knife. This encourages new growth outward.
Step 5: Setting the Depth This is the part I obsess over. Caladium tubers are weird. You need to plant them with the "eyes" (the growth points) facing UP. I can't stress this enough. I once planted one sideways. It still grew, but it took 3 extra weeks to surface because it had to curve around. Cover the tuber with about 2 inches of soil. If you plant it too shallow, the tuber will dry out. If you plant it too deep, the sprout will rot before breaking the surface. I usually put the tuber in the center and backfill around it gently.
Step 6: The Waiting Game (Do Not Water Yet) So, you have placed the tuber in the new soil. Do not water it immediately. Wait 48 to 72 hours. This allows any broken roots to callus over. If you water immediately, you risk introducing bacteria to the open wounds. My process is to pot it, place it in its permanent shaded spot, and then walk away. I set a timer on my phone for 2 days to remind me to water. It feels like torture, but the plant actually does better.
The Crucial 2-Week Observation Phase
This is the section where I share my log. The repotting is done. The real work is in the monitoring. Over the next two weeks, I look for specific signs.
Days 1-3: The Settling Period The plant will likely look shocked. Leaves might droop. This is normal. The roots are adjusting to the new soil texture. I check the soil moisture daily by sticking my finger about an inch deep. If it feels damp, I wait. On Day 2 or 3, I do a light watering. I add enough water so that it just reaches the middle of the pot. I don’t saturate the whole pot yet. The empty outer inches of soil remain dry, encouraging roots to search for water.
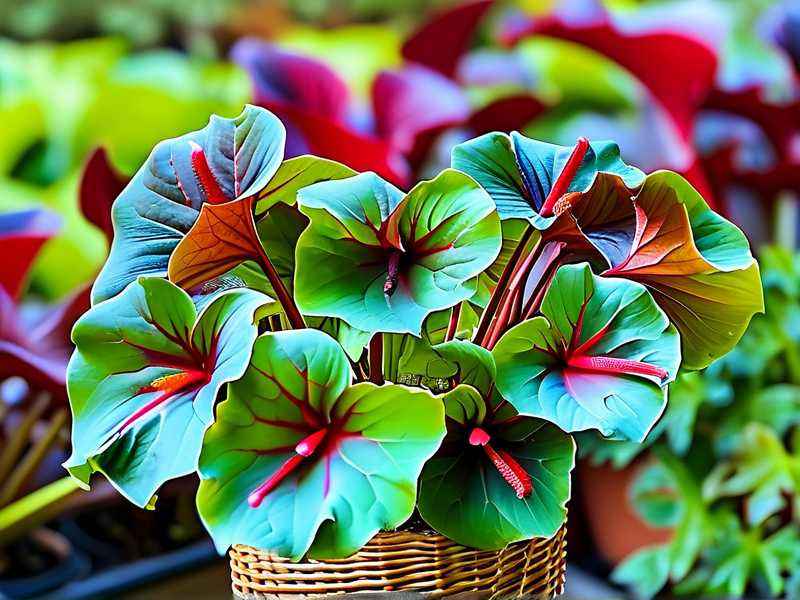
Days 4-7: Spotting Recovery Signs By Day 4, the leaves should perk up if the light is correct. I look for a slight stiffness in the leaf stems (petioles). If the leaves are still drooping, I don't add more water. I check the light. I have found that drooping in week one is often light stress, not water stress. I move it slightly further from the window. During this week, I use a moisture meter. It takes the guesswork out. It reads "3" (dry) on a scale of 1-10. I wait until it reads "2" before watering.
Week 2: The Growth Spurt By the start of week two, I expect to see new growth if the tuber is active. Usually, a new leaf tip emerges. This is the signal that the repotting was successful. At Day 10, I water a bit more thoroughly. I watch the water run out of the drainage holes. This flushes any excess salts from the soil. If the old leaves start yellowing rapidly, that means I likely overwatered in week one. I stop watering immediately and let the pot dry out completely. I also start light feeding at Day 14. I use a balanced liquid fertilizer (10-10-10) diluted to half strength. Fertilizer before this point can burn the new, delicate roots.
Case Study: The Recovery of "Fanny"
I want to share a specific case. I received a Caladium Fannie Munson that was severely root-bound. The roots were a solid white disc at the bottom. I performed the steps above. I used a plastic pot one size up. For the first three days, it hated me. The leaves collapsed completely. I was sweating bullets. I kept resisting the urge to water. On Day 4, I gave it a small drink. By Day 7, the leaf stems were standing tall again. By Day 14, I saw a tiny pinkish dot emerging from the soil. That was the new leaf. That moment is why I love this plant. If I had watered it heavily on Day 1, the story would have ended differently. The roots wouldn't have able to breathe.
Specific Issues After Repotting
Even with perfect steps, issues arise. Here are the specific things I have handled post-repotting.
Leaf Edges Turning Brown (Crispy) This often happens from cold drafts or sun. Make sure the air temperature is above 65°F (18°C). Caladiums are tropical. I have moved my plant to a new table and it got a draft from the AC vent. The edges browned within two days. I cut off the crispy parts. I moved it to a warmer corner. It recovered, but the leaf was permanently scarred.
The Tuber is Rock Hard But No Sprouting This can happen if you repot early in the season. The tuber needs warmth. Give it bottom heat. I once placed my pot on top of a seedling heat mat. This raised the soil temperature to 80°F (27°C) and woke up the tuber within a week. Without the heat, it might sit dormant for months.
Stems Breaking Off The stems are brittle. When repotting, you might accidentally snap one. I snapped a huge leaf off last spring. It feels like a tragedy, but the tuber is fine. I simply used the leaf as a cut flower in a small vase. The tuber will send out a new leaf in a few weeks.
Expert Insights to Validate My Process
I rely on my eyes, but guidelines from experts help. The Royal Horticultural Society (RHS) describes Caladiums as tuberous perennials that need a minimum temperature of 21°C (70°F) for active growth. If you read their guide, you will see they emphasize "well-drained compost." That matches my perlite mix. The American Horticultural Society (AHS) lists Caladiums as a plant that needs high humidity. When repotting, I often mist the leaves to reduce stress. This mimics the humid conditions of the Amazon basin where they originate.
Tools I Actually Use
- Plastic Grow Pot: Flexible for removing the root ball next time.
- Perlite: Non-negotiable.
- Chopstick: For gently loosening soil without breaking roots.
- Spray Bottle: For misting leaves during the 2-week transition.
I suggest you measure the old pot's diameter first. This is a simple trick. It prevents you from guessing at the store. If the current pot is smashed with roots, you know the exact degree of upgrade needed.
Troubleshooting the Yellow Leaf
Let's talk about yellow leaves. This is the most discussed symptom I see. If it's the bottom leaves turning yellow, it might be normal aging, especially after the shock of repotting. But if multiple leaves turn yellow and translucent, that’s a red flag. I have seen this happen when I used a soil mix that was too compacted. The fix is to poke extra holes in the soil with a pencil to aerate it. I did this once to save a plant that was drowning. It worked. It allowed the excess water to evaporate.
Why I Avoid a "Long-Term" Mix
You might be tempted to add slow-release fertilizer pellets to the soil when repotting. I stopped doing this. I found it burns the new roots. The heat and moisture release the fertilizer too quickly. I stick to plain soil for the initial potting. I wait for the active growth phase to feed.
Adjusting Care for Seasons
The way you repot in spring is different from summer.
- Spring (March-May): This is ideal. The plant is waking up. Use the heat mat for best results. Just be mindful of the lower light intensity.
- Summer (June-Aug): The plant is actively growing. Repotting now causes the most shock. If you must do it, trim some leaves to balance the root loss.
I changed my approach over time. I used to just dump the dirt and hope for the best. Now, I view it as surgery. The cleaner the environment and the more precise the watering, the faster the recovery.
Watering Logging Example I keep a set of sticky notes on my pot.
- Day 3: Light mist.
- Day 5: Soil dry 2 inches. Give 250ml water.
- Day 8: New leaf bud visible. I find that logging helps me spot trends. If I feel the soil is damp on Day 8, I know I gave too much water on Day 5. I adjust later.
FAQ: Answering Your Repotting Questions
1. How often should I water after repotting Caladium Fannie Munson? I only water when the top inch of soil feels dry to the touch. For the first week, this might be just 1-2 times. Do not follow a schedule. Feel the soil. Wait for the plant to ask for it. The leaves will start to look slightly less glossy when they are thirsty.
2. Can I split the Caladium tuber during repotting? Yes, but this is a separate step. If you want to split it, you should do it carefully. I find it’s better to let the plant get healthy first. Repotting and splitting at the same time is a double shock for the plant. I usually repot a single tuber one year and divide it the next.
3. Why is my plant falling over after the repot? This is usually because you planted the tuber too shallow, or the stem is too heavy for the new root system. I had this issue with a giant leaf. I fixed it by adding a small bamboo stake for support. Or, add a bit more soil to brace the stem. You want the plant to focus on rooting, not on holding itself up.





