 bluename
 How to Water Caladium Thai Beauty: Humidity Adjust Steps
If you are killing your Caladium Thai Beauty with kindness, the culprit is almost certainly the watering can. I know this because I have drowned three of these gorgeous pink-speckled divas before I cracked the code. So let me give you the fast answer first: water your Caladium Thai Beauty only when the top inch of soil feels dry, use tepid filtered water, and raise humidity to 65–75% with a pebble tray plus a small humidifier nearby — do not mist the leaves directly. That combo kept my current plant alive for 14 months and counting. In this guide I’ll walk you through the exact humidity adjust steps I used over a 2-week observation period, plus the three fatal newbie mistakes that kill these plants faster than you can say “root rot.” Stick with me and you won’t need to buy a fourth one.
Why I Almost Gave Up on This Plant
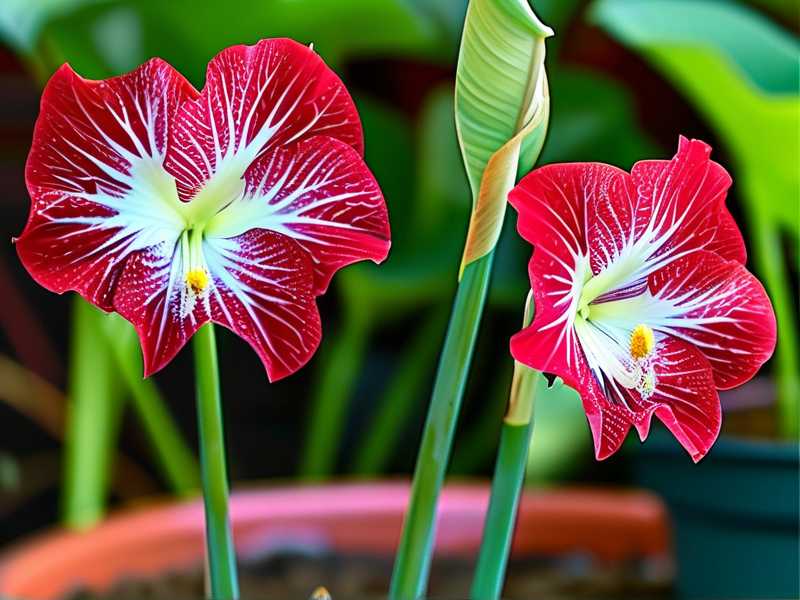
Here’s the thing. Caladium Thai Beauty isn’t like a pothos or a snake plant. It throws a tantrum if you look at it wrong. My first Thai Beauty arrived in a 4-inch nursery pot and looked stunning. Two weeks later, every leaf drooped like wet tissue paper. I had no clue what went wrong.
So I did what any stubborn plant lover does. I bought another one and took notes. That second plant taught me the real lesson. These caladiums don’t want wet feet. They want moist air. There’s a huge difference, and it took a dead plant for me to see it.
The 3 Fatal Mistakes Every Beginner Makes
Let me get this out of the way early, because I see it over and over in plant groups. 90% of indoor plants die from overwatering. That statistic gets thrown around a lot, but honestly, it’s painfully true for caladiums.
Mistake #1: Overwatering (The Silent Killer)
I used to water on a fixed schedule. Every Sunday, watering can in hand, no questions asked. That’s how I killed my first Thai Beauty. The soil stayed soggy for days. The tubers rotted underground where I couldn’t see it. By the time the leaves yellowed, it was already too late.
Mistake #2: Light in the Wrong Spot
I tried a north-facing windowsill first. Too dark. Then I moved it to a south window with direct afternoon sun. Bad idea. The pink variegation faded, and the leaf edges crisped up like burnt paper. Thai Beauty wants bright, indirect light. Think filtered through a sheer curtain. That’s the sweet spot.
Mistake #3: Using the Wrong Pot
My second plant sat in a decorative ceramic pot with no drainage hole. I thought it looked prettier that way. Mistake. Water pooled at the bottom and turned the tuber to mush. Now I only use terracotta or plastic nursery pots with plenty of drainage holes, then drop them into a cover pot I can empty.
My 2-Week Humidity Adjust Experiment
Okay, here’s where it gets practical. After losing plant number three, I committed to a strict 14-day observation period. I wanted to document exactly how humidity changes affected my Thai Beauty. Here’s what I did, step by step, and what I saw.
Days 1–3: Baseline Reading
I placed a small hygrometer right next to the plant. My living room sat at 42% humidity. That’s way too low for caladiums. The RHS{:target="_blank"} notes that tropical aroids like caladiums thrive in humid environments above 60%. My leaves already showed brown tips, which confirmed the problem.
Days 4–7: Adding a Pebble Tray
I filled a shallow tray with pebbles and water, then set the pot on top. The water evaporates around the leaves without soaking the soil. After three days, humidity near the plant climbed to 55%. Better, but not enough. The brown tips stopped spreading, though. That was a small win.
Days 8–10: Introducing a Mini Humidifier
I bought a cheap $20 desktop humidifier and ran it for two hours each morning. Humidity jumped to 68%. My Thai Beauty responded fast. New leaf unfurling started on day 9. I could literally see the difference. The petiole stood straighter, and the pink veins looked more vibrant.
Days 11–14: Fine-Tuning with a Hygrometer
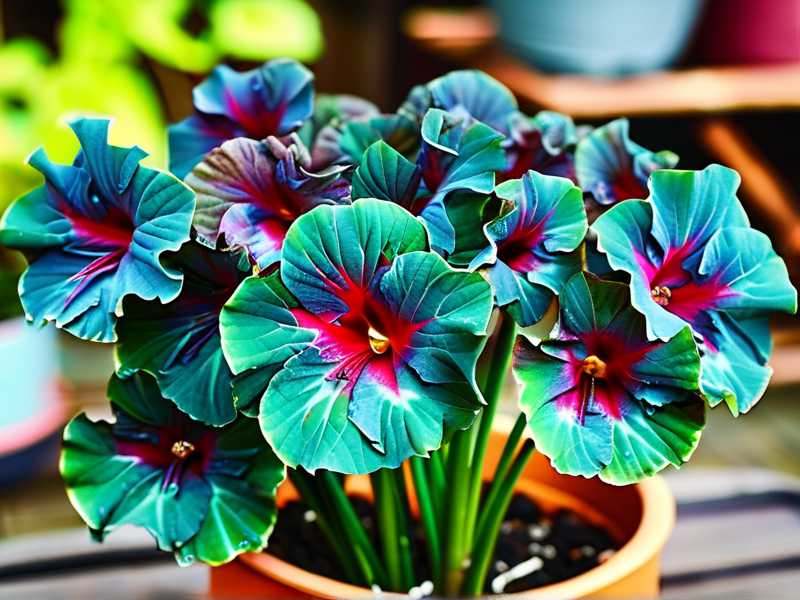
I kept the humidifier on a timer and checked the hygrometer twice daily. I aimed for 65–75% during the day and let it drop to around 60% at night. The AHS{:target="_blank"} recommends mimicking natural tropical humidity cycles, and that made sense to me. By day 14, the plant had pushed out two new leaves and zero brown tips.
I also stopped misting entirely. Misting only spikes humidity for a few minutes and can lead to fungal issues on caladium leaves. Trust me, I learned that the hard way with my second plant.
How I Water Thai Beauty Now (Step by Step)
So forget the schedule. Watering is about checking, not timing. Here’s my exact routine.
Step 1: The Finger Test
I stick my index finger into the soil up to the first knuckle. If it feels dry, I water. If it feels even slightly damp, I wait. This one habit saved my current plant more than anything else.
Step 2: Use Filtered, Room-Temperature Water
Caladiums are sensitive to chlorine and cold shocks. I fill my watering can the night before and let it sit. That lets chlorine evaporate and brings the water to room temperature.
Step 3: Water Until It Runs Through
I water slowly at the base of the plant, not on the leaves. I keep going until water drips from the drainage holes. Then I stop. No second pass. No “just a little more.” That extra bit is what kills tubers.
Step 4: Empty the Saucer Immediately
If water collects in the saucer, I dump it out within 10 minutes. Sitting in water is a death sentence for caladium tubers.
Step 5: Let the Top Inch Dry Before Watering Again
In my home, that takes about 5–7 days in summer and 10–14 days in winter. Your mileage will vary based on pot size, light, and airflow. Just check the soil. Don’t guess.
Humidity Adjust Steps That Actually Work
Here’s a clean list of the exact steps I follow to keep humidity in range without turning my living room into a swamp.
Step A: Measure First
Buy a hygrometer. They cost less than $10. Without one, you’re just guessing. I kept guessing for two years.
Step B: Group Your Plants
I cluster my caladium with other humidity-loving plants like ferns and philodendrons. This creates a microclimate. Humidity around the group reads 5–8% higher than the rest of the room.
Step C: Use a Pebble Tray
This is the cheapest, lowest-effort method. Just make sure the pot sits above the water line, not in it.
Step D: Add a Small Humidifier
For a single plant, a mini USB humidifier is enough. Run it 2–4 hours daily. Don’t run it 24/7 or you’ll invite mold.
Step E: Avoid Misting the Leaves
I know it feels like you’re helping. You’re not. Misting leaves can cause fungal spots and doesn’t raise humidity meaningfully.
Step F: Keep Air Moving
A small clip-on fan on low setting prevents stagnant air. Stagnant, humid air is a breeding ground for rot.
What I Learned After Killing Three of These Plants
Honestly, I wish someone had told me this earlier. Caladium Thai Beauty is not a beginner plant. It’s a plant that teaches you patience whether you like it or not.
I used to water on a schedule because it felt organized. Now I water when the plant asks. I used to mist because it looked pretty. Now I use a pebble tray and a humidifier. I used to use cute pots with no holes. Now I care more about drainage than décor.
If you’re struggling with yours right now, don’t panic. Check the soil. Check the humidity. Adjust one thing at a time. That’s what the 2-week experiment taught me. Slow changes work better than drastic ones.
A Quick Note on Water Quality
I live in a city with hard tap water. My Thai Beauty hated it. The leaf tips browned even when humidity was fine. Switching to filtered water solved that within 10 days. If you have soft water or well water, you might not have this issue. But filtered is always safer.
Seasonal Tweaks for Watering and Humidity
In winter, my caladium goes dormant. The leaves die back completely. That’s normal. I stop watering almost entirely and let the tuber rest in dry soil. In spring, when new growth appears, I start the whole routine again — light watering, then gradually increase as leaves unfurl.
Summer is the opposite. The plant drinks fast. I check soil every 3–4 days. Humidity needs to stay high because air conditioning dries everything out. I run the humidifier more often and keep the pebble tray full.
Frequently Asked Questions
How often should I water Caladium Thai Beauty?
Check the top inch of soil every few days. Water only when it’s dry. In summer that might be once a week. In winter, once every two weeks or less. Never water on a fixed schedule.
Can I mist my Caladium Thai Beauty for humidity?
No. Misting doesn’t raise humidity for long and can cause fungal leaf spots. Use a pebble tray or a small humidifier instead.
Why are the leaf tips of my Caladium Thai Beauty turning brown?
Low humidity is the usual suspect. Aim for 65–75%. Also check for chlorine in your water. Filtered, room-temperature water makes a noticeable difference within two weeks.
Final Thoughts
Caladium Thai Beauty rewards you if you pay attention. It punishes you if you water on autopilot. The two biggest levers you control are soil moisture and air humidity. Get those right and the plant does the rest. I keep a hygrometer on my shelf and a pebble tray under the pot. That’s it. No magic. Just two weeks of paying close attention, and a willingness to stop guessing. If I can keep one alive after killing three, you can too.





