 bluename
 How to Propagate Caladiums Slow: Seed Growth Guide
I love caladiums. Their vibrant, heart-shaped leaves are like living stained glass in my shade garden. But for years, I was stuck in a cycle of buying new bulbs every spring or carefully dividing my existing ones. I wanted to start from the very beginning, to witness the full, miraculous journey. That’s when I decided to learn how to propagate caladiums slow—through seeds. If you’ve ever been frustrated by the high cost of mature bulbs or the limited variety available locally, or if you simply crave the deep satisfaction of growing something truly from scratch, this guide is for you. The seed method is a test of patience, but the reward—unique, home-grown plants—is unparalleled. I documented my entire, slow propagation process over two intense weeks, and I’m here to share every step, every setback, and every solution I discovered.
Why Choose the Slow Seed Propagation Method?
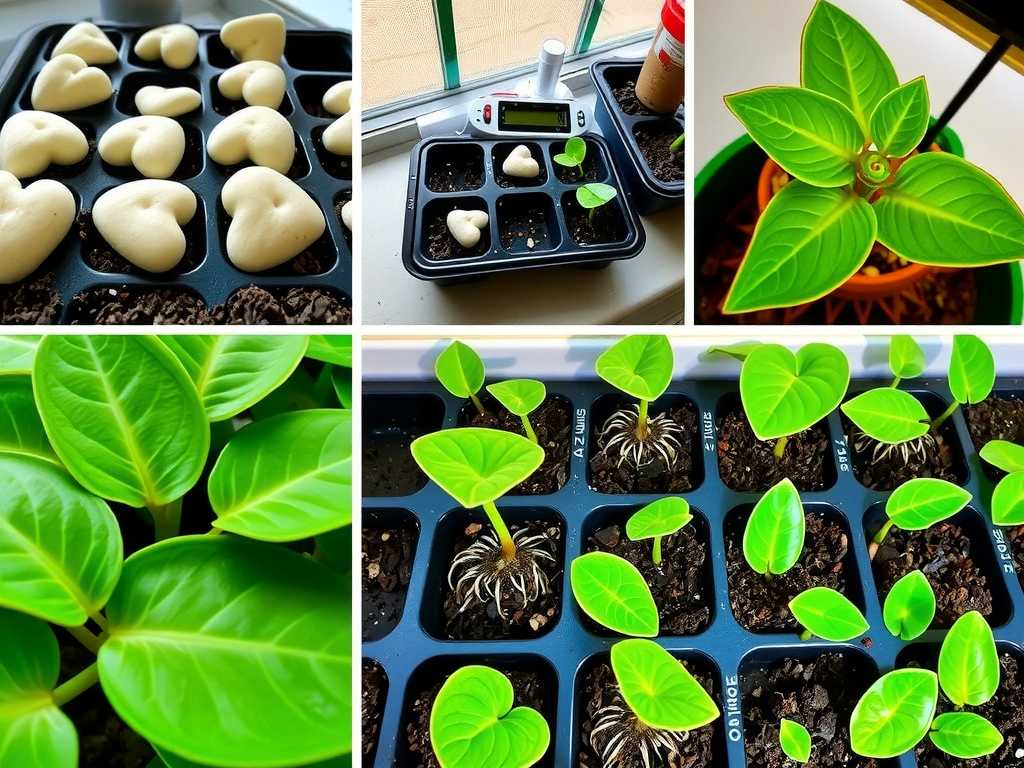
Most guides will tell you to propagate caladiums by dividing tubers. It’s faster, yes, but it’s essentially cloning. Growing from seeds is different. Each seed is a genetic lottery ticket. According to principles often cited by horticultural bodies like the American Horticultural Society (AHS), sexual propagation (from seeds) increases genetic diversity. This means the plant you grow might express slightly different colors, patterns, or vigor than its parent. For the enthusiast, this is the ultimate thrill. You’re not just reproducing a plant; you’re potentially creating a new one. My goal was to cultivate a batch of ‘White Queen’ caladiums from seeds, knowing each seedling could be a unique variation of that classic variety.
My Complete Setup and Sowing Process
Before we dive into the daily observations, let’s talk setup. Success in slow caladium seed propagation hinges on mimicking a tropical forest floor: consistently warm, humid, and moist.
I used a sterile, soilless seed-starting mix, combining fine peat moss and perlite for perfect drainage. My container was a standard plastic propagation dome with a clear lid. The most critical tool? A heat mat. Caladium seeds germinate best in soil temperatures between 70-75°F (21-24°C). Room temperature simply won’t cut it. I gently pressed the tiny, round seeds onto the surface of the moistened mix, as they need light to germinate. A very light dusting of vermiculite was my only cover. I misted thoroughly, closed the dome, placed it on the heat mat under gentle, indirect grow lights, and began my watch. This initial setup aligns with the Royal Horticultural Society (RHS) guidelines for starting tender perennial seeds, emphasizing cleanliness and consistent bottom heat.
The Two-Week Germination Diary: Triumphs and Troubles
This is where the real story unfolded. I checked my tray twice daily, and here’s what I saw.
Days 1-4: The Quiet Wait The mix stayed moist under the dome. No visible change. Patience was key. I resisted the urge to open the dome frequently, as maintaining high humidity was crucial.
Day 5: First Signs of Life A faint, white fuzz appeared on the surface of the mix near a few seeds. My heart sank—was it mold? This was my first major pitfall. Upon closer inspection with a magnifier, I realized it wasn’t mold but the very first, hair-like roots (radicles) emerging. Crisis averted. Lesson learned: Know what germination looks like before panicking.
Days 6-8: The Great Damping-Off Scare More radicles appeared. However, on Day 7, one seedling’s stem turned thin, black, and withered right at the soil line—a classic case of damping-off disease. This fungal issue is the bane of seed starters. I acted immediately. I carefully removed the infected seedling with tweezers. I then opened the dome vents slightly to improve air circulation and watered only from the bottom by placing the tray in a shallow dish of water. I also lightly sprinkled the surface with a pinch of cinnamon, a natural antifungal. This stopped the spread entirely.
Days 9-12: True Leaves Emerge The survivors pushed their seed coats up and unfurled their first cotyledons (seed leaves). They were simple, green, and not yet showing the caladium’s signature color. By Day 12, the tiniest first true leaves began to form, and I could just barely see hints of veining. The heat mat was now indispensable, as our home’s nighttime temperatures dipped.
Days 13-14: Establishing Strength The dome was now permanently vented. Seedlings were developing stronger stems. I began a very diluted, quarter-strength application of a balanced liquid fertilizer to support their growth, a practice recommended for promoting sturdy early growth in young seedlings. The guide to slow growth from caladium seeds was becoming a reality—they were undeniably slow but healthy.
Essential Care Tips for the Tender Seedling Stage
My two-week journey taught me that the post-germination phase is even more critical than sowing.
Light and Airflow: After germination, light becomes paramount. I moved my grow lights to within 4 inches of the dome to prevent leggy, weak growth. Increasing airflow hardened the stems and prevented further fungal issues.
Watering with Surgical Precision: Overwatering is fatal. I adopted the “bottom-watering only” rule. I let the top of the mix dry slightly between waterings, then placed the tray in water for 15 minutes, allowing capillary action to moisten the soil. This kept the delicate stems dry.
The Long Road Ahead: Transplanting and Juvenile Care
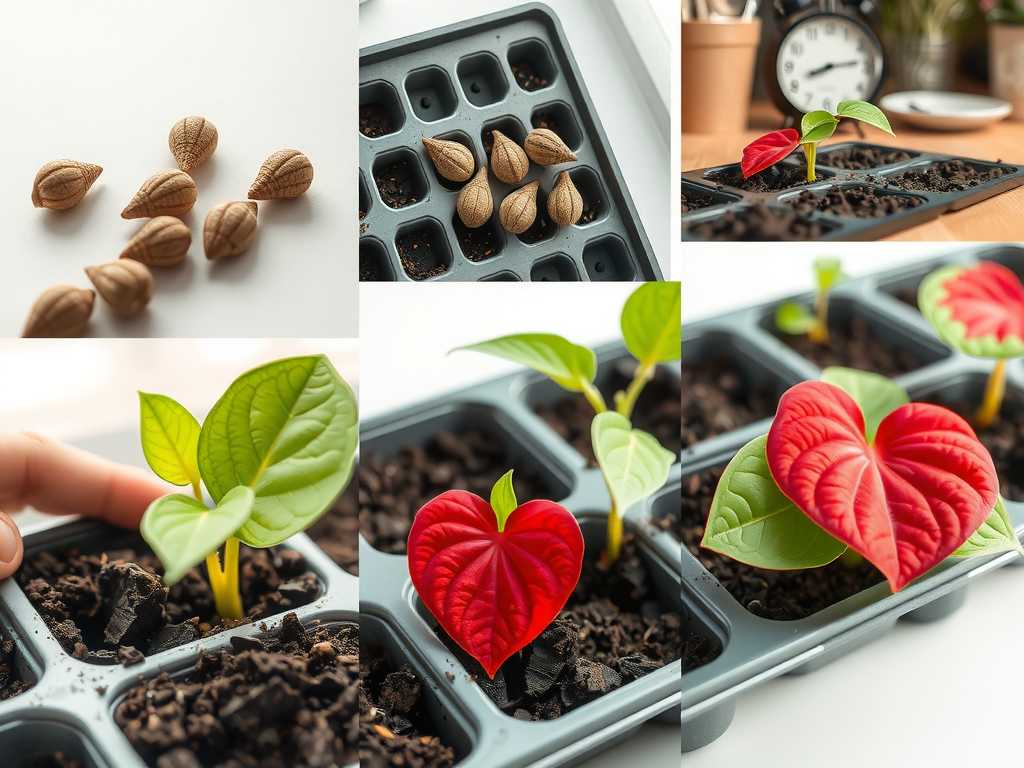
After 6-8 weeks, when seedlings have several true leaves, they can be gently pricked out and transplanted into small individual pots. Continue with bright, indirect light, consistent warmth, and gentle fertilization. Remember, you are growing a tuber. The plant will focus energy underground. Leaves may be small in the first year. This is the essence of propagating caladiums for patient gardeners. You won’t have a show-stopping plant this season, but you are nurturing its foundation.
Frequently Asked Questions
How long until my seed-grown caladium looks like the mature plants I see in nurseries? This is the ultimate lesson in patience. It can take two to three full growing seasons for a seed-grown caladium to develop a tuber large enough to support those large, robust leaves. The first-year plant will be charming but small. Think of it as a long-term investment.
Can I collect seeds from my own caladium flowers? Yes, but it’s a process. Caladiums produce a spathe and spadix (similar to peace lilies). If pollination occurs, you’ll see berry-like clusters. Allow them to mature fully on the plant until they soften. Each berry contains several seeds. Be aware that if you’re growing hybrid varieties, the seeds will not come true to the parent plant.
My seeds haven’t germinated at all. What went wrong? The three most common culprits are temperature, age, and moisture. Seeds need sustained warmth (a heat mat is almost mandatory). Old seeds lose viability quickly. Fresh is best. Finally, the mix must be consistently moist but not soggy during the germination window, which can be 2-6 weeks. If after 8 weeks with proper heat and moisture nothing happens, the seeds were likely non-viable.
Embarking on the seed propagation journey with caladiums redefines what it means to be a gardener. It shifts the goal from instant gratification to profound, slow-burn satisfaction. You become an observer, a problem-solver, and a guardian of life at its most fragile. The two weeks I spent hunched over that propagation dome taught me more about plant needs than years of simply planting bulbs. While you won’t have instant jungle, you will gain something rarer: a deep, personal connection to a plant you nurtured from its absolute beginning. The unique, one-of-a-kind foliage that eventually emerges will be a testament to your patience and care.





