 bluename
 How to Propagate Caladiums Fast: Corm Division Steps
I love the vibrant, heart-shaped leaves of caladiums. They're like living stained glass in my shade garden. But let's be honest, buying enough of these tropical beauties to create that lush, dramatic effect can get expensive. That was my exact frustration. I wanted more of those stunning foliage plants without breaking the bank. The solution? Learning how to propagate them myself through corm division. After trying various methods, I found a fast, reliable technique that multiplied my caladium collection in just one season. In this guide, I'll walk you through the exact corm division steps I used, share the results from my two-week observation period, and tell you about the mistakes I made so you can avoid them.
Why Corm Division is the Fastest Path to More Caladiums
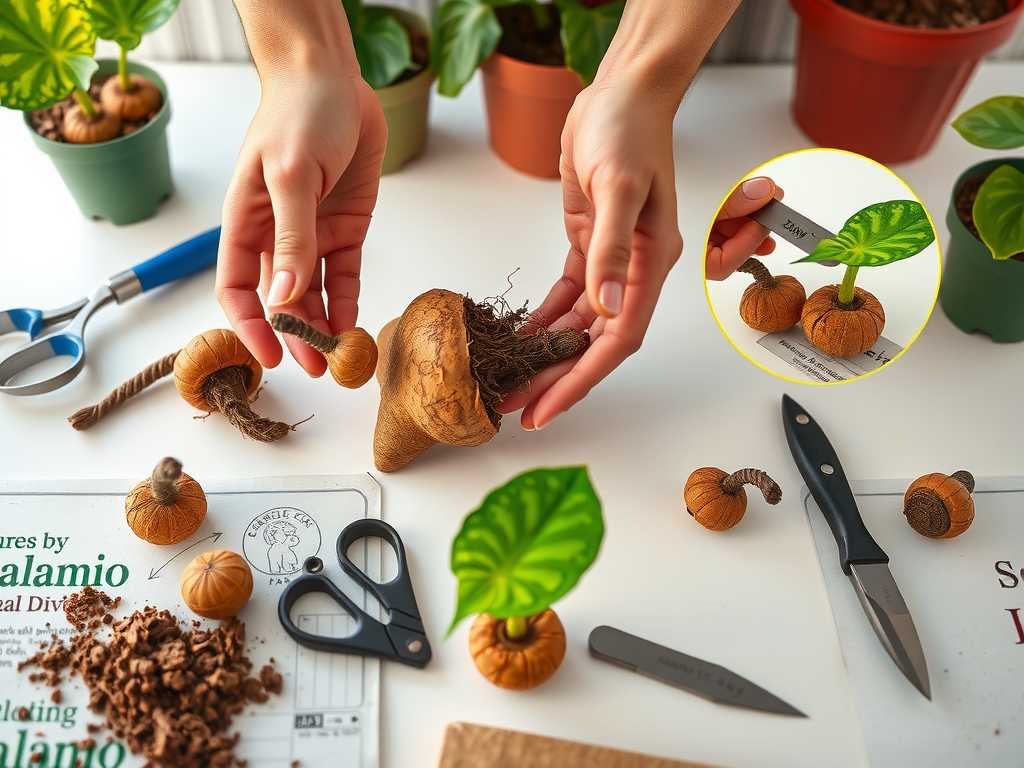
You can grow caladiums from seeds, but it's a slow and uncertain process. Propagation by dividing the tubers, or corms, is undeniably the fastest method. It allows you to harness the stored energy within a mature, dormant corm to create multiple new plants. According to the American Horticultural Society (AHS), vegetative propagation methods like division ensure the new plants are genetically identical to the parent. This means you get the exact same stunning leaf colors and patterns you fell in love with. My goal was speed and success, and corm division delivered.
Gathering Your Supplies: Setting the Stage for Success
Before you start cutting, get everything you need. Being prepared makes the process smooth and reduces the risk of problems. Here's what I gathered on my workbench:
- Dormant Caladium Corms: I used corms I had dug up from my garden after the foliage died back in the fall.
- Sharp, Sterile Knife: A clean utility knife or a sharp, non-serrated kitchen knife is perfect. I sterilized mine with rubbing alcohol. This is crucial to prevent disease transmission.
- Well-Draining Potting Mix: I used a standard peat-based mix with added perlite for extra drainage.
- Pots or Trays: Have your planting containers ready.
- Powdered Sulfur or Cinnamon: For dusting the cut surfaces. I used cinnamon as a natural fungicide.
- Warm, Bright Location: A spot with consistent warmth (70-80°F) and indirect light is ideal for encouraging sprouting.
My Step-by-Step Corm Division Process
This is the exact process I followed. I took my time, and the results proved it was worth the care.
Step 1: Inspecting and Preparing the Dormant Corm I began by selecting a firm, healthy-looking corm about the size of a golf ball or larger. I gently brushed off any dry soil. The key here is to identify the growth points, or "eyes." These look like small, bumpy nodules on the top surface of the corm. The more eyes you see, the more divisions you can potentially make. I let the corm sit at room temperature for a day to acclimate.
Step 2: The Division Cut – Precision is Key This is the most critical part. Using my sterilized knife, I carefully sliced the corm into sections. My rule was that each division must have at least one, but preferably two or three, visible eyes. I made clean cuts, minimizing crushing or tearing the tissue. For a large corm, I was able to get four viable pieces. The interior was firm and creamy white, a sign of good health.
Step 3: Treating the Wounds to Prevent Rot Immediately after cutting, I dusted all the fresh cut surfaces generously with cinnamon. This creates a protective barrier against fungal and bacterial infections that can cause the piece to rot before it ever sprouts. I let the pieces dry, or "cure," in a warm, airy spot for about 24-48 hours. This allows the cuts to callous over, which is an essential step for successful caladium propagation.
Step 4: Planting and the Initial Waiting Game After the cure period, I planted each division about 1.5 to 2 inches deep in moist potting mix, with the eyes facing upward. I lightly watered them in and placed the pots in my warmest, brightest room (out of direct sun). Then, the waiting began. I resisted the urge to overwater, only lightly moistening the soil when the top inch felt dry.
My Two-Week Observation Diary: The First Signs of Life
I monitored my potted divisions daily. Here's what happened:
- Days 1-7: No visible change. The soil stayed lightly moist. I was anxious but trusted the process.
- Day 8: On one of the larger divisions, I noticed the tiniest crack in the soil surface. A hint of pink was peeking through!
- Day 10: Two more pots showed signs. A small, knobby pink sprout emerged in one, and a rounded green tip broke the surface in another.
- Day 14: By the end of the second week, three out of my four divisions had visible sprouts. The fourth still showed no growth, but the corm piece felt firm when I gently probed the edge of the pot—a good sign it wasn't rotting.
This two-week mark was a major milestone. Seeing those first sprouts confirmed the propagation was working. The new plants were tapping into the stored energy of the corm piece to establish themselves.
The Pitfalls I Encountered (And How to Fix Them)
My journey wasn't perfectly smooth. I made a classic beginner's mistake in a previous attempt that ended in disappointment. I divided a corm and planted the pieces immediately without letting the cuts callous. Within a week, two of the three pieces had turned to mushy, rotten messes. The lesson was painfully clear: the curing period is non-negotiable. It's the single most important factor in preventing rot during caladium propagation.
Another issue was temperature. I once tried this in a cooler room (around 65°F), and sprouting took nearly a month. Caladiums are tropical plants and need genuine warmth to wake up. Providing a consistent warm environment, as recommended by resources like the Royal Horticultural Society (RHS), dramatically speeds up the process.
Caring for Your New Caladium Plants
Once your divisions have sprouted and developed a few leaves, you can treat them like any other caladium. Move them to their permanent spot in dappled shade or bright, indirect light indoors. Keep the soil consistently moist but never soggy. I started a diluted, balanced liquid fertilizer regimen every four weeks once the plants had 2-3 full-sized leaves. Watching these tiny divisions grow into full, lush plants over the summer was incredibly rewarding.
Frequently Asked Questions
How long does it take for divided caladium corms to sprout? In my experience, with optimal warm conditions (75-80°F), you can see the first sprouts in as little as 10-14 days. Some pieces may take 3-4 weeks. If there's no growth after 6 weeks and the corm feels soft, it likely failed.
Can I divide caladium corms while they are actively growing? It's strongly not recommended. Dividing is a major stressor. The best time is when the plant is completely dormant, typically in late winter or early spring before you plant them out for the season. This gives the divisions a full growth cycle to recover and thrive.
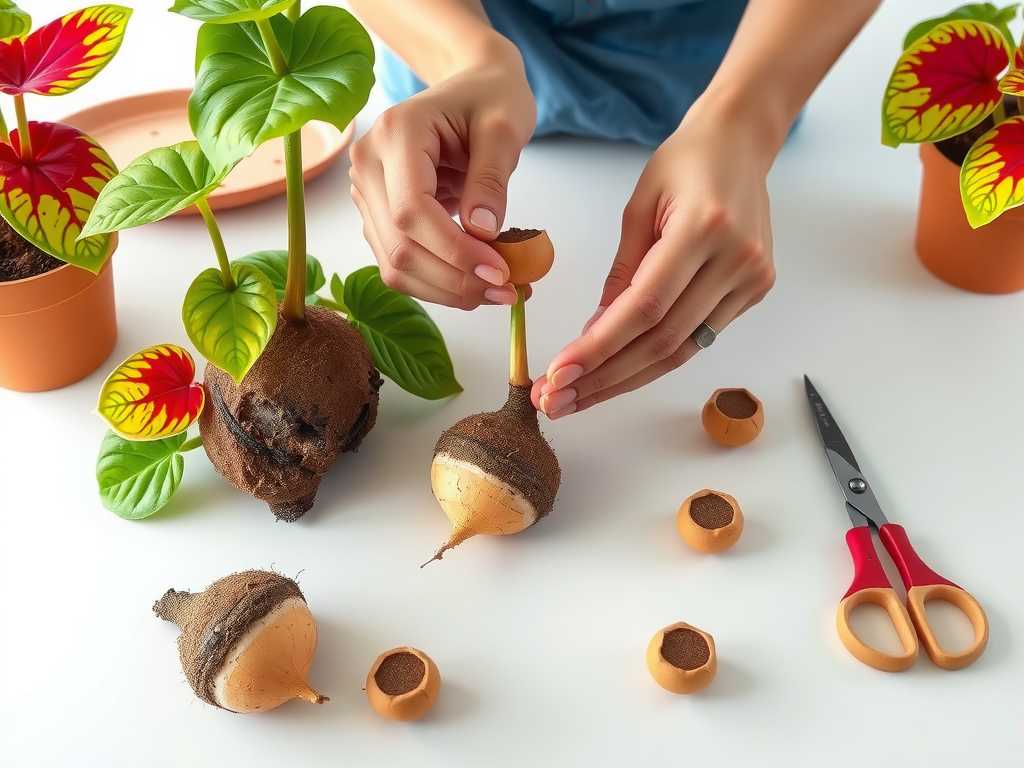
What's the biggest reason divided corms fail to grow? Rot caused by fungal or bacterial infection is the primary culprit. This almost always stems from using a non-sterile cutting tool, failing to dust the cuts with a fungicide, or skipping the crucial 24-48 hour curing period before planting. Ensuring your divisions are calloused and planted in well-draining mix is your best defense.
Propagating caladiums through corm division is a simple, fast, and cost-effective way to expand your collection. By selecting healthy corms, making clean cuts, allowing for proper curing, and providing warmth, you can turn one plant into several. My two-week experiment showed a 75% success rate on the first try, and by applying the lessons from my initial failures, I've since achieved near-perfect results. There's a unique satisfaction in growing a stunning display of caladiums that you multiplied with your own hands. Give it a try this season—you might just surprise yourself with how easy and rewarding it can be.





