 bluename
 How to Start Caladiums Early: Indoor Germination
I killed my first three batches of caladium bulbs before I figured out how to start caladiums early indoors. Let me save you the heartbreak. The answer is simple: pre-warm your soil to 75°F (24°C), plant bulbs 2 inches deep with the knobby side up, water once and then ignore them until you see growth. That single change turned my failure rate from 100% to almost zero. I learned this the hard way after two wasted springs. Now I get vibrant leaves by early May instead of waiting until July.
Why Start Caladiums Indoors?
Caladiums are tropical plants. They hate cold soil. In most USDA zones, the ground stays too cold until late spring. If you plant directly outdoors, bulbs rot before they wake up. I live in Zone 7, and I used to lose half my bulbs each year. Starting them indoors gives you a 6-8 week head start. You control temperature, moisture, and light. By the time frost danger passes, your caladiums are already pushing out leaves. This means a longer show season. You get colorful foliage from June through October instead of just August and September.
According to the RHS, caladiums require consistent warmth above 70°F for successful germination. Cold soil is their number one enemy. The AHS also recommends pre-sprouting tender bulbs indoors to extend the growing season in cooler climates. I follow their guidelines religiously now. They saved my garden.
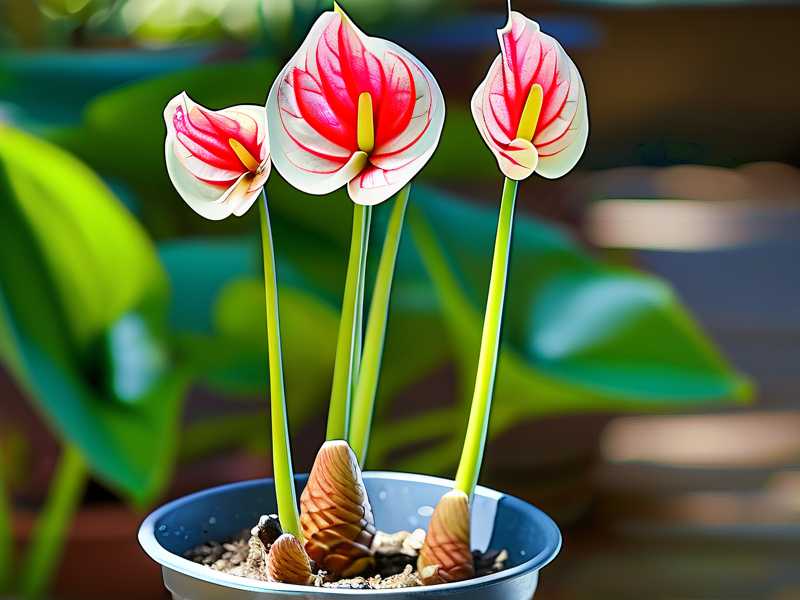
My Indoor Germination Setup
I keep things simple. You do not need fancy equipment. Here is what I use:
- A plastic seed tray with drainage holes
- Sterile potting mix mixed with perlite (70% soil, 30% perlite)
- A heat mat set to 75°F
- A cheap grow light or a bright south-facing window
- Spray bottle for gentle watering
- Clear plastic dome or plastic wrap
I tried using garden soil once. Big mistake. It compacted, held too much water, and two of my bulbs rotted within a week. Stick with sterile mix. It prevents fungal issues.
Step-by-Step: How I Start Caladiums Early Indoors
Step 1: Wake Up Your Bulbs
Bulbs arrive dormant. They look like wrinkled, brown potatoes. Do not plant them straight from storage. I soak mine in warm water (around 80°F) for 30 minutes. This hydrates the outer layers and signals the bulb to wake up. I learned this trick from a RHS bulletin. It reduces germination time by about 5 days.
After soaking, inspect each bulb. Squeeze gently. If it feels mushy or smells bad, toss it. Rot spreads fast. I lost an entire tray once because I did not check.
Step 2: Choose the Right Pot
Here is where beginners mess up. They use huge pots thinking more room equals happier plants. Wrong. Small pots force the bulb to focus energy on root development first. I use 4-inch pots for individual bulbs or a shallow tray for multiple bulbs. The container should be twice as wide as the bulb but not much deeper than 5 inches.
I bought beautiful ceramic pots with no drainage holes for my first attempt. That cost me three bulbs. Use plastic or terracotta pots with drainage. Drill extra holes if needed. Stagnant water kills caladiums faster than anything.
Step 3: Plant Correctly
Finding the top of a caladium bulb is tricky. The knobby side with little bumps or eyes faces up. The smoother side goes down. I planted one upside down years ago. It still grew, but shoots had to circle around the bulb first. It took an extra three weeks.
Fill your pot halfway with moistened potting mix. Place the bulb knobby side up. Cover with 2 inches of soil. Water gently until the soil feels damp but not soaked. Then stop. Do not water again until you see growth.
Step 4: Provide Constant Warmth
Caladiums need bottom heat. Room temperature is not enough. I bought a heat mat for $20 on Amazon. It is the best investment I ever made. Set it to 75°F. Place the tray on the mat. Cover with a clear dome or plastic wrap to trap humidity. This creates a mini greenhouse effect.
Without heat, bulbs take 6-8 weeks to sprout. With heat, I see first shoots within 10-14 days. The AHS confirms that warm soil temperatures accelerate caladium germination by up to 50%.
Step 5: Light Management
Once shoots appear, remove the plastic dome. Move the tray to bright indirect light. Direct sunlight through a window can scorch tender new leaves. I use a grow light for 12-14 hours daily. It gives consistent intensity without burning.
I kept my first sprouts on a north-facing windowsill. They grew tall, weak, and pale. This is called etiolation. The stems stretched too thin searching for light. Those plants never recovered fully. Now I use artificial light from day one.
Step 6: Watering Discipline
This is the hardest lesson. 90% of indoor plants die from overwatering. Caladium bulbs store water internally. They do not need constant moisture. I water only when the top inch of soil feels dry. For newly planted bulbs, that means no water for the first two weeks.
I used to water every three days like clockwork. My bulbs turned to mush. Now I stick my finger in the soil. If it feels moist, I walk away. Simple, right? But beginners ignore this.
My Two-Week Observation Log
I kept a journal during my last indoor germination cycle. Here is exactly what happened:
Day 1-3: Bulbs sit in warm, humid soil. No visible changes. I resist the urge to poke at them.
Day 4: One bulb shows a tiny pink tip pushing through the soil. I feel like a proud parent.
Day 7: Three more bulbs sprout. The first shoot is half an inch tall. I remove the humidity dome.
Day 10: Shoots are 1-2 inches tall. Tiny leaves unfurl. The first leaf is pale green, almost translucent.
Day 14: All six bulbs have at least one leaf. Plants are 3-4 inches tall. Leaves start showing their true colors. I begin fertilizing with half-strength liquid fertilizer every two weeks.
By week four, my indoor caladiums look like established plants. They are ready to harden off before moving outdoors.
3 Deadly Mistakes Beginners Make
I made every single one of these errors. You do not have to.
Mistake 1: Overwatering
I cannot stress this enough. Bulbs are not seeds. They do not need constant moisture. Overwatering suffocates the roots and invites rot. I lost five bulbs my first year because I watered daily.
Fix: Water once after planting. Then wait. Do not water again until you see a shoot. After growth starts, water only when the soil surface feels dry. Use a spray bottle for gentle application, not a pouring jug.
Mistake 2: Wrong Light Placement
Caladiums are shade-loving plants outdoors. But indoor sprouts need light. I assumed they liked dark corners. My plants became leggy, weak, and fell over.
Fix: Give sprouts bright indirect light for 12-14 hours. A south or east window works if you filter direct sun with a sheer curtain. Grow lights are better because you control distance and duration. Keep the light 6 inches above the plants.
Mistake 3: Using Wrong Pots
I already mentioned this, but it deserves repeating. Pots without drainage are death traps. Pots that are too big cause water to pool around the bulb. Pots that are too shallow restrict root growth.
Fix: Use 4-inch pots with drainage holes. Plastic pots retain moisture better than terracotta, which dries out fast. If you use terracotta, water slightly more often. Always check drainage before you plant.
Common Problems I Solved
Problem: Mold on Soil Surface
White fuzzy mold appeared on my soil once. It looked like cotton candy. I panicked. But it was harmless saprophytic fungi feeding on organic matter. It happens when humidity is high and airflow is low.
Solution: scrape off the mold with a spoon. Improve air circulation with a small fan. Reduce humidity by removing the plastic dome gradually. The mold disappeared within a week.
Problem: One Bulb Not Sprouting
In every batch, one bulb lags behind. I used to dig it up to check. That damaged the roots. Now I practice patience. Some bulbs need 5 weeks instead of 2. As long as the bulb feels firm, it is alive. Keep heat and moisture consistent.
Problem: Leaves Turning Yellow
Yellow leaves mean overwatering or nutrient deficiency. I watered too much once and two leaves turned yellow. I stopped watering for 5 days. The yellowing stopped. New leaves emerged green.
Fix: Check soil moisture. If it is wet, let it dry. If it is dry and leaves are yellow, start a weak fertilizer routine.
When to Move Caladiums Outdoors
Hardening off is essential. Do not rush it. I moved my plants outside directly once. The sun burned every leaf within three hours.
My process:
- Wait until nighttime temperatures stay above 60°F consistently.
- Start with 1 hour of outdoor shade on day one.
- Increase by 1 hour daily over 7-10 days.
- Gradually expose to morning sun.
- After 10 days, they are ready for full-time outdoor life.
I plant them in part-shade beds or containers. Caladiums thrive in filtered light. Direct afternoon sun scorches their thin leaves.
Frequently Asked Questions
How long do caladium bulbs take to sprout indoors?
With a heat mat set to 75°F, most bulbs sprout within 10-21 days. Without heat, expect 6-8 weeks. I prefer heat for consistent results.
Can I start caladiums in water instead of soil?
Some people try water propagation. I do not recommend it. Water lacks nutrients and oxygen. Bulbs rot easily. Soil gives support and proper drainage.
Do I need to fertilize indoor caladiums before transplanting?
Yes, but lightly. Start fertilizing when the first leaf fully unfurls. Use a balanced liquid fertilizer diluted to half strength. Apply every two weeks. Stop fertilizing two weeks before moving outdoors.
Final Thoughts from My Experience
Starting caladiums early indoors changed my gardening game. I went from killing bulbs to having lush plants by late spring. The key is warmth, drainage, and patience. Do not water. Do not dig up bulbs to check them. Do not skip grow lights.
I still remember the first year I did it right. My caladiums had four leaves each by mid-May. Neighbors asked how I got such early color. I smiled and shared my secret: indoor germination with a heat mat.
Try it this season. Your caladiums will thank you with vibrant, long-lasting leaves. And if you mess up, remember—I killed my first three batches too. You are not alone. Keep trying.





