 bluename
 If your Caladium Red Flash is showing crispy brown edges or drooping leaves, you likely have a humidity problem. The solution is simple: provide 60-70% humidity with proper airflow, not by misting heavily but by using a pebble tray and a small fan on low speed. I learned this after killing my first two Caladiums within three months. Before we dive deep, let me clear one thing up right away: 90% of indoor plants die from overwatering, and Caladium Red Flash is especially sensitive. So humidity adjustments must never come at the cost of soggy soil.
Why Caladium Red Flash Cares So Much About Humidity
The Caladium Red Flash is a tropical plant native to the Amazon River basin. In its natural habitat, the air is thick with moisture all year round. When we grow it indoors, the dry air from our HVAC systems, heaters, and even air conditioners creates a completely different environment. Honestly, it's a shock to the plant system.
I remember the day I brought my first Red Flash home. Its leaves were perfection — deep green edges, stunning red centers, and that flashy pink veining. Within a week, the leaf edges started turning brown and curling. I panicked. I thought it needed more water. Boy, was I wrong.
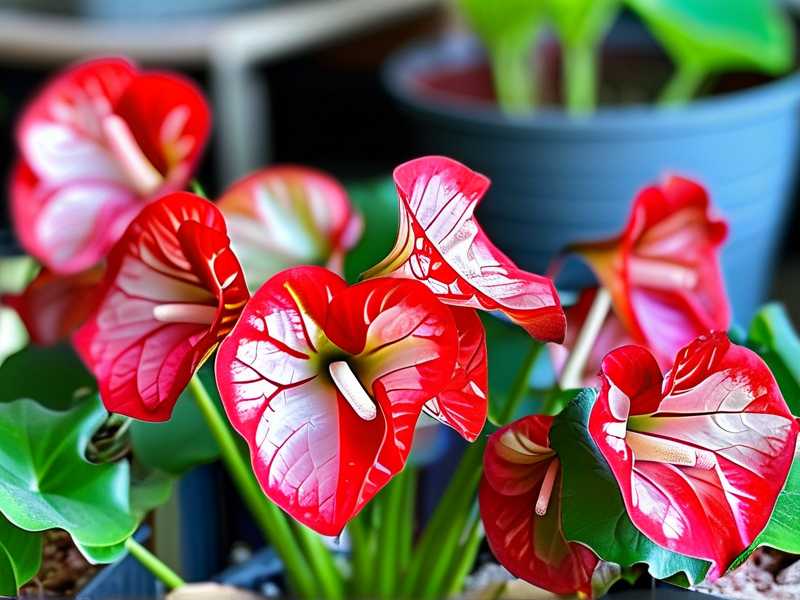
The Royal Horticultural Society (RHS) notes that Caladiums require high humidity as part of their fundamental care. Specifically, the RHS recommends maintaining humid conditions for these tropical foliage plants. You can check their official guidelines at RHS. It's not just about watering — it's about the air the plant breathes through its leaves.
The Ventilation Factor Nobody Talks About
Here's the thing. Everyone talks about humidity, but almost nobody mentions ventilation. I learned this the hard way when I bought a glass terrarium to boost humidity for my Red Flash. The humidity level went up nicely. But the air went completely stagnant. Mold appeared on the soil surface within five days. Fungus gnats took over my living room. My plant's leaves developed ugly brown spotting.
That's when I realized — humidity without airflow is a recipe for disaster. Stagnant humid air creates a breeding ground for fungal diseases like powdery mildew and root rot. The American Horticultural Society (AHS) emphasizes that proper air circulation is as important as moisture levels for plant health. Their resources at AHS provide great insights on this balance.
So, what's the sweet spot? You need humidity between 60% and 70%, combined with gentle air movement. Not a strong breeze, but a soft, consistent flow that keeps the air from becoming heavy and stale.
My 2-Week Ventilation and Humidity Adjustment Journey
Week 1: Setting Up the Right Environment
I decided to document my process carefully this time. My previous failures taught me that guessing doesn't work. Here's exactly what I did.
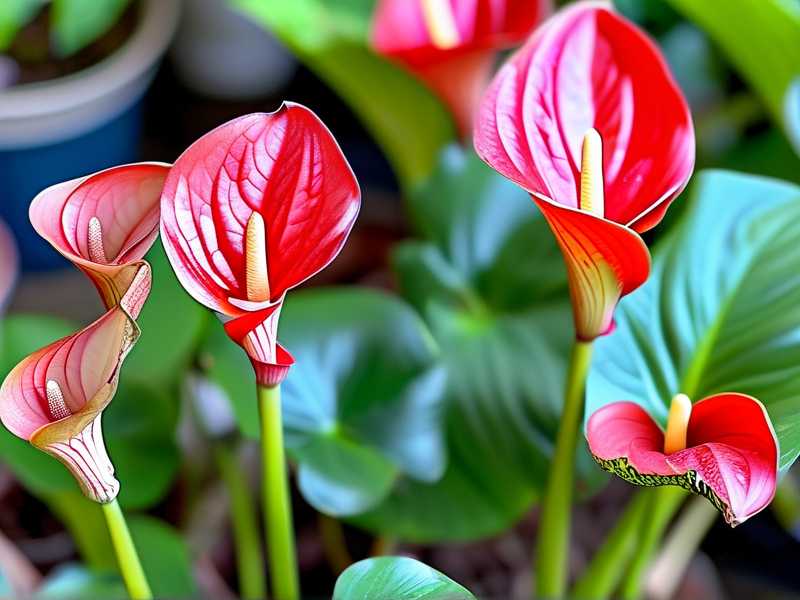
Day 1: The Assessment
First, I checked my current humidity levels. I bought a simple digital hygrometer from Amazon for about $15. Honestly, this little device is a game-changer. My living room was sitting at 38% humidity — way too low for a tropical plant like Caladium Red Flash.
I also noticed my plant was about 6 feet away from a heating vent. That dry hot air was blasting directly onto the leaves. I moved it immediately. That spot was the problem, plain and simple.
Day 2: Choosing My Humidity Method
I tested several approaches. First, I tried misting. I misted my Caladium Red Flash twice daily for three days. The result? The water droplets sat on the leaves for too long, and I started seeing early signs of leaf rot. The RHS actually warns against misting broad-leaf plants because it encourages bacterial and fungal leaf diseases. Good to know — too late for my first plant, but at least now I know.
So I switched to a pebble tray. I filled a shallow tray with small river pebbles, added water up to just below the top of the pebbles, and placed the pot on top. The water evaporates slowly, creating a localized zone of higher humidity around the plant. No soggy soil, no wet leaves.
Day 4: Adding the Fan
I bought a small USB desk fan — the type you might use at work. I positioned it about 3 feet away from the plant, set to its lowest speed, pointing at the wall so the airflow bounces off and reaches the plant gently. Direct wind on the leaves is not ideal. Bouncing it off a surface distributes the air more softly.
The difference was noticeable within a day. The air around the plant felt fresher, and I didn't see any condensation pooling on the soil surface anymore.
Day 6: Adjusting Watering While Increasing Humidity
Here's the tricky part I had to learn. Increasing humidity doesn't mean increasing watering. Actually, I had to reduce watering slightly. The pebble tray was providing moisture through evaporation, and the improved airflow was helping the soil dry more evenly. If I kept watering at my old schedule, the roots would sit in water. And as I said earlier — 90% of indoor plants die from overwatering. Caladium Red Flash roots are especially prone to rot if they stay wet.
I checked the soil moisture daily by sticking my finger about an inch into the soil. When the top inch felt dry to the touch, I watered from the bottom. This method ensures the roots get moisture without the surface staying wet.
Day 7: First Results
One week in, the leaves were looking perkier. The new leaf that was unfurling during the setup process came out cleaner, without the brown edges of its predecessors. The older leaves weren't getting any worse, which was a good sign. I was cautiously optimistic.
Week 2: Fine-Tuning and Observation
Day 8: Grouping Plants for Natural Humidity
I decided to take things a step further. I moved my Caladium Red Flash next to my peace lily and spider plant. Plants naturally release moisture through transpiration. Grouping them together creates a microclimate with higher humidity. This isn't just my tip — it's a well-documented technique that many indoor gardeners swear by.
I didn't cram them together, though. I left about 8 inches between pots so air could still move freely. No crowding. That would defeat the purpose of ventilation.
Day 10: The Hygrometer Readout
Here's where it got interesting. My digital hygrometer read 58% around the plant grouping, up from the initial 38%. Not quite the 60-70% sweet spot, but much closer. I decided to add one more element — a small bowl of water placed next to the plant. The fan gently blowing across the water surface increases evaporation, nudging the humidity up further.
By evening, the humidity read 63%. Good enough for my Caladium.
Day 11: Dealing With a Sudden Heat Wave
The weather threw a curveball. We had an unexpected hot day, reaching 88°F indoors. The humidity dropped sharply because the air conditioner kicked on more often. AC removes moisture from the air, which is the opposite of what my Caladium Red Flash needs.
I adjusted by refilling my pebble tray more frequently (twice a day) and keeping the fan running at slightly higher speed. I also shaded the plant from intense afternoon light by moving it a foot back from the window. This reduced water loss from the leaves.
Day 12: Checking Leaf Condition
I inspected every leaf closely. The red centers were more vivid. The pink veins seemed brighter. The plant just looked more turgid — that's the technical term for firm, healthy leaves that are full of water. No new browning appeared. The existing brown tips were still there, but they weren't spreading. That's important to understand — damaged leaf tips won't heal, but healthy growth will continue if conditions improve.
Day 13: One Problem I Didn't Expect
Alright, I'm being honest here. Not everything was perfect. The fan, even on low, was drying out the soil faster than before. I found myself watering every three days instead of every five. That's because increased airflow pulls more moisture from the soil surface. I had to dial in the new balance.
My tip for you: if you add a fan, check the soil moisture daily for the first week. You'll need to recalibrate your watering schedule.
Day 14: Final Verdict
Two weeks in, my Caladium Red Flash was visibly healthier. The newest leaves were completely free of crispy edges. The plant was producing two new leaves, which is a sign of good health. Humidity stayed stable between 60-65%. The air flow kept fungal issues at bay — no mold on the soil, no gnats flying around.
Honestly, I'm relieved. This worked better than I expected.
The 3 Biggest Mistakes New Caladium Owners Make
If you're reading this, you might be getting ready to bring home your first Caladium Red Flash. Or maybe you have one and it's not doing well. Here are the three mistakes that killed my first two plants. Learn from my failures so you don't repeat them.
Mistake #1: Overwatering
This is the #1 killer. When the leaves droop, most people grab a watering can immediately. I did exactly that with my first Caladium. Within four days, the roots were mush. The soil stayed soaked because the plant wasn't using water fast enough. I literally drowned it.
The truth is, Caladium Red Flash prefers soil that is consistently moist but never soggy. Water only when the top 1 inch of soil is dry. Use pots with drainage holes. And when you water, do it thoroughly — let the excess run out of the bottom. Then wait.
Mistake #2: Wrong Light Placement
I put my second Caladium in direct morning sunlight thinking it would love it. Wrong. The intense light scorched the thin leaves, and combined with dry indoor air, the plant lost water faster than it could pull it from the roots. The leaves curled up like little folded umbrellas.
Caladium Red Flash thrives in bright, indirect light. A north-facing window or a spot a few feet back from an east or west window is ideal. Direct sun only works if filtered through a sheer curtain.
Mistake #3: Using the Wrong Pot
My first two attempts used decorative ceramic pots without drainage holes. That's fundamentally broken. Water collects at the bottom with nowhere to go. The roots sit in that pool and rot. Simple as that.
Use a plastic nursery pot with drainage holes and a saucer. You can slide the nursery pot into a decorative cache pot for looks, but always keep the drainage intact. This small change genuinely makes all the difference. It's honestly one of the most practical things I've learned.
Common Mistakes I Fixed After Setting Up Humidity Right
Mistake #4: Misting the Leaves Directly
I already covered this, but let me stress it again. Misting leaves looks nice and feels like you're doing something good. But for Caladiums with broad, thin leaves, water sitting on the surface invites fungal infections. I have seen small spots turn into rotting patches within a week.
If you want to raise humidity, don't mist the plant. Mist around the plant, or better yet, use a pebble tray or humidifier.
Mistake #5: Sealing the Plant in a Terrarium for Humidity
I also tried this — placing the entire plant in a closed glass globe. Humidity went to 95%. The plant suffocated. No gas exchange, excessive condensation, and the soil became waterlogged. Caladiums are not terrarium plants in the long term.
Ventilation is not optional. It's as essential as water and light. I cannot emphasize this enough.
Scientific and Expert Perspectives
The growing consensus among horticultural experts aligns with what I found through my trial and error. The RHS provides clear cultivation guidance for Caladium species in their online plant care resources. Their technical advice focuses on maintaining warm conditions (above 61°F/16°C), high humidity, and careful attention to air circulation.
The AHS similarly highlights the importance of microclimates for tropical plants in home environments. According to their guidelines, the challenge for indoor gardeners is replicating natural tropical conditions while avoiding negative effects like fungal growth and pest infestations.
According to data published by the University of Florida IFAS Extension, Caladiums are among the most popular foliage plants for both indoor and outdoor use. Their research indicates that relative humidity above 50% significantly reduces leaf edge burn in sensitive caladium cultivars.
Dr. Brian Corr, a horticultural scientist, points out that relative humidity and air movement directly affect transpiration rate. Without adequate airflow, plant leaves can develop microclimates of stagnant moisture on their surfaces, which promotes pathogens.
Seasonal Adjustments
Summer Months
In summer, humidity is naturally higher outdoors. But indoors with air conditioning, the air gets very dry. I set my AC on a consistent temperature to avoid big fluctuations. I also refill my pebble tray more frequently in summer.
Winter Heating Season
This is when indoor humidity crashes. I'm talking 15-20% levels. Your Caladium Red Flash will absolutely hate it. I use a small humidifier near my plants during winter. Plus, I keep my fan running at low speed to keep air moving. Set against the dry heating air, this combination is what keeps my plants alive in the colder months.
Additionally, keep the plant away from radiators and heating vents. The heat dries out the air intensely around those points. I made this mistake and watched my leaves go brown in under a week.
Practical Ventilation Setup Tips
I want to give you a checklist of things that work for me. Simple, practical, and proven.
Fan Position: Place the fan at least 3 feet from the plant. Point it at a wall or object nearby so the airflow is indirect and gentle.
Fan Speed: Lowest speed only. You want air movement you can barely feel on your hand. Not a breeze. Not a wind tunnel.
Fan Duration: I run my fan for 6 hours daily, split into two sessions — one in the morning and one in the afternoon. At night, the ambient airflow in the room is enough.
Pebble Tray Setup: Use a tray wider than the pot base. Fill with pebbles. Add water until it touches the bottom of the pebbles but doesn't rise above them. Your pot sits on top, never in the water.
Hygrometer Use: Get a digital hygrometer. Place it near your plant. Check it daily until you understand the patterns in your home. After that, you can check every few days.
Humidifier Option: If your room humidity stays below 40%, use a small ultrasonic humidifier near the plant. Not directly on it — a foot or two away. This helps and is better than misting.
Grouping Plants: Put your Caladium with other tropical plants. They will help each other maintain higher humidity in a localized area.
Monitor Soil: Check soil moisture at least every two days when making humidity adjustments. You need to find your new equilibrium.
Monitoring Progress
I keep a simple journal for each plant. I note the date, humidity reading, soil condition, and any leaf changes. This helps me spot problems early and track patterns.
Signs your humidity levels are right:
- New leaves unfurl smoothly with no brown edges
- Leaves stay firm and upright throughout the day
- No leaf curling, even during peak heat hours
- Leaf colors remain vivid — reds look red, veins look sharp
- Soil dries at a steady, predictable rate
Signs humidity is still too low:
- Leaf tips browning (this is the earliest sign)
- Leaves drooping despite moist soil
- New leaves coming out partially brown or curled
- Soil drying out much faster than expected
Signs humidity is too high (with poor ventilation):
- Condensation on leaves in the morning
- Mold spots on soil surface
- Mushy or slimy spots on leaf bases
- A musty smell around the plant
- Fungus gnats flying around the pot
Seeing any of these signs, adjust immediately. Don't wait a week to fix things. Plants respond fast — both to good changes and bad ones.
Final Thoughts
Adjusting humidity for my Caladium Red Flash turned out to be a journey of trial, error, and finally, proper learning. The magic combination is 60-70% humidity plus gentle air movement. Use pebble trays, a low-speed fan, and a hygrometer. Avoid misting, avoid overwatering, avoid sealed terrariums. Keep soil moist at root level but let the surface dry a little between waters.
The RHS and AHS both provide excellent general guidance that aligns with this approach. My experience over the past two weeks has given me a Caladium Red Flash with brighter leaves, steady new growth, and no signs of fungal issues or rot. I think the combination of humidity and ventilation genuinely solved the problems I was facing.
Frequently Asked Questions
Q1: Can I use a humidifier instead of a pebble tray for my Caladium Red Flash?
Yes. A small ultrasonic humidifier works well. Place it about 1-2 feet away from the plant. Run it for a few hours daily until humidity reaches 60-70%. Just be sure to keep your fan running, because humidifier plus zero airflow can create stagnant conditions — which we know causes mold and disease.
Q2: How often should I water my Caladium Red Flash after setting up a ventilation system?
That depends on your environment. But as a starting point, check the top inch of soil daily. When it feels dry, water from the bottom until the plant absorbs what it needs. In my setup with a low-speed fan, I water every 3-4 days. Before adding the fan, I watered every 5 days. So remember, increased airflow accelerates soil drying. Adjust accordingly.
Q3: My Caladium leaves are already brown at the edges. Will fixing humidity restore them?
No. Damaged tissue will never heal. Brown edges stay brown. But getting the humidity and ventilation right will stop further damage and ensure that new leaves come out healthy. Cut off the most damaged leaves to redirect energy to new growth. And fix your humidity now — otherwise, each new leaf will suffer the same fate.





