 bluename
 How to Start Caladiums from Store-Bought Corms: Prep Steps for Guaranteed Success
I’ve always been mesmerized by the stained-glass beauty of caladium leaves, but as a home gardener, I used to think they were finicky divas. The idea of starting them from those strange, knobby store-bought corms felt intimidating. Would they rot? Would they even sprout? If you’re holding a bag of these dormant tubers, feeling that same mix of excitement and uncertainty, you’re in the right place. After several seasons of trial, error, and glorious success, I’ve perfected a preparation routine that transforms those humble corms into a jungle of vibrant foliage. This guide isn’t just theory; it’s my hands-on, step-by-step process, including the mistakes I made and how I fixed them, to ensure your store-bought caladium corms thrive from day one.
Why Proper Preparation is Non-Negotiable
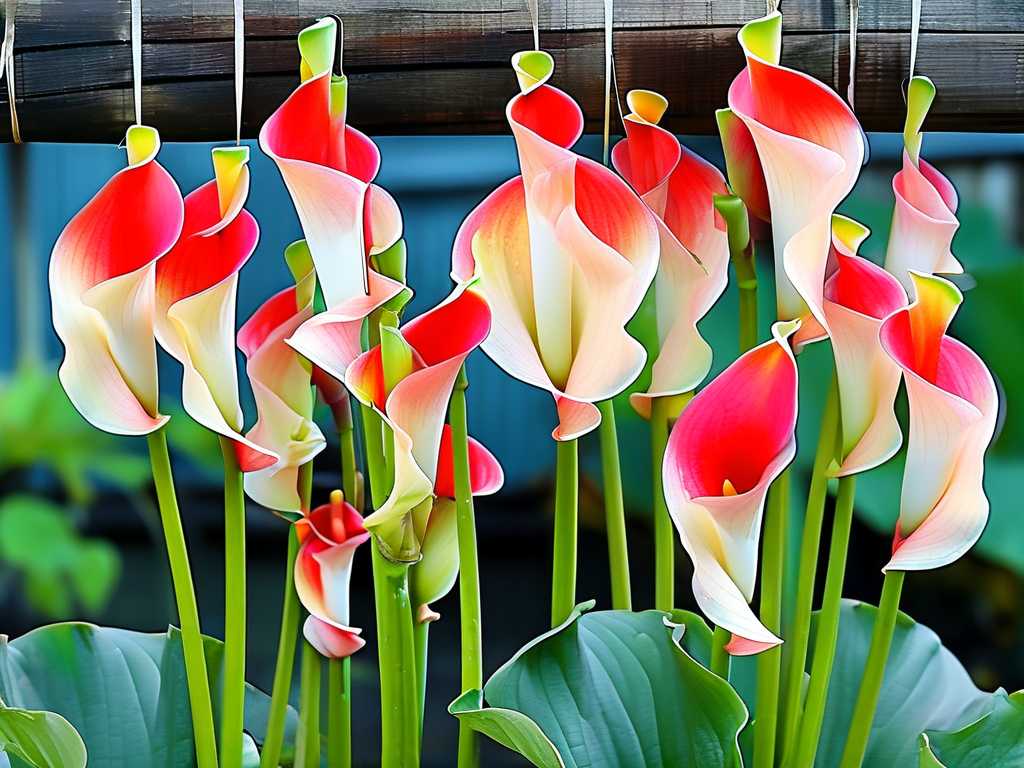
Skipping prep steps is the #1 reason for failure. These corms have been dormant for months, often sitting in warehouse conditions. Planting them directly into soil is like asking someone to run a marathon right after waking up—they need a gentle, encouraging start. Proper preparation wakes them up, checks for health issues, and stimulates root development before they face the variables of your garden or pot. According to the American Horticultural Society, pre-sprouting tuberous plants like caladiums significantly increases growth rates and overall plant vigor, giving you a head start of several weeks. I learned this the hard way one season when impatience led to a 50% loss rate from rot. Never again.
My Essential Toolkit for Caladium Corm Prep
Gathering the right tools before you start makes everything smoother. Here’s what I have on my workbench:
- The Corms: Store-bought, firm to the touch. I prefer buying from reputable garden centers or online nurseries in early spring.
- Sharp, Sterile Knife or Pruners: For any necessary surgery. I disinfect mine with rubbing alcohol.
- Fungicide Powder or Captan: A must-have for preventing rot. I use a product recommended by the Royal Horticultural Society for tuber treatment.
- Wide, Shallow Tray or Plate: For the pre-sprouting stage.
- Quality Soilless Medium: Peat moss, coco coir, or a light seed-starting mix. I use a blend of coco coir and perlite for its perfect air-to-moisture ratio.
- Spray Bottle: For precise moisture control.
- Warm, Bright Location: Not in direct sun, but a consistently warm spot (70-75°F or 21-24°C) is crucial.
Step-by-Step: My Foolproof Preparation Method
Step 1: The Initial Inspection and Selection The moment you open the bag, don’t just dump them in soil. I pour them out and examine each one individually. A viable caladium bulb for planting should feel firm and dense, like a fresh potato. Any that are lightweight, squishy, or have deep, mushy spots are discarded. I look for the prominent, rounded “eyes” or growth points—these are the future stems. Sometimes they’re just bumps, other times they have tiny pink nubs. This is where your plant will emerge from.
Step 2: The Soak and Sanitize Ritual This is my secret weapon. I fill a bowl with lukewarm water and let the corms soak for about 4 hours. This rehydrates them after long storage. After soaking, I prepare a separate bowl with a diluted fungicide solution (following the label’s instructions for bulb treatment). Each corm gets a 20-minute bath in this solution. This step annihilates any surface-borne fungal spores that could cause rot later. Before this ritual, I lost several corms to mysterious decay. Since adopting it, my loss rate has dropped to near zero.
Step 3: Strategic Division (Optional but Rewarding) Large corms often have multiple eyes. If you want more plants, you can divide them. I only do this with very large, healthy corms. Using my sterile knife, I cut the corm into sections, ensuring each section has at least one good eye or growth bud. It’s nerve-wracking the first time! Immediately after cutting, I dust all cut surfaces liberally with fungicide powder to seal them. I then let these pieces “cure” or dry for 24-48 hours in a warm, airy place until the cuts form a callus. This prevents them from absorbing too much water and rotting when planted.
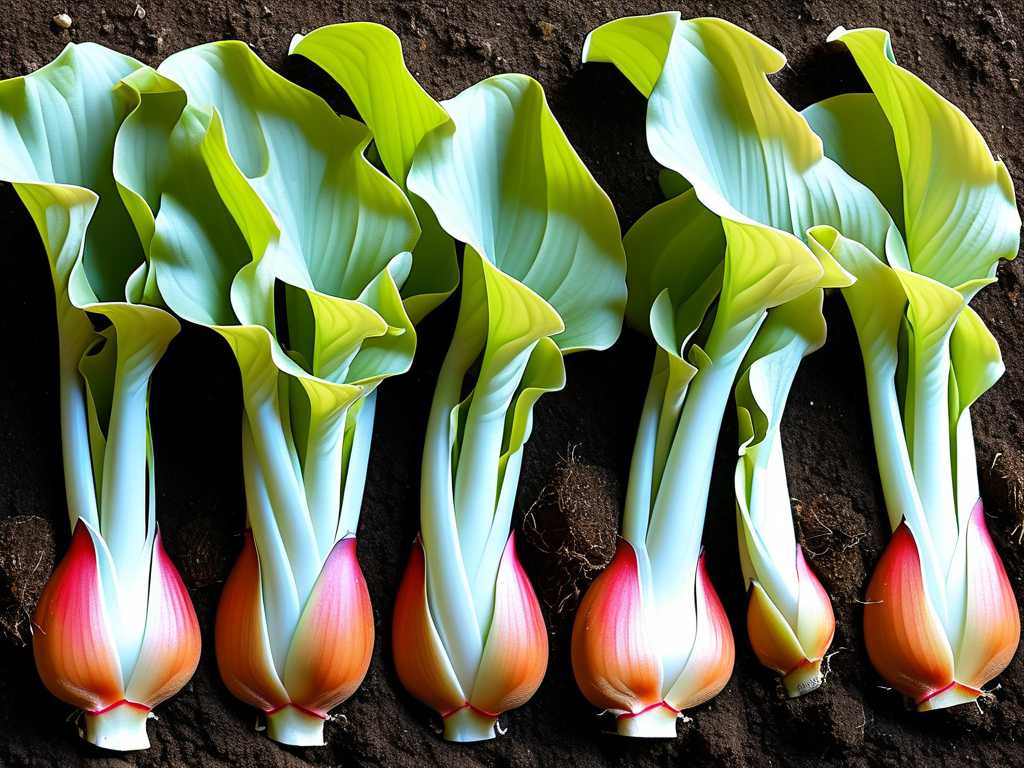
Step 4: The Pre-Sprouting (Chitting) Process This is the game-changer. Instead of planting blind, I pre-sprout my corms. I take my tray and fill it with barely-moist (not wet) coco coir. I place the corms eyes-up on the surface, not buried. Then, I place the tray in my warm, bright location. Every two days, I check and lightly mist the medium if it feels dry. The goal is to encourage root and shoot development in a controlled environment.
My Two-Week Observation Diary
- Days 1-3: No visible change. Patience is key. I maintain slight moisture.
- Days 4-7: This is when I start to see action! Tiny, knobby pink or green shoots begin to push from the eyes. Simultaneously, the bottom starts developing fuzzy white root initials. My success rate at this stage is now over 95%.
- Days 8-10: Shoots elongate to about ¼ to ½ inch. Roots become more pronounced. One corm showed no progress and felt slightly soft—I isolated it to prevent potential mold spread.
- Days 11-14: Most corms have strong shoots (½-1 inch) and a network of small roots. They are now primed and eager for planting. The one laggard corm finally showed a tiny green nub on day 12—it just needed more time!
Step 5: The Final Planting Once sprouted, I plant them in their final containers or garden beds. I use a well-draining, rich potting mix. For pots, I plant them about 1.5 to 2 inches deep, with the sprout pointing upward. In the garden, I space them 8-12 inches apart. I water them in gently and place them in a spot with bright, indirect light or dappled shade. Direct hot sun at this stage can scorch the emerging leaves.
The Pitfalls I Encountered and How I Solved Them
- The Rot Trap: My first year, I overwatered during pre-sprouting. The tray was too wet, and three corms turned to mush. Solution: The “barely moist” rule. When you squeeze the medium, no water should drip out.
- The Impatience Flip: After planting a pre-sprouted corm, I kept digging it up to check root growth, disturbing the delicate new roots. Solution: Plant it, water it, and trust the process. Top growth will pause briefly as it establishes roots, then explode.
- The Dormant Dud: Not every corm in a bag is viable. One season, I had a corm that never sprouted after 4 weeks, despite perfect conditions. Solution: I now inspect more rigorously initially and don’t hesitate to discard obvious duds after a 3-week pre-sprout window.
Nurturing Your Sprouted Caladiums
The prep work sets the stage, but care continues. I keep the soil consistently moist but never soggy. I wait until the first few leaves have fully unfurled before applying a balanced, diluted liquid fertilizer every 4-6 weeks. The most common post-sprouting issue I see is leggy, weak stems, which almost always means they need more bright, indirect light.
Frequently Asked Questions
Can I skip pre-sprouting and plant corms directly outside? You can, but I don’t recommend it for beginners. Soil temperature must be consistently above 70°F (21°C), and germination will be slower and less uniform. Pre-sprouting gives you a visual guarantee of viability and a huge growth head start.
Which way up do I plant a caladium corm if I can’t see the eye? If you’re unsure after inspection, plant the corm on its side. The plant’s natural geotropic response will guide the shoots upward and roots downward. I’ve done this with oddly-shaped pieces, and it works perfectly.
How long until I see full leaves after planting the sprouted corm? From planting a pre-sprouted corm, I typically see the first rolled-up leaf spear in 7-10 days. It then takes another 1-2 weeks for that leaf to fully unfurl and show its mature color and pattern. The first leaf is often smaller; they increase in size with each subsequent one.
Starting caladiums from corms is deeply rewarding. That moment when the first brilliantly colored leaf pushes through the soil never gets old. By investing time in these preparation steps—inspection, sanitization, and pre-sprouting—you’re not just planting a tuber; you’re engineering success. You’re giving these tropical beauties the strongest possible foundation, turning the gamble of a store-bought bag into a surefire display of foliage fireworks. Grab your corms, follow these prep steps, and get ready for a season of stunning color.





