 bluename
 How to Replant Caladium Corms: A Step-by-Step Guide for a Vibrant Spring Display
Every spring, I face the same exciting dilemma: my collection of dormant caladium corms is begging to be awakened, but one wrong move can lead to disappointment. I’ve learned that the secret to those breathtaking, heart-shaped leaves isn't just luck—it's in the replanting. If you've ever been met with slow growth, rot, or sparse foliage, you know the frustration. This guide is the culmination of my years of trial, error, and success. I’ll walk you through my exact process for replanting caladium corms, sharing the setup steps I follow each spring, the critical observations I make over the first two weeks, and the very real mistakes I’ve made so you can avoid them.
Understanding the “Why” Before the “How”
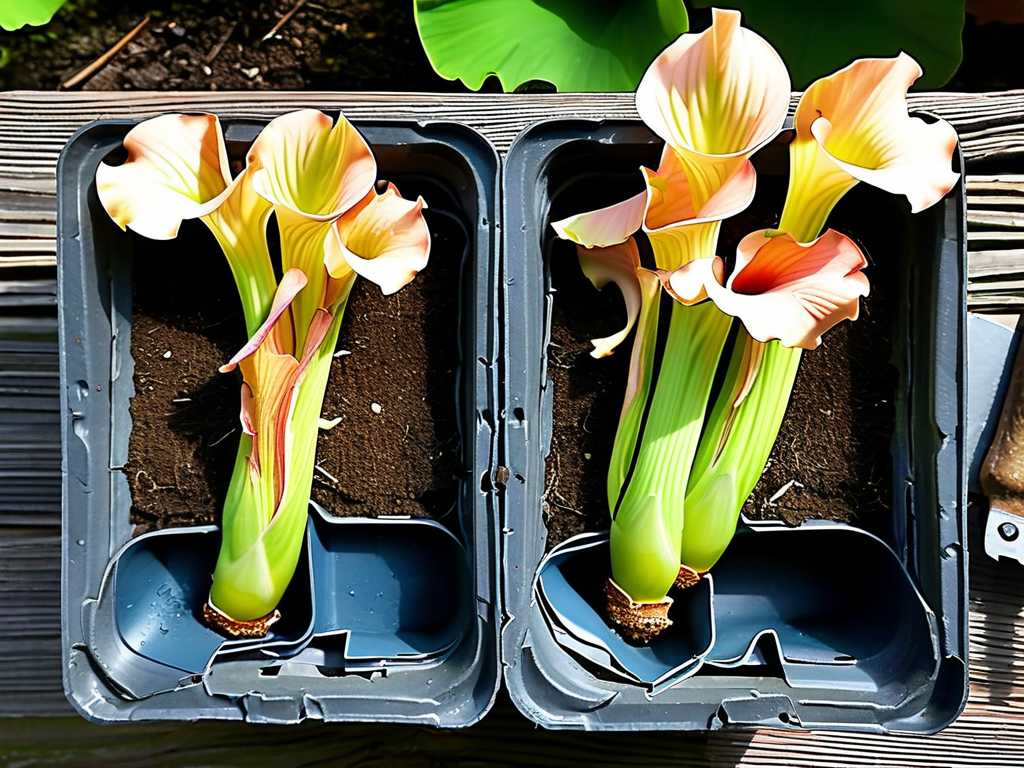
Caladiums aren't just plants; they’re seasonal performers. Their vibrant display depends on a period of dormancy. Replanting them correctly in spring isn't merely a task; it's setting the stage for their entire growing season. According to the American Horticultural Society (AHS), properly initiated corms develop stronger root systems and more robust foliage. I treat this process with the care it deserves, knowing that these initial steps directly impact disease resistance and color intensity.
My Essential Pre-Planting Setup: Gathering Your Arsenal
Success starts before the first corm touches soil. Here’s what I gather, based on hard-earned experience:
- The Corms Themselves: I inspect each one carefully. A viable caladium corm should feel firm, like a fresh potato, not soft or spongy. I look for prominent “eyes” or growth points—these are the future stems. Any signs of mold or severe shriveling are red flags.
- The Right Container and Soil: Drainage is non-negotiable. I use pots with ample drainage holes. For soil, I swear by a well-aerating, slightly acidic mix. My go-to is a blend of 60% high-quality potting mix, 30% peat moss or coco coir for moisture retention, and 10% perlite for exceptional drainage. The Royal Horticultural Society (RHS) emphasizes the importance of a loose, humus-rich medium for aroids like caladiums to prevent waterlogging.
- The Supporting Cast: A clean tray for soaking, a sharp, sterilized knife (for any necessary division), a watering can with a fine rose, and labels. Labeling is a step I used to skip, but it’s crucial for tracking varieties and their performance.
Step 1: Awakening and Preparing the Corms
I don’t plant straight from the storage bag. First, I bring the corms into a warm room (about 70°F/21°C) for a day or two to acclimate. Then, I perform the “plump test.” If any corm looks a bit shriveled, I soak it in lukewarm water for just 2-4 hours. Crucial note: Over-soaking is a fast track to rot. I never exceed 4 hours.
Here’s a pitfall I encountered early on: planting corms whole when they could be divided. A large, multi-eyed corm can be carefully cut into sections, ensuring each piece has at least one or two growth eyes. I always dust the cut surfaces with sulfur or cinnamon powder to prevent fungal infection and let them callus over for a day before planting. This simple act can double your plant count!
Step 2: The Planting Process – Depth, Orientation, and Spacing
This is where precision pays off. I fill my pots about two-thirds full with pre-moistened soil mix. The classic rule of thumb—and one the AHS supports—is to plant caladium corms about 2 inches deep. I place them with the bumpy, knobby side up (that’s where the eyes are) and the smoother, rounded side down. If I’m unsure, I plant them on their side; the shoots will find their way up.
Spacing is another common mistake. Crowding corms leads to competition and poor air circulation. For a standard 10-inch pot, I plant 3 medium-sized corms in a triangle pattern. I gently cover them with soil, press lightly to ensure good soil contact, and give them a thorough but gentle watering until it runs freely from the bottom.
Step 3: The Critical First Two Weeks – My Observation Log
The work isn’t over after planting. The next 14 days are a vigil.
- Days 1-5 (The Silent Phase): I place the pots in a warm, bright spot with no direct sun. The soil needs to stay consistently lightly moist, not wet. I check daily by touching the surface. My goal is to encourage root development, not top growth. At this stage, nothing happens above ground, and that’s perfectly normal.
- Days 6-10 (The First Signs): This is when I start looking for the first nubs or “noses” breaking the soil surface. Heat is a key catalyst. I maintain an ambient temperature above 70°F (21°C). If growth is sluggish, I might move them to a slightly warmer location, like the top of a refrigerator.
- Days 11-14 (Leaf Emergence): The first spear-like leaves begin to unfurl. This is a vulnerable time. I ensure they receive bright, indirect light to prevent leggy, weak growth. I also begin a very diluted, balanced liquid fertilizer regimen, as recommended by the RHS for young foliage plants, to support this rapid growth phase.
The “Pit” and The Fix: One year, I placed newly planted pots in a sunny windowsill, thinking heat was good. The soil dried too unevenly, and the direct sun baked the emerging shoots. I lost two corms to rot and had several stunted plants. The fix was immediate: I moved all pots to a location with consistent, bright indirect light (an east-facing shelf) and adjusted my watering to be more even. Recovery took time, but most survived.
Step 4: Post-Sprout Care for Long-Term Success
Once all leaves are up and unfurling, I transition them to their summer home. Caladiums thrive in dappled shade or morning sun with afternoon protection. I maintain a regular watering schedule—the soil should never dry out completely nor stay soggy. I feed every 4-6 weeks with a balanced fertilizer. As the leaves mature, the stunning patterns of varieties like ‘White Christmas’ or ‘Red Flash’ become the true reward for the careful spring setup.
How long does it take for caladium corms to sprout after planting? Under ideal warm (70-75°F) and moist conditions, you can expect to see the first shoots in 2 to 4 weeks. My experience shows that larger, healthier corms often sprout closer to the 2-week mark, while smaller ones may take a bit longer. Patience and consistent warmth are key.
Can I plant my caladium corms directly in the garden, or should I start them in pots? I strongly recommend starting them in pots indoors. This allows you to control the critical temperature and moisture conditions during the vulnerable sprouting phase. Once all danger of frost has passed and nighttime temperatures are consistently above 60°F (15°C), you can safely transplant the already-sprouted plants into your garden beds for a seamless display.
What is the single most important factor for successful sprouting? Without a doubt, soil temperature. Warmth signals the corm to break dormancy and grow. Cold, damp soil is the perfect environment for rot. I use a soil thermometer to ensure my potting mix is at least 70°F before planting. If your home is cool, consider using a seedling heat mat—it was a game-changer for my success rate.
Replanting caladium corms is a ritual that connects me to the cycle of the seasons. By giving them the right start—awakening them gently, planting with intention, and providing vigilant care in those first crucial weeks—you’re not just planting a corm; you’re cultivating a summer-long spectacle of color. The process requires attention, but the reward is a lush, vibrant display that makes every careful step worthwhile. Remember, the most stunning gardens begin with the foundational work done quietly, beneath the soil.





