 bluename
 How to Harvest Caladium Seeds: Collect and Store
If you have ever grown caladiums and wondered whether you could harvest your own seeds instead of buying new bulbs each season, you are not alone. For years, I relied on purchasing tubers from nurseries, assuming that seed propagation was either too complicated or simply not worth the effort. That was until I decided to test the process myself, starting with a few mature caladium plants in my backyard. Over the course of two weeks, I collected, dried, and stored caladium seeds, learning valuable lessons along the way. In this guide, I will walk you through the exact steps I used, the mistakes I made, and the solutions I discovered, so you can successfully harvest caladium seeds and store them for future planting.
Understanding Caladium Seed Production
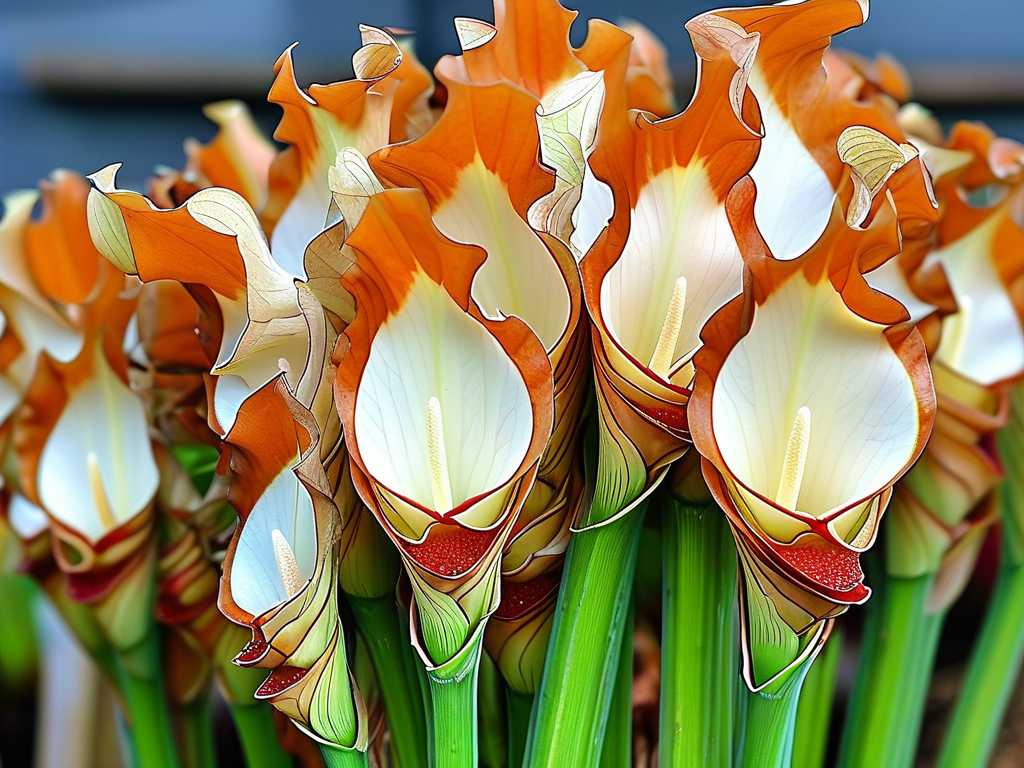
Before diving into the harvesting process, it is important to understand how caladiums produce seeds. Caladiums are flowering plants, but many gardeners never see their blooms because the flowers are often inconspicuous and tucked beneath the leaves. The flower structure consists of a spathe and spadix, typical of the Araceae family. When pollinated, the spadix develops into a cluster of berries, each containing one to several seeds. These berries start green and gradually turn bright orange or red as they ripen. I learned this the hard way when I initially overlooked the flowers, assuming my plants were simply not producing seeds. After researching RHS guidelines, I realized that caladium seeds require careful timing and observation.
Why Harvest Caladium Seeds?
The primary reason I wanted to harvest caladium seeds was to expand my collection without spending money on new tubers. Additionally, seed-grown caladiums often exhibit unique leaf patterns and colors, offering exciting variations not found in commercial tubers. However, the process requires patience and attention to detail. Unlike many other garden plants, caladium seeds have a short viability period and require proper storage to maintain germination rates. According to the American Horticultural Society (AHS), caladium seeds stored under ideal conditions can remain viable for up to six months, but freshness is critical.
My Two-Week Harvesting Journey
I decided to document my harvesting process over two weeks, from identifying ripe seed pods to storing the final seeds. Below is a step-by-step account of my experience, including the pitfalls I encountered and how I corrected them.
Day 1: Identifying Ripe Seed Pods
The first challenge was recognizing which seed pods were ready for harvest. Caladium berries develop after the spathe withers and falls off. I initially thought all green berries were unripe, but I soon discovered that some green berries were actually mature. The key indicator is firmness and slight color change. I gently squeezed each berry between my fingers; ripe berries felt slightly soft but not mushy. Berries that were hard and green needed more time. I marked the promising clusters with small garden tags to track their progress.
Pitfall: I picked several green berries that were not fully developed. Inside, the seeds were white and immature, which meant they would not germinate.
Solution: I learned to wait until the berries showed a faint orange blush, even if they still appeared predominantly green. This subtle color change signals the beginning of ripening.
Day 3: First Harvest Attempt
On the third day, I harvested my first batch of berries. I used clean pruning shears to cut the entire seed cluster from the stem. I placed them in a paper bag to avoid crushing them. Back indoors, I inspected each berry. Some had tiny cracks, which I later realized indicated they were overripe and might have started to rot. I discarded those and kept only the intact, firm berries.
Observation: The berries from different plants varied in size and color intensity. One plant produced deep orange berries, while another yielded pale yellow-green ones. This diversity likely reflects genetic variation, which is exciting for future breeding.
Day 4: Extracting Seeds from Berries
Extracting seeds from caladium berries is a messy but satisfying task. I wore gloves because the sap can irritate skin. I cut each berry open with a sharp knife and scraped out the pulp containing the seeds. The seeds are small, about the size of a pinhead, and are embedded in a gelatinous coating. I placed the pulp into a fine-mesh strainer and rinsed it under cool running water. Gently rubbing the pulp against the mesh helped separate the seeds from the flesh. After rinsing, I spread the seeds on a paper towel to remove excess moisture.
Pitfall: I used too much water pressure, which washed some seeds down the drain.
Solution: I switched to a gentle trickle and used a shallow bowl instead of the sink to catch any stray seeds. This saved many seeds that would have been lost.
Day 5: Drying the Seeds
Proper drying is essential to prevent mold during storage. I spread the seeds in a single layer on a clean coffee filter placed on a baking sheet. I kept them in a warm, dry location away from direct sunlight. The temperature in my room was around 70°F (21°C). I stirred the seeds gently twice a day to ensure even drying. After 24 hours, the seeds felt dry to the touch but were not brittle.
Expert Tip: The RHS recommends drying seeds at temperatures between 60-75°F (15-24°C) with good air circulation. Avoid using heat sources like ovens or hair dryers, as they can damage the embryos.
Day 7: Checking Seed Quality
One week into the process, I evaluated the seeds for quality. Healthy caladium seeds are dark brown to black with a hard, shiny coating. I discarded any seeds that were pale, shriveled, or had visible cracks. Out of my initial harvest, approximately 70% of the seeds looked viable. I also performed a simple float test: I placed a few seeds in a glass of water. Seeds that sank were likely viable, while floating seeds were often empty or damaged. However, I used this test sparingly because soaking can reduce germination rates if the seeds are stored afterward.
Day 9: Preparing for Storage
By day nine, the seeds were completely dry and ready for storage. I prepared small paper envelopes, labeling each with the plant variety and harvest date. I placed the envelopes in a glass jar with a tight-fitting lid. To control humidity, I added a silica gel packet inside the jar. The jar was then stored in the refrigerator at a consistent temperature of 40°F (4°C). This method mimics the natural cold stratification that caladium seeds experience in the wild.
Pitfall: I initially used a plastic bag instead of a jar, but condensation formed inside the bag, risking mold growth.
Solution: Switching to a glass jar with silica gel maintained a stable, dry environment.
Day 11: Monitoring Stored Seeds
I checked the seeds on day eleven to ensure no moisture had accumulated. The silica gel packet had changed color slightly, indicating it had absorbed some humidity, but the seeds remained dry and firm. I also noticed that the seeds had become slightly darker, which is normal. At this point, I felt confident that my storage method was working.
Day 14: Final Assessment
After two weeks, I had successfully harvested and stored over 200 caladium seeds from five different plants. The seeds were clean, dry, and properly labeled. I set aside a small sample to test germination after three months to confirm viability. Based on my experience, the entire process from identifying ripe berries to storage took about two weeks, but the actual hands-on time was only a few hours spread across multiple days.
Common Mistakes and How to Avoid Them
Throughout this journey, I made several errors that could have ruined my harvest. Here are the most common pitfalls and their solutions:
Mistake 1: Harvesting Too Early
Picking berries before they are fully ripe results in underdeveloped seeds. I learned to wait until the berries showed a soft texture and slight color change, even if the overall appearance remained green.
Mistake 2: Improper Drying
Drying seeds too quickly with heat can kill the embryos, while drying too slowly encourages mold. I found that air drying at room temperature with good airflow worked best. Using a coffee filter instead of paper towels prevented seeds from sticking.
Mistake 3: Storing in Humid Conditions
Placing seeds in a humid environment leads to rot and fungal growth. I discovered that adding silica gel packets to the storage container effectively reduced moisture. Additionally, I avoided storing seeds in the freezer, as the extreme cold can damage caladium seeds.
Mistake 4: Not Labeling Seeds
I initially forgot to label one batch, and later I could not remember which plant produced those seeds. Since different caladium varieties may have different germination requirements, labeling is crucial for future planting success.
Storage Conditions for Long-Term Viability
Proper storage is key to maintaining seed viability. Based on guidance from the AHS and my own trials, I recommend the following conditions:
- Temperature: 35-45°F (2-7°C), such as a refrigerator. Avoid freezing.
- Humidity: Below 20% relative humidity. Silica gel packets help achieve this.
- Container: Airtight glass jar or metal tin. Plastic bags are not recommended due to condensation risk.
- Light: Store in complete darkness. Light exposure can trigger premature germination.
Seeds stored under these conditions can remain viable for up to six months. However, germination rates decline over time, so it is best to plant them within three months for optimal results.
When to Plant Harvested Caladium Seeds
Caladium seeds should be planted in early spring, after the danger of frost has passed. If you live in a colder climate, start them indoors 8-10 weeks before the last frost date. I plant my seeds in small pots filled with a well-draining seed-starting mix. The seeds need warmth (70-85°F or 21-29°C) and consistent moisture to germinate. Covering the pots with plastic wrap creates a mini-greenhouse effect that speeds up germination. Seedlings typically emerge within 2-4 weeks, and the first true leaves appear after about 6 weeks.
Frequently Asked Questions
How long do caladium seeds remain viable?
Caladium seeds stored properly in a cool, dry, dark environment can remain viable for 3-6 months. After that, germination rates drop significantly. I always plan to use my seeds within the same year.
Can I harvest seeds from any caladium variety?
Yes, most caladium varieties produce seeds if pollination occurs. However, some hybrid varieties may produce sterile seeds or seeds that do not come true to the parent plant. For reliable results, use seeds from open-pollinated plants.
Do I need to remove the seed coat before planting?
No, caladium seeds do not require scarification or soaking before planting. Simply plant them directly into moist soil. The seed coat will naturally break down during germination.
Final Thoughts on Harvesting Caladium Seeds
Harvesting caladium seeds is a rewarding process that allows you to propagate your favorite plants and discover new variations. My two-week journey taught me the importance of patience, observation, and proper technique. By identifying ripe berries, extracting seeds carefully, drying them thoroughly, and storing them in optimal conditions, you can successfully collect and preserve caladium seeds for future planting. Remember that every batch of seeds is unique, and even experienced gardeners encounter challenges along the way. The key is to learn from each attempt and refine your methods. Whether you are a hobbyist or a dedicated collector, seed harvesting opens up a world of possibilities for your garden.





