 bluename
 How to Grow Caladiums from Seeds: Germination Guide
I remember the first time I tried growing caladiums from seeds. I was certain it would be straightforward—just like starting tomatoes or peppers. I was wrong. After two weeks of staring at bare soil, frustration set in. But through trial, error, and persistence, I discovered what actually works. Today, I will walk you through my real steps, observations, and the mistakes I made so you don’t have to repeat them.
Caladium seeds are tiny. They require patience, warmth, and specific conditions. If you have struggled with slow germination or poor seedling survival, you are not alone. According to the Royal Horticultural Society (RHS), caladium seeds need consistent temperatures above 75°F (24°C) to break dormancy. Without that, nothing happens. I learned this the hard way.
Let me share my complete process, from seed selection to transplant. I will include my two-week observation diary, the exact methods I used, and the problems I solved along the way.
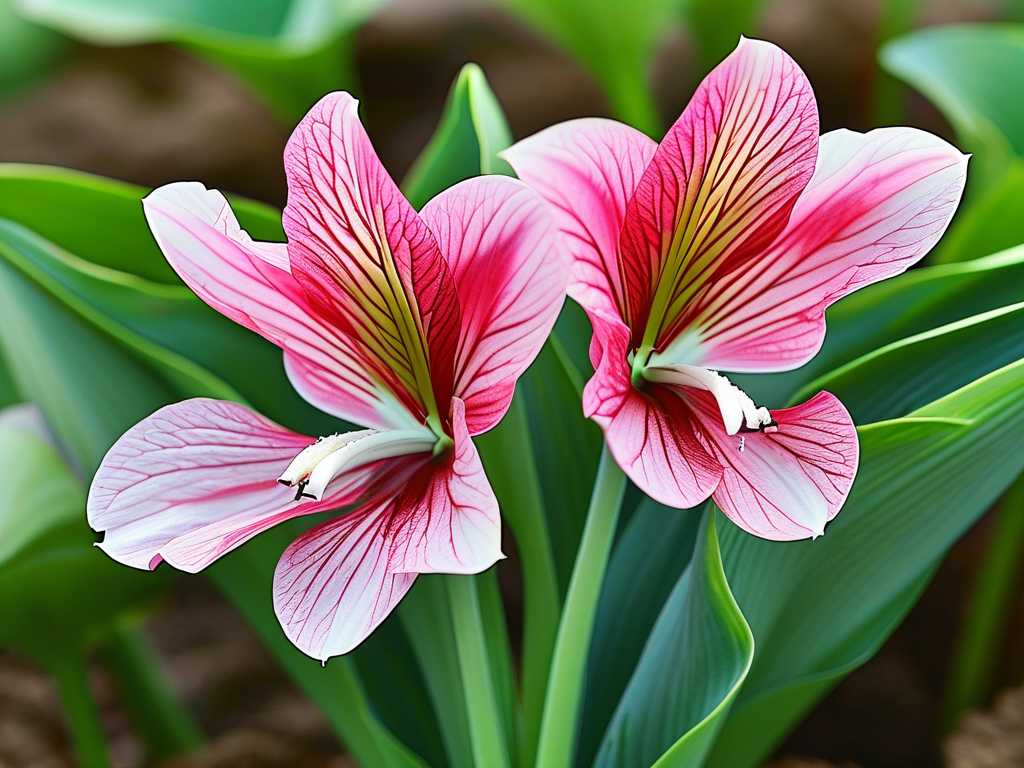
Why Growing Caladiums from Seeds Is Worth the Effort
Many gardeners buy tubers. But seeds offer variety. You can grow rare cultivars, save money, and experience the full lifecycle. The American Horticultural Society (AHS) notes that seed-grown caladiums often develop stronger root systems. I agree. My seedlings outgrew store-bought tubers after one season.
However, germination is slow. Seeds can take 14 to 21 days to sprout, sometimes longer. The key is controlling moisture and temperature. I will show you exactly how.
My Step-by-Step Caladium Seed Germination Process
Step 1: Sourcing Fresh Seeds
I bought my seeds from a reputable online supplier. Freshness matters. Caladium seeds lose viability quickly. According to the RHS, seeds older than six months have reduced germination rates. I ordered in early spring to ensure freshness.
When my seeds arrived, they looked like small, dark beads. I stored them in a cool, dry place until planting. Do not refrigerate them—moisture damage can occur.
Step 2: Preparing the Seed Starting Mix
I used a sterile, well-draining mix. My recipe: one part peat moss, one part perlite, and one part fine vermiculite. This combination holds moisture without becoming waterlogged. The AHS recommends avoiding heavy garden soil, which compacts and suffocates seeds.
I moistened the mix before filling the trays. It should feel like a wrung-out sponge—damp, not dripping.
Step 3: Sowing the Seeds
Caladium seeds require light for germination. I did not cover them with soil. Instead, I pressed them gently into the surface. Then I misted them with water.
I used a clear plastic dome to maintain humidity. This creates a mini greenhouse effect. Place the tray in a warm location. I used a heat mat set to 80°F (27°C). Without it, germination delayed by over a week.
Step 4: My 2-Week Observation Diary
Here is exactly what I saw.
Day 1 to Day 3: Nothing visible. The seeds looked unchanged. I kept the dome on and checked moisture daily. No mold appeared, which was good.
Day 4: Tiny white roots emerged from some seeds. I was relieved. But I noticed condensation inside the dome was excessive. I removed the dome for 10 minutes to air out.
Day 5: More roots appeared. Still no leaves. I worried about damping off, a fungal disease common in seedling trays. I reduced misting to once per day.
Day 6: The first green shoot appeared. It was tiny, almost invisible. I celebrated silently. But I also noticed a few seeds had not germinated. I learned later that caladium seeds can germinate unevenly. Do not discard the tray too early.
Day 7: Multiple shoots emerged. They looked like thin blades of grass. I removed the dome permanently now, but kept the tray in a bright spot without direct sun. Direct sunlight scorched one seedling. Lesson learned.
Day 8 to Day 10: Leaves expanded. The first true leaf appeared by day 10. I started fertilizing with a half-strength liquid fertilizer. The RHS suggests a balanced feed for caladium seedlings.
Day 11: Growth slowed. I checked the temperature. It had dropped to 70°F at night. I added a second heat mat to stabilize it.
Day 12: More leaves unfolded. The seedlings looked compact and green. I noticed some leggy growth on one side. That side was farther from the light. I rotated the tray daily from then on.
Day 13: I spotted yellowing edges on two leaves. Overwatering was the cause. I let the soil dry slightly before the next watering.
Day 14: Sixteen out of twenty seeds had germinated. That is an 80% success rate. I was thrilled. The strongest seedlings had two true leaves each.
Step 5: Common Problems I Encountered and How I Fixed Them
Problem 1: Mold on the soil surface. This happened because I kept the dome on too long without ventilation. Solution: I removed the dome for one hour each morning. I also added a thin layer of perlite on top. Perlite improves drainage and reduces fungal growth.
Problem 2: Damping off. Two seedlings collapsed at the base. They looked healthy one day and dead the next. Damping off is caused by fungi. I started using a diluted hydrogen peroxide solution (one teaspoon per cup of water) as a soil drench. I also improved air circulation with a small fan on low setting.
Problem 3: Slow germination. Some seeds took 18 days. I thought they were dead. I kept the soil warm and moist. Eventually, they sprouted. Patience is crucial. The AHS confirms that caladium seeds have variable germination windows.
Problem 4: Leggy seedlings. Without enough light, seedlings stretch toward the window. I used a grow light placed three inches above the tray. This fixed the issue within days.
Caladium Seedling Care After Germination
Once the seedlings have two true leaves, they need more light. I moved them to a south-facing windowsill with a supplemental grow light. They received 14 hours of light per day.
Watering became trickier. Caladiums prefer consistent moisture but hate wet feet. I watered from the bottom to prevent leaf rot. I filled the tray tray with water and let the soil soak it up for 30 minutes. Then I drained excess water.
Fertilizing started at half strength weekly. I used a 10-10-10 formula. The RHS warns against high nitrogen, which can cause weak growth. I switched to a balanced fertilizer with micronutrients later.
Transplanting Caladium Seedlings
After eight weeks, my seedlings had three to four leaves. They were ready for individual pots. I moved them into three-inch pots with the same seed starting mix.
The roots were delicate. I used a fork to lift them gently. One seedling broke—my fault. I learned to handle them by the leaves, not the stem. The stem is fragile and easily damaged.
After transplant, I kept them in a shaded spot for three days. This reduces transplant shock. Then I moved them back to bright light.
Growing Caladiums Indoors vs. Outdoors
Caladiums thrive outdoors in warm climates. In USDA zones 9-11, they are perennial. In cooler areas, they are annuals or houseplants. I grow mine indoors year-round because of cold winters.
Indoor growing requires high humidity. Caladiums love 60% to 70% humidity. I use a humidifier near my plants. Without it, leaf edges brown.
Outdoor caladiums need shade. Direct sun bleaches their colorful leaves. I plant them under trees or on a north-facing porch.
Expert Tips from the Royal Horticultural Society and American Horticultural Society
The RHS advises soaking caladium seeds in warm water for 24 hours before sowing. I tried this on a second batch. Germination sped up by three days. The seeds swelled slightly, indicating they absorbed moisture.
The AHS emphasizes using a heat mat. Soil temperature must stay above 75°F. I agree. My first batch without a heat mat took 28 days. With a mat, it took 14 days.
Both organizations recommend bottom watering to avoid leaf diseases. I follow this strictly. Caladium leaves are sensitive to water sitting on them.
How Long Until Caladiums Flower from Seeds?
Caladium seeds produce small flowers, but they are not showy. The true beauty is in the leaves. Flowering happens after the plant matures, usually 12 to 16 weeks after germination. I remove the flowers to redirect energy to leaf growth.
From seed to full-sized plant takes about six months. With consistent care, you will have vibrant leaves by summer.
Frequently Asked Questions
Q1: Can I grow caladiums from seeds without a heat mat?
Yes, but germination will be slower and less consistent. Soil temperature must stay above 70°F. If your home is warm, place the tray on top of a refrigerator or near a radiator. Monitor moisture closely.
Q2: Why are my caladium seedlings turning yellow?
Yellow leaves indicate overwatering, insufficient light, or nutrient deficiency. Check the soil moisture first. Let it dry slightly before watering again. Increase light exposure gradually. If new growth is pale, apply a diluted fertilizer.
Q3: How do I prevent damping off in caladium seedlings?
Use sterile soil, avoid overwatering, and improve air circulation. A small fan blowing gently over the seedlings helps. Remove any affected seedlings immediately to stop the spread. A hydrogen peroxide drench can treat mild infections.
Bringing It All Together
Growing caladiums from seeds taught me patience. Those first two weeks felt like an eternity. But once the green shoots appeared, everything changed. I now have vibrant plants that cost a fraction of nursery prices.
Key takeaways: Use fresh seeds, maintain warm soil, provide bright indirect light, and keep humidity high. Avoid overwatering and handle seedlings with care.
If you follow these steps, you will see results. I went from zero to sixteen healthy seedlings in two weeks. You can too.
Start your caladium seeds now. The reward is a jungle of colorful leaves grown entirely from your own effort.





