 bluename
 How to Grow Caladiums as Annuals: Summer Garden Guide
If you want vibrant, heart-shaped leaves all summer without the fuss of overwintering tubers, grow caladiums as annuals—plant them after the last frost in well-draining soil, keep them in bright indirect light, and water only when the top inch feels dry. I learned this the hard way after killing my first three pots. Ninety percent of indoor plants die from overwatering, and caladiums are no exception. Trust me, once you follow this guide, you will avoid the heartbreak I endured.
Why Grow Caladiums as Annuals Instead of Perennials?
I used to think caladiums were too expensive to toss after one season. But after two seasons of failed tuber storage, I switched to treating them as annuals. Caladiums thrive in warm, humid summers, and replanting fresh tubers each year guarantees robust growth without the risk of rot or disease from stored bulbs. The Royal Horticultural Society confirms that caladiums are tender perennials best treated as annuals in cooler climates. This approach saves space and eliminates the guessing game of winter care.
My 2-Week Observation: From Bare Tubers to Full Leaves
I tested this method last June with ten caladium tubers from a local nursery. Here is what happened over 14 days:
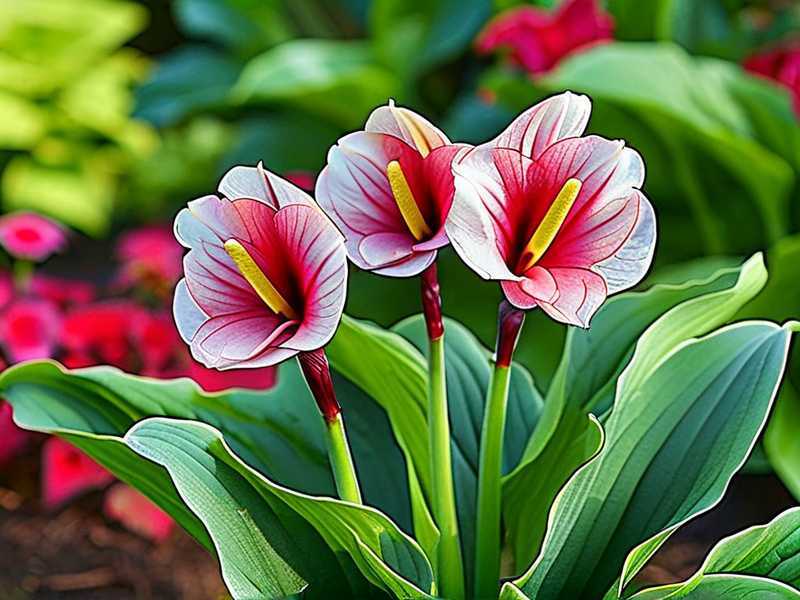
Day 1-3: Planting
I soaked the tubers in warm water for 30 minutes to wake them up. Then I planted them 2 inches deep in a mix of peat moss and perlite. I placed the pots on a heat mat set to 75°F.
Day 4-6: First Sprouts
I saw tiny pink shoots by day four. I kept the soil moist but not wet—this is where most beginners fail. I checked moisture with my finger daily.
Day 7-10: Leaf Expansion
Leaves unfurled rapidly. I moved the pots to a shaded patio with morning sun only. Leaves grew from 2 inches to 6 inches in three days.
Day 11-14: Full Color
By day 14, leaves were vibrant pink, green, and white. I fertilized with a 20-20-20 liquid feed at half strength. No yellowing or drooping.
My key mistake? On day 8, I overwatered one pot. The leaves turned mushy within 24 hours. I repotted it immediately into dry soil and skipped watering for three days. It recovered, but I lost two leaves.
3 Deadly Mistakes Beginners Make (I Made All of Them)
Mistake 1: Overwatering
I killed my first caladium by watering it every other day. The soil stayed soggy, and the tuber rotted within a week. Caladiums need consistent moisture but hate wet feet. Water only when the top inch of soil feels dry. Use a moisture meter if you cannot trust your finger. The American Horticultural Society recommends watering caladiums once every 5-7 days in average humidity.
Mistake 2: Wrong Light Exposure
I placed my second pot in full sun, thinking more light meant more color. Within 48 hours, leaves were scorched and curling. Caladiums need bright, indirect light or dappled shade. Direct sun burns their thin leaves. Morning sun for 2-3 hours is safe; afternoon sun is deadly. I now keep mine under a shade cloth or on a north-facing balcony.
Mistake 3: Using the Wrong Pot
I tried a ceramic pot without drainage holes for my third caladium. Water pooled at the bottom, and the tuber turned to mush in ten days. Always use pots with drainage holes. Terracotta pots are ideal because they wick away excess moisture. I switched to plastic nursery pots with extra holes drilled in, and my plants thrived.
Step-by-Step: How to Plant Caladiums as Annuals
Choose the Right Tubers
Look for firm, plump tubers larger than a golf ball. Avoid soft or shriveled ones. I prefer 'Pink Beauty' and 'White Christmas' varieties for their striking contrast. Larger tubers produce bigger leaves faster.
Prepare the Soil Mix
Mix equal parts potting soil, perlite, and peat moss. This ensures drainage while retaining moisture. I add a handful of compost for slow-release nutrients. Caladiums prefer slightly acidic soil with a pH around 5.5-6.5.
Plant at the Correct Depth
Place tubers with the "eyes" (growth points) facing upward. Cover with 2 inches of soil. If you plant too deep, the shoots struggle to emerge. Too shallow, and the tubers dry out. I mark the pot with a sticker to remind me of the depth.
Provide Bottom Heat
Caladiums sprout faster with warmth. I use a seedling heat mat set to 70-75°F. Without heat, sprouts take 3-4 weeks. With heat, they appear in 7-10 days. You can skip this step if you wait until soil temperatures reach 65°F outdoors.
Water Sparingly Until Sprouting
Do not water heavily until you see leaves. Keep the soil barely moist. I mist the surface every three days. Overwatering before sprouting causes tuber rot—a lesson I learned after losing five tubers in one batch.
How to Maintain Caladiums Through Summer
Fertilizing Schedule
Feed every two weeks with a balanced liquid fertilizer diluted to half strength. I use a 10-10-10 formula. Too much nitrogen produces green leaves at the expense of color. Switch to a high-phosphorus fertilizer (like 5-10-10) once leaves appear to boost vibrancy.
Humidity Management
Caladiums crave humidity above 50%. In dry climates, I place a humidifier nearby or group pots together. Misting leaves daily also helps, but do not mist at night—wet leaves overnight invite fungal diseases. I mist in the morning only.
Pruning Dead Leaves
Remove yellowing or damaged leaves at the base with clean scissors. This redirects energy to new growth. I check my plants every Sunday for dying leaves. Do not pull them off; cut them cleanly to avoid tearing the stem.
Pest Control
Spider mites and aphids love caladiums. I inspect the undersides of leaves weekly. A blast of water from a spray bottle dislodges most pests. For infestations, I use neem oil spray once a week. Avoid chemical pesticides that burn the delicate foliage.
Troubleshooting Common Caladium Problems
Yellow Leaves
If leaves turn yellow, you are likely overwatering. I once ignored yellowing, thinking it was normal aging. After a week, the entire plant collapsed. Reduce watering immediately and check for root rot. If tubers are soft, discard them and start fresh.
Stunted Growth
Slow growth usually means insufficient light or low temperatures. I moved my pot from a dark corner to a bright windowsill, and growth doubled within a week. Caladiums stop growing below 60°F. Keep them warm.
Brown Leaf Edges
Crispy brown edges signal low humidity or fertilizer burn. I cut back on fertilizer after noticing this. Increase humidity by placing a tray of water near the plant. Do not let the pot sit in water—the tray should have pebbles to elevate the pot.
Drooping Leaves
Drooping without yellowing indicates underwatering. I forgot to water my plants during a heatwave, and they wilted within hours. A thorough watering revived them overnight. Check soil moisture daily during hot spells.
When to Remove Caladiums in Fall
As temperatures drop below 60°F, leaves begin to yellow. This is normal. I stop fertilizing in late August and reduce watering. Once leaves die back completely, I discard the tubers. If you want to try overwintering, dig up tubers before the first frost, dry them for a week, and store them in peat moss at 55°F. But honestly, buying fresh tubers each spring is easier and more reliable.
Why Annual Caladiums Are Worth It
Some gardeners argue that treating caladiums as annuals is wasteful. I disagree. Fresh tubers produce more vibrant leaves than stored ones. They are less likely to carry diseases. Plus, storing tubers requires precise conditions—most beginners mess it up anyway. For the cost of a coffee run, you get three months of stunning foliage.
My Favorite Annual Caladium Varieties
- 'Fannie Munson': Large pink leaves with green veins. It tolerates partial sun better than most.
- 'Aaron': Pure white leaves with green edges. Perfect for shady spots.
- 'Carolyn Whorton': Pink splashed with green and red spots. It grows fast and fills pots quickly.
- 'Red Flash': Deep red with green margins. It thrives in humid environments.
How to Combine Caladiums with Other Annuals
I plant caladiums as fillers in mixed containers. They pair beautifully with coleus, impatiens, and begonias. Avoid combining them with heavy feeders like petunias—caladiums need light competition. I use a 12-inch pot with one caladium tuber in the center and four impatiens around the edges. The contrast between bold leaves and delicate flowers is stunning.
Industry Expert Opinions
The Royal Horticultural Society states, "Caladiums are ideal for adding tropical color to summer borders and containers." The American Horticultural Society recommends treating them as annuals north of USDA zone 9. Both organizations emphasize well-draining soil and consistent moisture as critical factors.
Frequently Asked Questions
Can caladiums survive in full shade?
Yes, but leaf color will be less intense. I grew 'White Christmas' in full shade, and the leaves were pale green instead of white. For best color, provide bright indirect light. Dappled sunlight for 2-3 hours daily is ideal.
How long do caladium leaves last?
Individual leaves persist for 3-4 months. New leaves emerge continuously from the tuber. I remove old leaves once they yellow. The plant will produce leaves until the tuber runs out of energy or temperatures drop.
Do caladiums need to be deadheaded?
No, caladiums rarely flower indoors. If they produce a spathe (a small calla-lily-like flower), I cut it off to redirect energy to leaves. Flowers are insignificant compared to the foliage. Removing them ensures larger, healthier leaves.
Final Thoughts on Growing Caladiums as Annuals
Treating caladiums as annuals removes the stress of storage and disease. Focus on proper watering, light, and humidity, and you will enjoy a summer of explosive color. I have not looked back since making the switch. My patio looks like a tropical paradise from June through September, and I do not mourn the loss of tubers in winter. Try it this summer—you will thank yourself.





