 bluename
 How to Fix Common Caladium Mistakes: Overwatering Solutions
I’ve killed my fair share of caladiums. There, I said it. For years, I thought my dramatic, heart-leafed beauties were just being… well, dramatic. Leaves would yellow from the bottom up, stems would get mushy, and that vibrant, painterly foliage would just collapse. I’d water them more, thinking they were thirsty. It was a classic, heartbreaking cycle. It wasn’t until I lost a prized ‘White Queen’ to a complete root rot meltdown that I finally faced the truth: I was an overwaterer. My love was literally drowning them. If you’re seeing droopy, yellowing caladium leaves and suspect soggy soil is the culprit, you’re in the right place. This guide is my personal, step-by-step journey from a chronic overwaterer to a caladium-confident plant parent. I’ll walk you through exactly how to diagnose, rescue, and prevent overwatering, sharing every mistake and lesson from my own two-week rescue mission.
Understanding the “Why”: Why Overwatering is a Caladium Killer
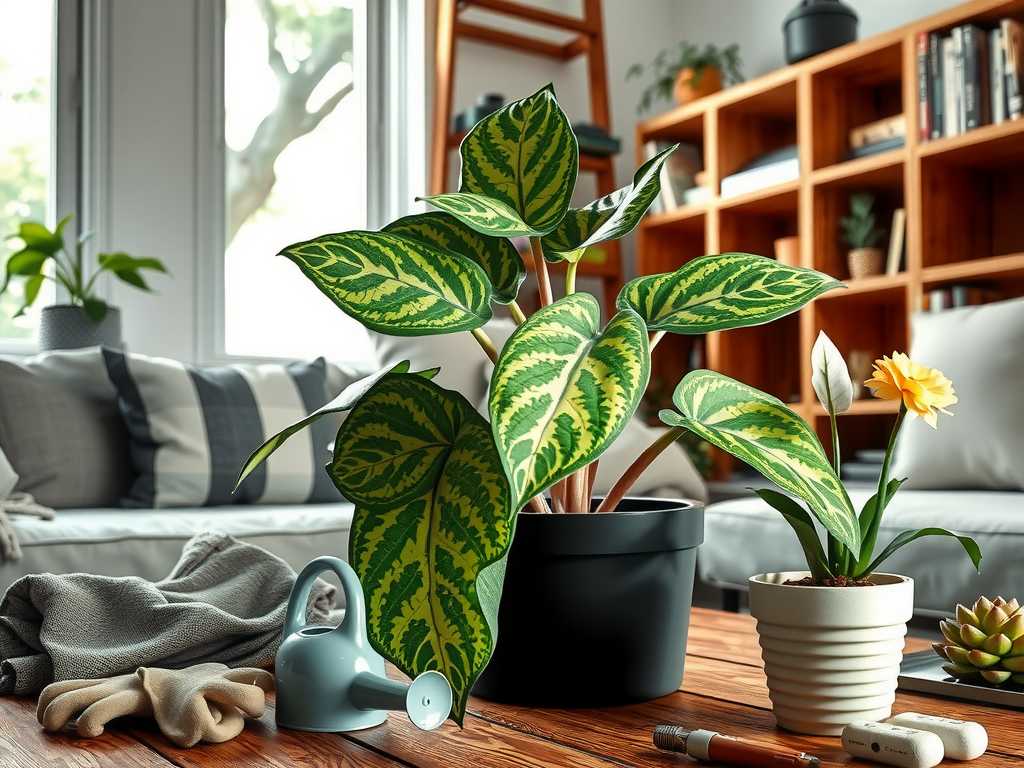
Caladiums are tropical plants, but they’re not aquatic. In their natural habitat, they enjoy high humidity and warm temperatures, but they grow in well-aerated forest floors. Their delicate, bulb-like tubers are storage organs. When constantly surrounded by water, they suffocate. Roots need oxygen as much as they need water. Soggy soil fills all the air pockets, creating an anaerobic environment where harmful fungi and bacteria thrive. This leads to root rot, which quickly moves up the stem. The American Horticultural Society’s Plant Propagation guide emphasizes that “excess water is the single most common cause of failure with tuberous plants,” as it directly attacks the plant’s central storage and growth system. The first signs—yellowing lower leaves and a general droop—are the plant’s distress signals. It’s not a cry for more water; it’s a cry for air.
My Rescue Protocol: A 14-Day Step-by-Step Recovery
When I found my ‘Red Flash’ caladium with three yellow leaves and a pot that felt heavier than a brick, I knew it was time for an intervention. Here’s the exact process I followed.
Step 1: The Unpotting and Diagnosis Gently, I tipped the pot and slid the plant out. The smell was the first clue—a musty, sour odor, not earthy. The roots were dark brown and slimy, not firm and white or tan. Many just fell away in my hands. This was advanced root rot. I cleared my workspace and gathered: clean pruning shears, a pot with excellent drainage (terra cotta is ideal), fresh well-draining potting mix (I used an aroid mix with extra perlite and orchid bark), and isopropyl alcohol to sterilize my tools.
Step 2: The Surgery – Removing Rot and Repotting I sterilized my shears with alcohol. Holding the tuber, I gently removed all the soggy soil. Then, I started cutting. Every soft, mushy root and stem was removed. I cut back all the yellow and severely drooping foliage to redirect energy. I was left with a much smaller tuber with a few firm roots and one good leaf. I let it air dry on a paper towel for about an hour. Meanwhile, I prepared the new pot. I placed a piece of breathable landscape fabric over the drainage hole to prevent soil loss, then added a layer of chunky mix. I positioned the tuber at the same depth it was before, filled in around it, and gave it one single, modest drink of water just to settle the soil—no soaking.
Step 3: The Critical Two-Week Observation Period This is where patience is key. I placed the repotted caladium in bright, indirect light (no direct sun, which adds stress) and left it completely alone.
- Days 1-3: The remaining good leaf was still droopy. I fought every urge to water it. The soil was still lightly moist from the initial settling drink.
- Days 4-7: The leaf perked up slightly! This was a major win. It signaled the remaining roots were functioning and accessing water. The soil surface was now dry.
- Days 8-10: I performed the “knuckle test,” inserting my finger into the soil up to the second knuckle. It was completely dry. This was my cue for the first real watering post-surgery. I watered thoroughly until it ran from the drainage hole, then immediately emptied the saucer.
- Days 11-14: The plant held steady. No new yellowing. The soil dried out appropriately within a week. I saw the very tip of a new leaf spike starting to emerge from the tuber—the ultimate sign of success.
The Pitfall I Hit and How I Solved It Around day 5, I noticed a few tiny fungus gnats. These pests love moist soil. Instead of panicking and over-treating, I used a simple RHS-recommended method: I placed yellow sticky traps to catch adults and covered the soil surface with a half-inch layer of horticultural sand. This created a dry, inhospitable barrier for the larvae. Within a week, they were gone.
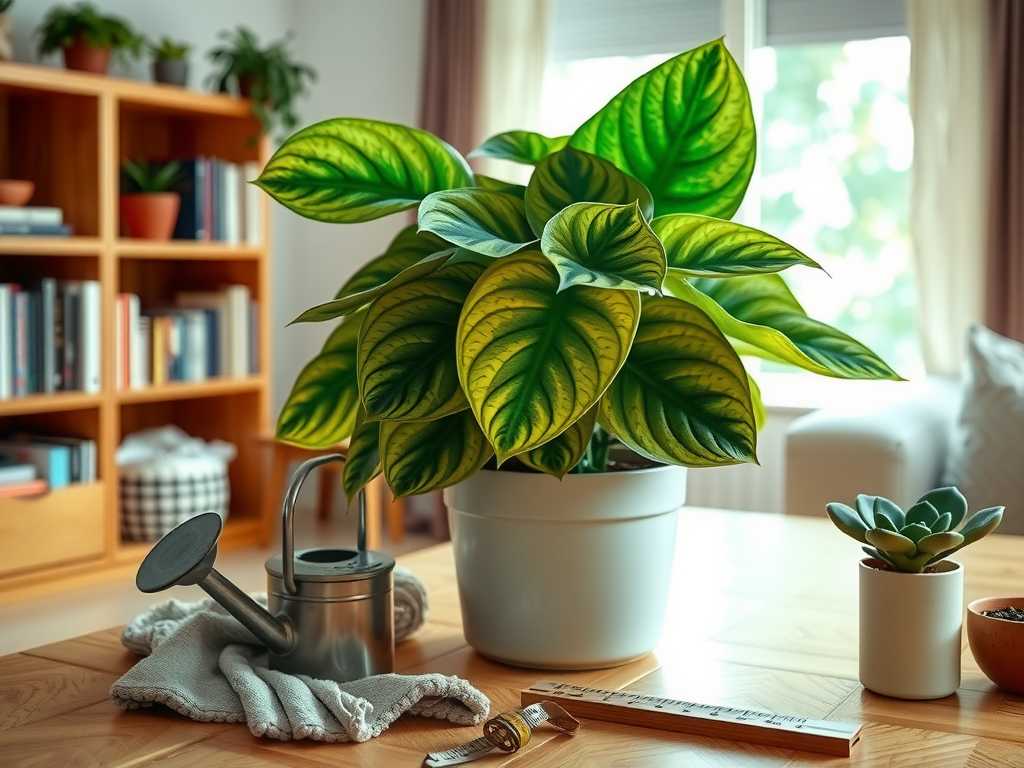
Building Unbreakable Habits: How to Prevent Overwatering for Good
Fixing the problem once isn’t enough. You have to change the system. Here’s what I learned to implement permanently.
Master the “Finger Test” and Pot Weight Forget schedules. The only reliable method is to check soil moisture directly. For caladiums, I let the top 1-2 inches of soil dry out completely before even considering watering. I lift the pot. A light pot needs water; a heavy one still has plenty. This tactile feedback is foolproof.
Choose the Right Soil and Pot This is non-negotiable. I now use a porous, airy mix. A great DIY blend is 40% high-quality potting soil, 30% perlite, and 30% orchid bark. The pot must have a drainage hole. Terra cotta is superior to plastic or ceramic because it “breathes,” allowing excess moisture to evaporate through the walls.
Watering Technique Matters When you do water, do it properly. Water slowly and evenly over the soil surface until water flows freely from the bottom. Stop immediately. Let the plant drain completely in the sink for 10-15 minutes before returning it to its decorative cover or saucer. Never let the pot sit in a saucer of standing water.
Environmental Awareness Caladiums drink less in cooler temperatures or lower light. During a cloudy week or if my air conditioning is running cooler, I might stretch an extra 3-4 days between waterings. Always let the plant’s condition and the soil, not the calendar, guide you.
My caladium’s leaves are still drooping after I let the soil dry out. What’s wrong? Drooping can be a sign of both overwatering and underwatering. If you’ve corrected overwatering but the plant is still stressed, ensure it’s not in direct hot sun, which can cause transpiration stress. The plant may also be redirecting energy to root regrowth. Give it consistent bright, indirect light and stable warmth, and be patient. If the tuber is firm, it often will rebound.
How often should I water my caladium? I refuse to give a number of days, as it’s the most common trap. In a typical indoor setting with good light, it might be every 7-10 days, but it could be 5 or 14. It depends entirely on your pot size, soil mix, light, temperature, and humidity. The finger test is your universal guide.
Can a caladium bulb recover from severe rot? Yes, if there is any firm, healthy tissue left on the tuber. You may need to cut away all the soft, rotten parts, even if it leaves a small piece. Let it dry for a day, then pot it in barely moist, well-draining mix. Place it in a warm spot and wait. It can take many weeks, but tubers are remarkably resilient. I’ve revived sections that looked hopeless.
Rescuing an overwatered caladium requires a shift from reactive care to proactive understanding. It’s about listening to the plant and reading its physical signs, not following a rigid routine. By focusing on soil aeration, perfect drainage, and moisture-based watering, you create an environment where those stunning leaves can thrive without fear of drowning. My ‘Red Flash’ is now putting out its third new leaf since the rescue, each one more vibrant than the last. The process taught me more about plant care than any success story ever could. Your caladium can come back from the brink, too—it just needs the right kind of help.





