 bluename
 How to Diagnose Caladium Issues: Symptom Check Steps for Healthy Leaves
There's nothing more disheartening for a plant lover than watching a once-vibrant caladium start to falter. You brought it home for its stunning, painterly leaves, and now those leaves are telling a story of distress—through yellowing, drooping, or unsightly spots. I've been there, staring at my prized 'White Queen,' feeling a mix of concern and frustration, unsure where to even begin. The problem with diagnosis is that a single symptom, like yellow leaves, can point to a dozen different causes. Guessing often leads to the wrong treatment, potentially making things worse. That's why I developed a systematic, step-by-step symptom check process. After applying this method to my own collection over the past two years, I've turned countless struggling plants back into thriving centerpieces. This guide will walk you through the exact same diagnostic steps I use, born from hands-on experience, careful observation, and yes, a few mistakes I had to learn from the hard way.
Understanding Your Caladium's Basic Needs
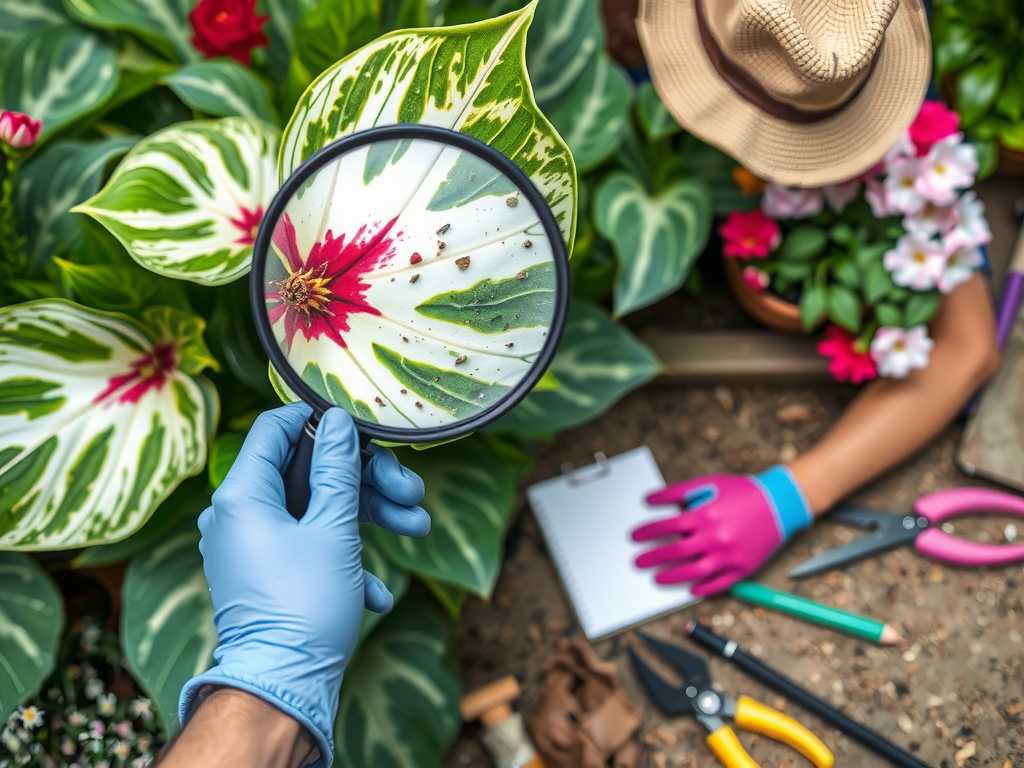
Before we dive into symptoms, we must establish the baseline. You can't diagnose an illness if you don't know what health looks like. Caladiums are tropical plants that crave warmth, humidity, and specific light and moisture conditions. They are not succulents, nor are they low-light dwellers. According to the American Horticultural Society's (AHS) Plant Heat-Zone Map guide, caladiums thrive in zones where temperatures consistently stay above 70°F (21°C), highlighting their need for warmth. During their active growing season (spring and summer), they need bright, indirect light—think near an east-facing window or a few feet back from a south-facing one. Direct afternoon sun will scorch those delicate leaves. They prefer consistently moist but never soggy soil. Let's use this foundation to start our detective work.
The Step-by-Step Caladium Symptom Checker
This isn't a random guess. It's a flow. Start at Step 1 and move forward logically. I keep a small notebook for each plant to track changes, which is crucial.
Step 1: The Immediate Environment Check (Light, Temperature, Drafts)
First, don't touch the plant yet. Just observe its place.
- Light: Is it in direct sun? Are the leaves with the most damage facing a bright window? Conversely, is it in a dark corner? I once moved a 'Pink Symphony' to a shelf I thought was "bright enough," only to see its stems become leggy and leaves lose vibrancy over two weeks—a clear sign of insufficient light.
- Temperature & Drafts: Feel the air. Is it near a heating vent, an air conditioner, or a frequently opened door? Caladiums despise cold drafts and sudden temperature swings. A chill can cause rapid yellowing and collapse. My first winter with caladiums taught me this painfully when a drafty window cost me a few leaves overnight.
Step 2: The Soil and Water Investigation
Now, interact with the pot.
- The Finger Test: Insert your finger 1-2 inches into the soil. Is it bone dry? Soggy and cold? Or pleasantly moist? This is the most critical test.
- Pot and Drainage: Lift the pot. Is it suspiciously heavy (waterlogged) or extremely light (parched)? Check the drainage holes. Are they clear? A pot without proper drainage is a death sentence, leading to root rot in caladiums. I learned this after nearly losing a 'Red Flash' to a decorative pot without a hole; the soil stayed wet for weeks, and the plant developed yellowing leaves with a mushy stem base.
Step 3: Foliage Analysis – Reading the Leaves
Here’s where symptoms give specific clues. Examine leaves top and bottom.
- Yellowing Leaves:
- Older, lower leaves yellowing gradually: Often natural senescence, especially later in the season. Don't panic.
- Widespread yellowing, especially on new growth: Classic sign of overwatering or poor drainage (leading back to Step 2).
- Yellow leaves with green veins: This is a potential sign of chlorosis, often due to a nutrient imbalance like iron deficiency, which can occur in high-pH soil.
- Brown Edges or Crispy Tips: This usually signals low humidity or underwatering. Caladiums love humidity. If your air is dry, the leaf margins will protest first. I run a humidifier near my collection, which solved 90% of my crisp-edge issues.
- Brown or Black Soft Spots/Mushy Areas: Almost always a sign of overwatering and the onset of fungal or bacterial disease. It often starts at the base or where water sits on the leaves.
- White, Powdery Residue: That's powdery mildew, a fungal issue promoted by poor air circulation and damp foliage. I made the mistake of crowding my plants too closely, creating a perfect environment for this.
- Pale or Washed-Out Leaves: The plant is likely getting too much direct sun, bleaching the magnificent colors.
- Wilting or Drooping:
- With dry soil: Underwatering. A good drink usually perks it up in hours.
- With wet soil: Alarm bell for root rot. The roots are damaged and can't take up water, so the plant acts thirsty even though it's drowning.
Step 4: The Root Health Inspection (The Final Frontier)
If symptoms point strongly to overwatering (persistent wilting with wet soil, widespread yellowing, soft stems), it's time to check the roots. Gently remove the plant from its pot.
- Healthy Roots: Firm and white or tan.
- Unhealthy Roots (Root Rot): Brown, black, mushy, and often smell foul. They may slough off in your hand.
My 2-Week Diagnostic Journey with a 'Miss Muffet'
Let me share a real case. My 'Miss Muffet' developed distorted new growth and small yellow speckles. I panicked, thinking it was a virus. I followed my steps:
- Environment: It was on a warm, bright patio (good).
- Soil: Moist but not wet (good).
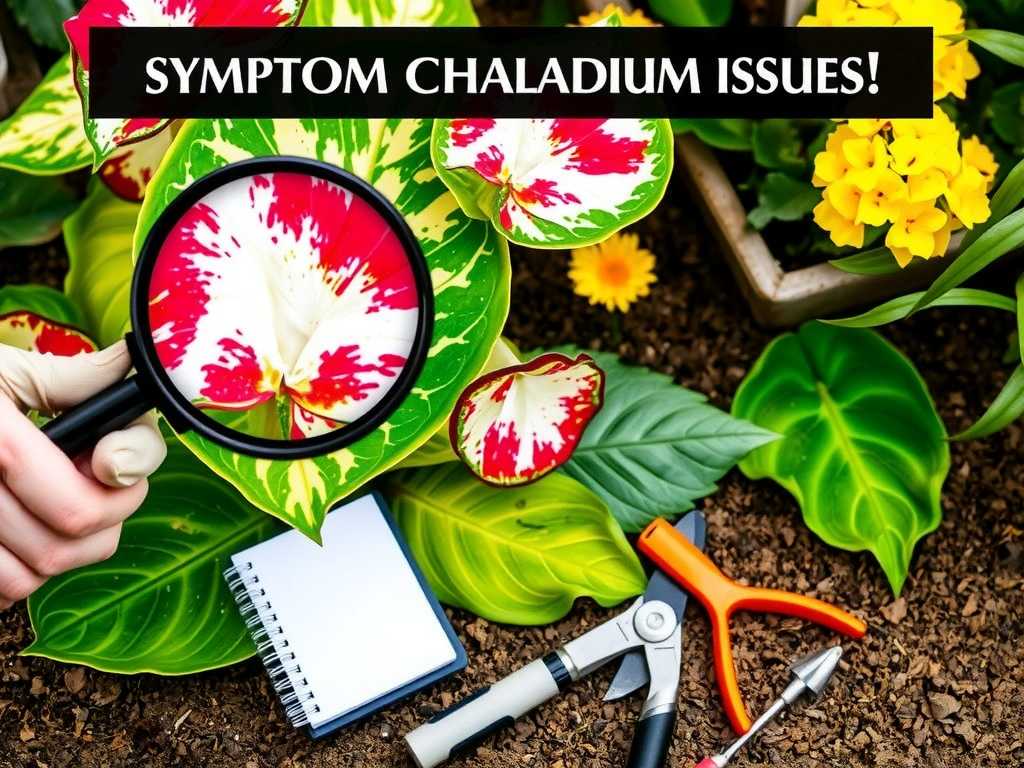
- Foliage: Speckling on the undersides of leaves. I almost missed it. Using a magnifier, I saw tiny, moving dots—spider mites. I immediately isolated the plant. My initial "fix" was a harsh insecticidal soap spray applied in the midday sun, which burned a few leaves—my "caladium troubleshooting mistake." I corrected course by rinsing the plant thoroughly in the shade, then applying a neem oil solution (1 tsp neem, 1/2 tsp mild soap, 1 quart water) every 3-4 days for two weeks, meticulously wiping leaf undersides. I also boosted humidity, as mites thrive in dry air. After two weeks of consistent treatment, new growth emerged clean and healthy. The old speckled leaves were trimmed. The system worked, but my rushed treatment was a lesson in itself.
Implementing Solutions Based on Your Diagnosis
- For Overwatering/Root Rot: Stop watering. Remove rotten roots with sterile scissors. Repot in fresh, well-draining mix (I use a peat-based mix with extra perlite). Water very sparingly until new growth appears.
- For Underwatering/Low Humidity: Soak the pot thoroughly in a sink until bubbles stop. Let it drain completely. Increase ambient humidity with a pebble tray or humidifier.
- For Insufficient Light: Gradually move the plant to a brighter location. Avoid sudden shifts to direct sun.
- For Pests (like spider mites, aphids): Isolate. Use insecticidal soap or neem oil as directed, covering all leaf surfaces. Repeat as needed, as these treatments don't affect eggs.
- For Fungal Issues (Powdery Mildew): Improve air circulation. Remove severely affected leaves. Apply a fungicide suitable for ornamental plants. Avoid wetting the leaves when watering.
When to Consider Dormancy
If your caladium declines in late fall/winter and cultural fixes don't help, it may be entering its natural dormancy. Leaves will yellow and die back. This is normal. Reduce watering, and once the foliage is gone, store the tubers in a cool, dry place for 4-6 months before replanting.
Why won't my caladium's leaves unfurl properly? This is often related to low humidity or inconsistent watering. The emerging leaf dries out and gets stuck. Increase humidity significantly around the plant, ensure the soil is consistently (not overly) moist, and be patient. You can sometimes help by gently misting the stuck leaf sheath.
Is tap water safe for caladiums? They can be sensitive to fluoride and salts in tap water, which may cause brown leaf tips. If you notice this, try using filtered, rainwater, or distilled water for a few waterings and see if new growth improves.
I've checked everything, and my plant is still declining. What now? Consider the tuber's health. If the plant has been in the same soil for over a year, it may be exhausted of nutrients. Try a gentle, balanced liquid fertilizer at half-strength. However, if the tuber itself is soft or rotten, the plant may not be salvageable. Sometimes, the best lesson is in understanding when to start fresh with a new, healthy tuber next season.
Diagnosing caladium issues is a practice in patience and observation. By moving logically from the environment to the soil to the leaves themselves, you move from guesswork to certainty. Remember that plants operate on a slower timeline; changes won't happen overnight. Give any corrective action at least a couple of weeks to show results. The beauty of this process is that it builds your skills not just as a caladium keeper, but as a discerning plant parent for your entire collection. Your caladiums' leaves are their language. Now, you can understand what they're trying to say.





