bluename
 How to Troubleshoot Caladium Problems: Quick Fix Guide
There’s nothing more disheartening for a plant lover than watching a once-vibrant caladium begin to falter. Its iconic, heart-shaped leaves, which should be a canvas of stunning pinks, reds, whites, and greens, start to droop, discolor, or develop unsightly spots. You’ve provided what you think is perfect care, yet the problems persist. If this sounds familiar, you’re not alone. I’ve been there, staring at a struggling plant, feeling a mix of concern and frustration. Over years of growing these tropical beauties, I’ve learned that troubleshooting caladium problems is less about guesswork and more about systematic detective work. This guide is born from my hands-on experience, including a recent two-week rescue mission on a neglected ‘White Queen’ that taught me invaluable lessons. I’ll walk you through a clear, step-by-step process to diagnose and fix the most common issues, so you can restore your plant’s health and enjoy its spectacular foliage once more.
Understanding Your Caladium’s Basic Needs
Before we dive into specific problems, it’s crucial to establish a baseline. Caladiums are not like your average pothos or snake plant. They are tropical understory plants, which gives us the blueprint for their care: they crave warmth, high humidity, bright but indirect light, and consistently moist but never soggy soil. Any significant deviation from these conditions is usually the root cause of trouble. Think of this as the plant’s non-negotiable checklist. When issues arise, the first place to look is always the environment and care routine.
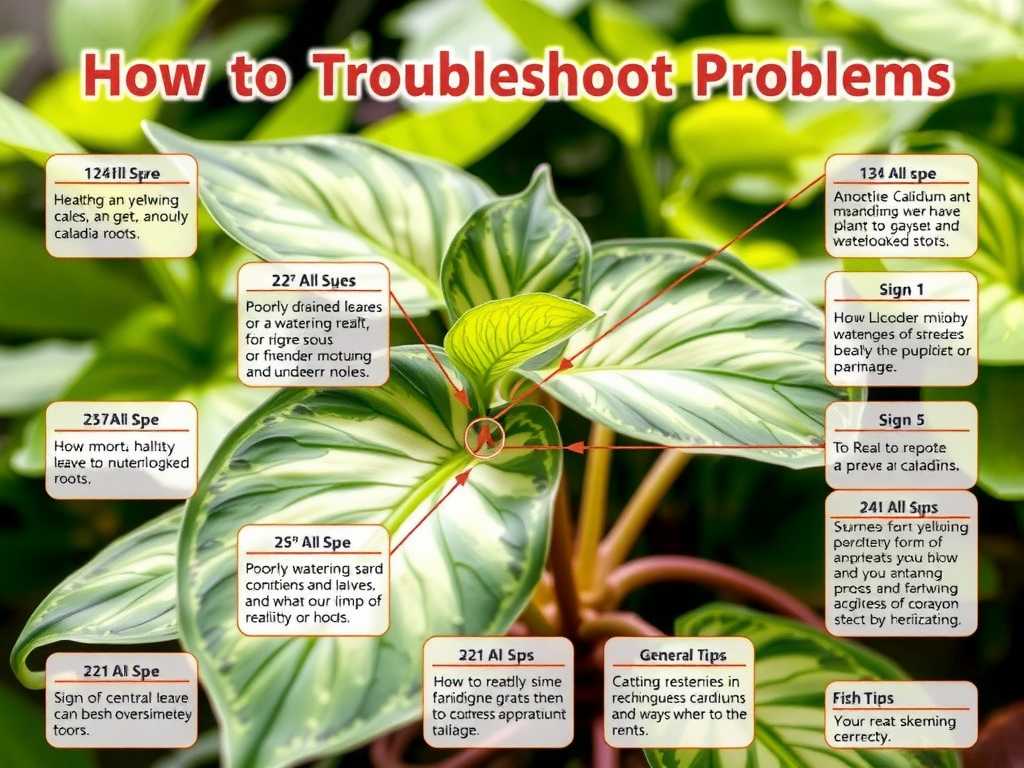
Step-by-Step Diagnostic Framework
When my ‘White Queen’ arrived with yellowing leaves and brown edges, I didn’t panic. I followed this exact diagnostic framework. It took me about 15 minutes for the initial assessment, but the observation phase lasted the full two weeks.
1. The Initial Assessment: Look, Feel, and Ask
First, I isolate the plant. This prevents any potential pests or diseases from spreading and allows me to focus. I then perform a thorough inspection from top to bottom.
- Examine the Leaves (Top and Undersides): I look for discoloration (yellowing, browning), spots, holes, or curling. I meticulously check the undersides for tiny pests—this is where they love to hide. Spider mites, for instance, are nearly invisible from above.
- Check the Stems and Petioles: Are they firm and upright, or mushy, soft, and drooping? Mushiness often points to overwatering and rot.
- Inspect the Soil and Pot: I feel the soil moisture an inch below the surface. Is it sopping wet, bone dry, or just right? I also check the pot’s drainage. Are the holes clear? I look for white crusts on the soil surface or pot rim, which indicate mineral buildup from hard water or over-fertilization.
- Consider the Environment: I note where the plant has been living. How much light does it truly get? Is it near a hot vent, a cold drafty window, or an air conditioner? What is the general humidity level in the room?
This initial check gave me my first clues: dry, crispy leaf edges combined with soil that was oddly damp at the bottom but dry on top, all while sitting in a low-humidity living room.
2. Identifying and Solving Common Leaf Problems
Leaf issues are the most visible cries for help. Here’s how to interpret them.
Problem: Yellowing Leaves This is a classic symptom with multiple potential causes.
- Overwatering (Most Common): If leaves are yellowing, particularly the lower ones, and the soil feels wet, you’re likely loving it to death with water. The roots are suffocating. My Fix: I stopped watering immediately. For my ‘White Queen’, I gently removed it from its pot. The roots were brown and slimy—a clear sign of root rot. I carefully rinsed the roots, trimmed away all the soft, rotten parts with sterilized scissors, and repotted it into fresh, well-draining aroid mix. I then placed it in bright, indirect light and resisted watering for a week to let the roots recover.
- Underwatering/Natural Dormancy: If the yellowing is accompanied by dry soil and crispy edges, it needs a drink. If it’s fall or winter and the plant is losing many leaves, it may simply be entering its natural dormant period. My Fix: I adjusted my watering to keep the soil lightly moist. For dormancy, I reduced watering significantly and allowed the plant to rest.
Problem: Brown Leaf Edges or Crispy Tips This is almost always an environmental humidity issue. Caladiums thrive in 60%+ humidity. Our homes, especially with AC or heat, often sit at 30-40%.
- My Fix and the 2-Week Experiment: I employed three strategies together and monitored for two weeks. First, I grouped it with other humidity-loving plants. Second, I placed its pot on a large pebble tray filled with water (ensuring the pot base never sat in the water). Third, and most effectively, I ran a small humidifier nearby for a few hours each morning. The result? After one week, the progression of browning stopped. After two weeks, the new emerging leaf showed no signs of crispiness. The existing damage doesn’t heal, but the new growth confirmed the fix was working.
Problem: Faded or Scorched Leaves If the vibrant colors are washing out or you see bleached, dry, brown patches on the leaves, the light is too strong.
- My Fix: I moved the plant back from a south-facing window to a spot about 6 feet away, where it received plenty of bright, filtered light. Direct sun, especially through glass, is a recipe for scorch.
3. Addressing Pests and Diseases
Caladiums are relatively pest-resistant but not immune. My main battles have been with spider mites in dry conditions.
Spider Mites: These tiny arachnids create fine webbing, especially under leaves, and cause stippling (tiny yellow dots) on the foliage.
- My Fix and a Lesson Learned: I initially tried a neem oil spray. However, I made the mistake of not testing it on one leaf first and applying it in direct sunlight, which caused minor leaf burn—a classic “gardener’s lesson.” I corrected course. I first wiped every leaf, top and bottom, with a damp cloth to physically remove mites. Then, I created a solution of insecticidal soap (following the American Horticultural Society’s recommendation for safe, effective pest control on ornamental foliage) and sprayed thoroughly every 4-5 days for three cycles. I also dramatically increased humidity, as mites thrive in dry air. The infestation was controlled within two weeks.
Fungal Issues (Leaf Spot, Root Rot): Brown or black spots with a yellow halo often signal fungal problems, frequently exacerbated by wet leaves or overcrowding.
- My Fix: I immediately removed and discarded the affected leaves to prevent spread. I improved air circulation around the plant and, crucially, adjusted my watering habit to water directly at the soil level, never splashing the leaves. For severe cases, a fungicide may be needed, but correcting the environment is the first and most critical step.
The Golden Rules for Prevention
Troubleshooting is essential, but prevention is better. Here are my non-negotiable rules, honed from experience:
- Water Wisely: This is the number one rule. Water only when the top inch of soil feels dry. Use your finger, not a schedule. Ensure excess water drains freely.
- Prioritize Humidity: Treat humidity as importantly as watering. Employ pebble trays, grouping, or a humidifier, especially in arid climates or heated/air-conditioned spaces.
- Provide Filtered Light: Bright, indirect light is the sweet spot. An east-facing window or a few feet back from a south/west window is ideal.
- Feed Gently: During active growth (spring/summer), feed monthly with a balanced, diluted liquid fertilizer. Less is more. Over-fertilization causes salt buildup and leaf burn.
- Respect Dormancy: When leaves die back in fall/winter, reduce watering and let the tubers rest in the pot in a cool, dry place. Don’t throw the plant away!
Your Questions, Answered
Why are my caladium leaves curling? Leaf curling is typically a sign of stress, often from underwatering, low humidity, or exposure to cold drafts. Check your soil moisture and environmental conditions first. Ensure the plant is in a warm, draft-free spot with adequate ambient moisture.
Can I save a caladium with root rot? Yes, absolutely, if caught early. This was the core of my two-week project. Remove the plant from its soil, wash the roots, and cut away all soft, brown, rotten parts with a sterile tool. Repot in fresh, sterile, well-draining mix and a clean pot. Water very sparingly until you see signs of new growth, indicating the roots have recovered.
Is it normal for caladiums to lose leaves in winter? Yes, this is completely normal. Caladiums are tuberous plants that enter a natural dormant period as daylight decreases and temperatures drop. The leaves will yellow and die back. Simply reduce watering, allow the foliage to wither, and store the pot in a cool, dark place (around 60°F/15°C) for the winter. Resume watering in spring when you see new growth emerge.
Successfully growing caladiums is a rewarding journey of understanding their unique language. Problems like yellow leaves, brown edges, or pest infestations are not failures but messages. By learning to systematically diagnose these issues—checking the roots, assessing light and humidity, and observing carefully—you shift from a reactive to a proactive plant carer. My two-week revival of the ‘White Queen’ reinforced that consistency in core care, especially watering and humidity, is everything. Start with the fundamentals, observe your plant closely, and don’t be afraid to adjust. With these strategies, you can confidently troubleshoot any issue and enjoy the breathtaking, colorful display that a healthy caladium provides.