 bluename
 How to Grow Caladium Strawberry Star in Containers: Potting Steps
If you want to grow Caladium Strawberry Star in containers, the potting steps are simpler than you think, but honestly, the real secret is avoiding the watering can for the first two weeks. I learned that the hard way after turning my first two pots into a mushy, sad soup. In fact, I'll say it straight: 90% of indoor plants die from overwatering, and caladiums are the absolute queens of sulking when their roots sit in wet soil. So, let’s get into the exact potting routine that finally worked for me, plus the container mistakes I had to unlearn.
I’ve been growing these pink-and-white beauties for a few seasons now. I won't pretend I was a natural. I killed the first one with love, literally drowned it. The second one I put in a dark corner because I thought all leaves hated direct sun. It grew leggy and pale, like it had given up on life. The third one, well, the pot had no drainage, and I only figured that out after the tubers rotted into a foul-smelling paste. But now? I have a patio full of these stunners. They look like watercolor paintings come to life. So, trust me, I’ve got the steps down. And I’ll share every gritty detail, including what I did during my two-week observation window that changed everything.
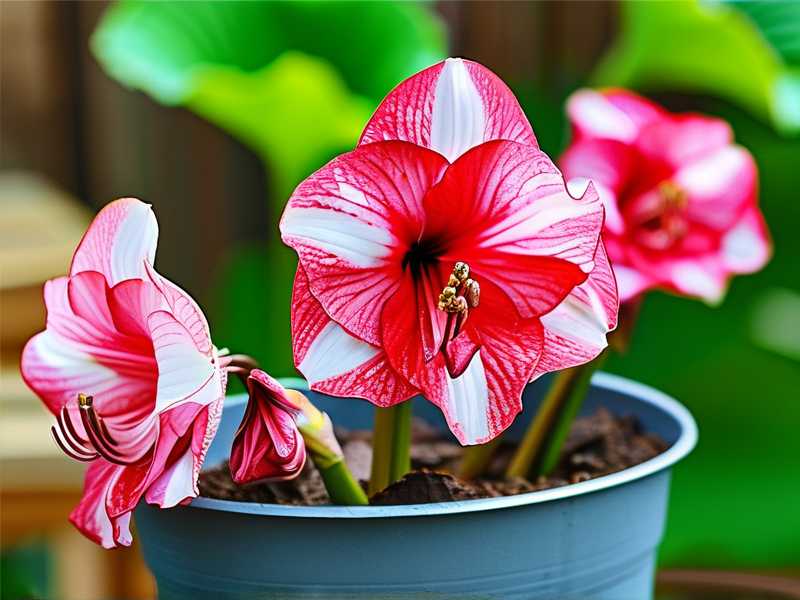
Why Container Growing is Perfect for Caladium Strawberry Star
Before I jump into the steps, let’s talk about why a container is actually your best bet. Caladiums are tropical plants. They hate cold drafts and love consistent warmth. A pot lets you move them around to chase the sun or escape a harsh afternoon blast. Also, you control the soil mix completely. In the ground, you’re at the mercy of your local dirt, which is often too heavy or too sandy.
I keep mine in large terracotta pots now. Actually, I use plastic liners inside the terracotta because it makes swapping them out for winter storage a breeze. But let’s rewind. Start with the basics.
The Non-Negotiable Potting Steps (My Exact Routine)
Here’s the thing. The potting process involves more than just shoving a tuber into dirt. You need a specific order of operations. I’ve broken it down into phases that I stick to religiously.
Step 1: Choose the Right Container Size and Material
This is where I messed up initially. I used a tiny 6-inch pot for a massive tuber. It felt snug, but the roots had nowhere to go. The plant struggled for two months before I repotted it.
For a single mature Caladium Strawberry Star tuber, you need a pot that is at least 10-12 inches in diameter. If you’re planting multiple tubers for a lush display, go wider, like a 14-inch patio pot. The depth matters just as much. These roots grow downwards, not just outwards. So, a deep pot wins. I prefer fabric pots for outdoor containers now because they air-prune the roots. But for indoor, a ceramic or plastic pot with excellent drainage holes works perfectly fine.
Step 2: Pre-Moisten the Potting Mix (But Don't Drench It)
This step is critical, and most guides skip it. I take my potting mix and put it in a big tub. I add water slowly, mixing it with my hands. I want it to feel like a wrung-out sponge. Damp, but not dripping. If you squeeze a handful, you should get maybe one drop of water out. No more.
I use a mix of 60% high-quality potting soil, 30% perlite, and 10% coarse orchid bark. The perlite is a lifesaver. It prevents compaction and ensures airflow to the tuber. The bark adds chunkiness for drainage. If you use cheap soil that’s already dense, you’re setting yourself up for failure.
Step 3: The Critical Tuber Inspection
Before planting, I always inspect the tubers. I look for the "eyes" or growth points. These are little pinkish bumps. They need to face UP. I’ve seen people plant them sideways, and the shoots get confused, wasting energy trying to find the surface.
Also, check for soft spots. If it feels squishy, cut that part off with a sterile knife. Dust the cut with cinnamon powder, which acts as a natural fungicide. Let it dry for 24 hours before planting. I skipped this once, and the rot spread to the whole tuber within a week.
Step 4: Fill the Pot and Place the Tuber
I won’t lie, the depth is a huge debate online. Some say plant shallow for earlier sprouting. I’ve found a happy medium. I fill the pot with my damp mix until it’s about two-thirds full. Then, I place the tuber on top of the soil. I gently press it down, but I don’t bury it yet. I add more soil around the sides until it covers the tuber about 1.5 to 2 inches deep.
Keep the top of the tuber exposed slightly for the first week. I know that sounds counterintuitive, but it helps prevent rot before the roots establish. After that first week, I push a little more soil over it as the shoot emerges.
Step 5: Water In With a Gentle Touch
Once potted, I use a watering can with a fine rose attachment. I water around the edges, not directly over the tuber location. I do this to settle the soil around the roots. But here’s the kicker: because I pre-moistened the mix, I barely need to water again for almost two weeks. I water maybe half a cup just at the perimeter.
The Two-Week Observation: What I Saw
I want to be transparent about the timeline. After potting, you won’t see leaves immediately. It feels like waiting for a kettle to boil. But here is my two-week log from my most recent planting in spring.
Days 1-3: The Waiting Game
Nothing happens above the soil. I know the tuber is working. I keep it in a spot with bright, indirect light. The soil stays slightly damp. I check the weight of the pot by lifting it. It’s heavy. I resist the urge to water. I actually put a sticky note on the pot that says, "Don't touch me." It helped.
Day 4-6: The First Signs of Life
On day five, I see a tiny green hook peeking out of the soil. It’s minuscule. I get unreasonably excited. I keep the environment humid by placing a pebble tray with water next to the pot. I don’t mist the soil, just the air around it. I learned that misting the soil can cause surface fungus.
Day 7-9: The Stem Unfurls
By day seven, the stem is about 2 inches tall. It looks a bit pale, almost white-green. That’s normal. It’s the petiole stretching toward the light. I rotate the pot a quarter turn each morning. If I don’t, the stem leans dramatically toward the window, and the plant will grow lopsided.
Day 10-11: The Leaf Emerges
On day ten, the first leaf starts to unfurl. It looks crumpled, like a piece of paper that’s been balled up. I think it's about to be a failure. But by day eleven, that crumpled leaf smooths out. The white speckles appear. The pink blush on the stem becomes visible. This is when I start to breathe normally.
Day 12-14: Roots Establish and Growth Explodes
After the first leaf fully opens, the second one follows quickly. By day fourteen, I do the tug test. I gently pull on the base of the stem. There is resistance. That means the root system is anchoring. I see tiny roots poking out of the drainage holes at the bottom of the pot. That’s my cue that I can slightly increase watering.
During these fourteen days, I did not add any fertilizer. The tuber has all the energy it needs stored inside. Adding fertilizer now will cause "fertilizer burn" on the new roots. I wait until the plant has at least two mature leaves.
My Top 3 Fatal Errors for Beginners (And How to Fix Them)
I want to save you the heartbreak. I’ve made all three of these mistakes. They are the main reasons people think they can't grow these plants.
Mistake #1: Watering on a Schedule (Overwatering)
I already said the stat: 90% of indoor plants die from overwatering. For caladiums, this is especially true. They have fleshy roots that are prone to rot. I used to water every Monday, thinking I was being diligent. That was wrong. The top inch of soil might look dry, but two inches down, it’s a swamp. The roots suffocate.
Fix: Only water when the top 2-3 inches of soil are completely bone dry. Stick your finger in the soil. If it comes out clean without any dirt sticking to it, that’s your sign to water. Also, lift your pot. A dry pot is significantly lighter. I can tell by the weight now. It sounds fancy, but you get the feel for it after a week.
Mistake #2: Choosing the Wrong Light (Sunburn or Darkness)
I initially put my Caladium Strawberry Star in full afternoon sun. I thought more sun equals more color. The leaves developed ugly brown scorch marks within three days. The white parts of the leaves turned crispy, like burnt paper. Conversely, I also tried a deep shade room. The leaves grew, but they had barely any white or pink. They were mostly green and floppy.
Fix: These plants love "bright, indirect light" or "filtered sun." An East-facing window is perfect. Or a few feet away from a South-facing window. The morning sun is gentle. The afternoon sun is brutal. The Strawberry Star variety actually tolerates a bit more sun than others, but only in cooler climates. If you’re in zone 8 or higher, keep it shaded in the afternoon. The color of your leaves will tell you. If they fade to green, they need more light. If they bleach white, they need less.
Mistake #3: Using a Pot Without Drainage (or a Saucer Full of Water)
I remember my third plant. I bought a beautiful ceramic pot that had no drainage hole. I thought I could just add gravel at the bottom. That’s a myth. It creates a "perched water table." The water sits right at the root zone. My tuber rotted in three weeks. The smell was horrendous.
Fix: Use a pot with actual drainage holes. Always. If you fall in love with a pot without holes, use it as a decorative cachepot. Put a plain plastic nursery pot inside it. Also, empty the saucer after watering. Don’t let the pot sit in standing water. I use pot feet to lift the pot off the saucer, just to get a tiny bit of airflow underneath.
My Specific Soil and Fertilizer Recipe
I touched on this earlier, but let me be exact. I don't use garden soil. It’s too heavy. I use a peat-based mix. Peat moss retains moisture but also drains well if you add perlite. Or, you can use coco coir, which is more sustainable. I actually mixed a bag of Fox Farm Ocean Forest last year with extra perlite. The plants went crazy. The organic nutrients in that soil gave them a slow-release boost that lasted a whole season.
Remember, after the first two leaves appear, I feed with a balanced liquid fertilizer (10-10-10) diluted to half strength. I do this every two weeks. High nitrogen makes the leaves greener. So if you want the white parts to pop, don't overdo the nitrogen. A phosphorus-heavy fertilizer during summer promotes better tuber growth for next year.
How to Manage Pests and Common Container Issues
I won't sugarcoat it. Even in containers, you can get spider mites. They love dry, indoor air. I noticed webbing underneath my leaves once. I freaked out.
Solution: I spray the leaves with a mixture of water and a few drops of mild dish soap. But here’s the trick. I do this in the morning so the leaves dry by night. Wet leaves at night invite fungal disease. Also, caladiums are susceptible to a disease called "Pythium root rot" if the soil is too wet. That’s why drainage is key.
Another issue is cold drafts. If you have air conditioning blowing directly on the pot, the leaves will curl. They hate it. I keep them away from AC vents. They are basically the Goldilocks of the plant world. They want it just right.
What I Learned About Tuber Storage and Dormancy
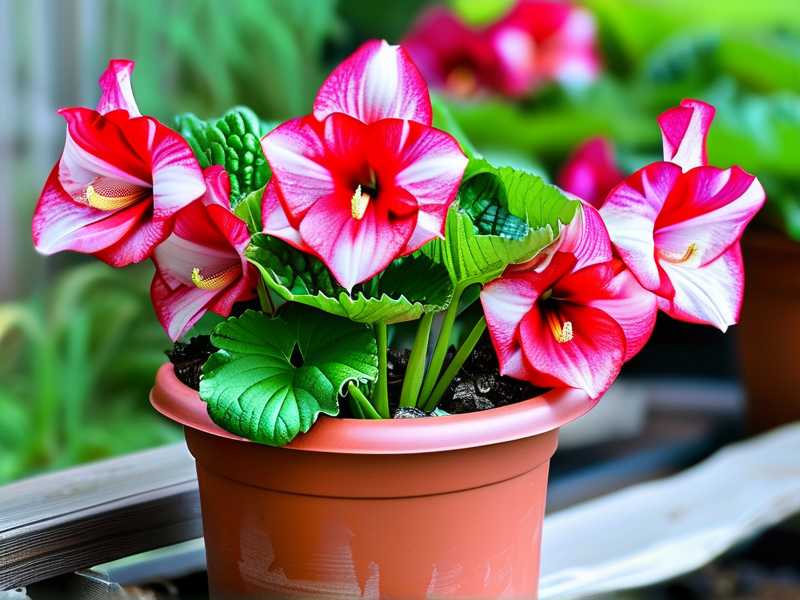
A quick note on the container lifecycle. Caladiums are perennials, but they aren't cold-hardy. If you live where winters are cold, the leaves will die back in autumn. Don't panic. That's normal.
I stop watering when the leaves start to yellow and droop heavily. I let the soil dry out completely. After the leaves are fully withered, I dig up the tuber with my hands. The roots will be dry. I brush off the soil. I store them in a cardboard box with dry peat moss. I keep them in a cool, dry closet around 60°F (15°C).
I’ve had tubers last like this for three months. In the spring, I pot them up again. This is the beauty of containers. You have total control over their cycle. You don't have to dig up a wet garden bed in the mud. You just pull the pot into the garage.
Addressing the "How Long Does It Take?" Question
People ask me this a lot. How long until I see a leaf? It depends on soil temperature. Those tubers want warm soil. If your house is above 70°F (21°C), you’ll see growth in about two weeks. If it’s cooler, it could take a month. I sometimes use a heat mat wrapped around the pot to encourage faster sprouting. That shaved off about five days in my experience.
My Final Thoughts on the Potting Process
I think the hardest part about growing Caladium Strawberry Star isn't the actual work. It’s the patience. And it’s the discipline to hold back the watering can. I tell everyone who visits my patio, "I just let them dry out a little." They look at my lush foliage and think I’m a genius. But actually, I’m just a reformed plant killer who learned to check the soil moisture with my finger before acting.
I hope my mistakes help you skip the drama. Remember, potting is easy. The steps are: damp soil, shallow planting, bright shade, and lots of air. Do that, and this strawberry-colored beauty will reward you with months of stunning, continuous foliage. Just don't forget to let it rest in winter. Good luck.
Frequently Asked Questions
1. Can I plant Caladium Strawberry Star directly in a semi-shaded garden bed instead of a pot? Honestly, you can. But you’ll have to be extra careful with drainage. Garden soil is often too compact for their roots. If you do plant in the ground, amend the soil with lots of perlite and compost before planting. Also, it's harder to control the temperature in the ground. Pots warm up faster in spring, which gets growth started earlier. For me, pots are the safer option.
2. Why are the leaves on my container caladium turning brown at the edges? This usually points to two issues. First, it could be sunburn if you put it in direct, harsh midday sun. Second, it could be excess salts from fertilizing. I flush my pots heavily with plain water once a month to wash out salt build-up. Also, it might be the tap water. If your city water is heavily chlorinated, let it sit out overnight before watering. The chlorine evaporates, and your leaf tips will thank me.
3. How long does the display last in a pot? You get a good four to six months of foliage. In my zone, that means a display from June through October. The leaves will remain present as long as the soil temperature stays above 65°F (18°C). If you keep them indoors in a warm room with consistent humidity, they might even last longer. But the plant will eventually enter dormancy when day length shortens. The leaves are temporary, but the tuber is the real long-term asset.





