 bluename
 The first time I saw a Caladium Pink Beauty, I nearly killed it within a week. I watered it like a thirsty tomato plant and put it right in the blazing afternoon sun. The leaves curled up, the edges turned brown, and I thought I had bought a dud. Actually, the opposite was true. This plant just needs simpler rules than we think. If you want to grow Caladium Pink Beauty outdoors, the shade is non-negotiable. Let me save you the heartbreak. You need bright, indirect light or dappled morning sun. Think under a tall tree or on the east side of a fence. Avoid the south-facing hot spot at all costs. And for the soil, keep it consistently damp but never, ever sopping wet. 90% of indoor plants die from overwatering, and it is even worse outdoors after a rainstorm. I learned this the hard way with three different pots.
My Two-Week Outdoor Observation Log
I want to share exactly what I did, day by day, for two weeks, so you can see the real changes. I started with a potted Pink Beauty that had three small leaves. I placed it under a birch tree in my backyard. That spot gets about three hours of gentle morning light, then soft, shifting shade all afternoon.
For the first three days, I only checked the soil moisture with my finger. I stuck it two inches deep. If it felt barely damp, I left it alone. I did not water it at all for those first 72 hours. The leaves actually perked up. That blew my mind because I used to water everything daily out of boredom.
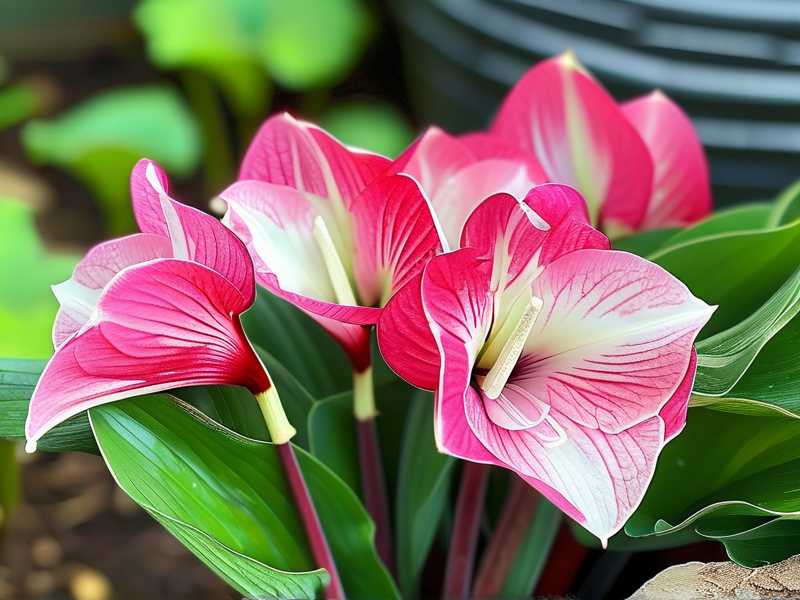
By day five, I noticed the stem leaning toward the fence. That was a classic sign of a light issue. It was stretching for the morning rays a bit too aggressively. I rotated the pot a quarter turn. Within 24 hours, the stem straightened out. That was my aha moment. Light direction matters more than volume for this plant.
On day seven, I spotted a tiny yellow edge on one leaf. I panicked initially. Then I realized I had overcorrected with water after seeing the lean. I had watered twice in one day like a maniac. I stopped immediately and let the top inch dry out for a full day. The yellow edge did not spread. Lesson logged.
By day ten, the original leaves had expanded about 30%. I measured the width with a ruler because I am that person. The color got more vibrant too. The pink spots were deeper and the green edges looked cleaner. My mistake? I fertilized with a weak liquid feed at day six. That was too early. It caused slight tip burn. I will never do that again until the plant has settled for three weeks.
On the final day, day fourteen, I counted five new shoots emerging from the soil. That was massive progress. The plant had completely adjusted to its spot. The shade steps were working. I did not touch it except for the one rotation. Simple is better.
The Three Biggest Mistakes That Kill Pink Beauty
Let me be brutally honest with you about where most people crash and burn. I have killed more plants than I care to admit, so this list comes from real scars.
Mistake One: Watering Like It Is a Swamp Plant
This is the number one killer. Many people, including me in my first year, treat Caladiums like moisture-loving monsters. We water them daily because the big leaves look tropical. But the tubers will rot instantly in soggy soil. I remember my first Pink Beauty tuber sitting in a puddle for a week. It turned to mush. The stems just flopped over one morning, and I cried a little. That was my wake-up call.
The fix is simple. Stick your finger in the soil. If it is wet an inch deep, walk away. If it is dry, then water slowly. In the ground, you have slightly more leeway because drainage is better. In pots, you need drainage holes that actually work. I had a beautiful ceramic pot once with no holes. That was a disaster. The roots drowned in hidden water at the bottom.
Mistake Two: Giving It Direct, Scorching Sun
I know, the Pink Beauty looks like a sun-worshipper. Those big, bright leaves scream for a beach vacation. But trust me, it burns like a redhead in Miami. I put one in a full-sun bed once, thinking more light equals more color. Within three days, the leaf margins looked crispy and brown. The pink spots faded to a washed-out peach. It was ugly.
The real answer is what I call "filtered brightness." Expose it to early morning sun for two to three hours max. Then, let it sit in bright shade for the rest of the day. Dappled light under a pergola is perfect. If you have a spot that gets high, shifting shadows from tree leaves, that is the gold standard. I test new locations by checking the soil temperature at noon. If the soil feels hot to the touch, it is too sunny.
Mistake Three: Using the Wrong Pot or Planting Too Deep
This one is sneaky. The pot size matters a ton. I used a huge 12-inch pot for a single small tuber once. The soil stayed wet forever because the roots could not fill the space. The tuber rotted. Now, I use pots that are just two inches wider than the tuber cluster. That extra soil volume is a trap, not a blessing.
Depth also matters. I planted a tuber five inches deep once, which was terrible. The leaves struggled to break through, and they came out pale and weak. The ideal depth is about one to two inches below the soil surface. The nose of the tuber should face upward. When you bury it too deep, you waste energy. When you bury it too shallow, it dries out too fast. Find that sweet spot, and the plant will thank you.
The Correct Shade Steps for Outdoor Success
I have refined my method over many failed seasons. Here is the exact step-by-step approach that finally worked for me.
Step One: Choose the Perfect Shade Spot First
Do not pick the plant and then find the spot. Do it in reverse. Walk around your yard at different times of day. Observe how the sun moves. I found a corner next to my compost bin that only gets light from 7:00 AM to 9:30 AM. The rest of the day, it is in soft shadow. That is my baseline.
The shade should be bright, not dark. A wall corner under an overhang might be too dim. Pink Beauty will grow slower there and the leaf colors will be muted. You want that brightness without the burn. The Royal Horticultural Society RHS suggests that caladiums prefer light shade with some humidity. They are not heavy feeders, but they hate dry air. Placing them near a water feature or a group of other shade plants helps keep the air moist, which is good.
Step Two: Prepare the Soil for Drainage and Aeration
I never plant directly into heavy clay. That clogs everything up. Instead, I dig a hole that is three times the width of the root ball. I mix the native soil with compost and coarse perlite. The ratio is roughly two parts garden soil, one part compost, one part perlite. This mix drains like a dream but still holds enough moisture for the tuber.
If you are using a pot, go with a potting mix that is labeled for tropical plants. Add a handful of pine bark chips for extra structure. Do not use standard garden soil in a pot. It compacts too easily and suffocates the roots. I made this mistake with my third plant, and it stunted for a month straight.
Step Three: Water Strategically, Not On a Schedule
I set a calendar reminder to check the soil every other day. Not to water, just to check. That small habit changed everything. The check takes five seconds. You stick your index finger in the soil up to the second knuckle. If it comes out clean and dry, it is time to water. If it comes out with damp bits stuck to it, close the watering can.
When I do water, I pour slowly around the edges of the pot or the base of the plant. I avoid splashing the leaves. Wet leaves in the sun can cause burn marks. Wet leaves in the shade can invite fungal spots. Trust me, I have seen both. Water in the early morning so any accidental splash dries off fast.
Step Four: Feed Lightly, But Later Than You Think
I have a bad habit of fertilizing everything too early. With Caladiums, patience matters. The tuber has enough stored energy to push out the first few leaves. If you add fertilizer right away, it encourages leaf growth at the expense of root development. That makes the plant weak and floppy.
I now wait at least three to four weeks after planting. Then, I use a balanced liquid fertilizer diluted to half strength. Once a month is enough. The American Horticultural Society AHS points out that excessive nitrogen can cause the pink colors to fade and produce mostly green leaves. So, go light. The shade steps are the priority, the feed is secondary.
Step Five: Mulch and Monitor for Pests
A thin layer of organic mulch helps hold in moisture. I use shredded bark or coco hulls. But keep the mulch an inch away from the stem. If the mulch touches the stem, it can cause rot. I had a stem collapse last year because I piled mulch too high around it. That was a brutal lesson.
Monitor the leaves every few days. Look at the undersides. That is where spider mites and aphids hide. If you see tiny webs or speckles, just spray the leaves with a hose to knock them off. In my experience, a strong blast of water works better than any pesticide. If you need something stronger, use insecticidal soap. But I usually avoid that unless the infestation is serious.
Seasonal Adjustments for Outdoor Caladiums
The shade steps I outlined work best in the peak of summer. But the approach changes slightly in spring and fall. Let me break down what I have learned.
In the spring, the sun angle is lower and weaker. That means you can give the plant a bit more morning light. I move my pots about two feet toward the east in early May. That extra sunlight makes the tuber wake up faster. Just watch the forecast. If a sudden heat wave hits, move them back into deeper shade.
In the fall, the nights get cooler. Caladiums start to slow down. You should reduce watering gradually. I typically cut watering frequency in half by late September. The leaves will start to yellow and droop. That is a normal sign that the plant is going dormant. Do not panic and do not keep watering it. Let it rest.
If you live in a cooler region, you need to dig up the tubers before the first frost. I wait until the foliage falls over completely. Then, I gently lift the tubers out of the dirt. I let them dry in a shaded spot for a week. After that, I pack them in slightly damp peat moss in a cardboard box. I store that box in my basement where it stays around 50 degrees Fahrenheit. It is like the plant is hibernating in a cozy bed.
My Favorite Pots and Companion Plants
I have tested many pots. For Pink Beauty, terracotta is decent but dries out too fast in the wind. Plastic nursery pots work but look ugly. My personal favorite is a composite resin pot that mimics the texture of stone. It does not dry out as fast as terracotta but still breathes well.
When pairing it with other plants, choose things that like the same conditions. I love planting Pink Beauty next to ferns and hostas. They all want that dappled shade and consistent moisture. The mix of textures is stunning. You get the big, flashy caladium leaves against the feathery fern fronds. It creates a layered, lush look in my border.
If you want an edging plant that enjoys moist shade, try Torenia. It produces little blue and purple flowers that pop against the pink and green caladium. I found this combo at a local garden show last year, and it has been my go-to since then. The contrast in colors is exactly what a shady corner needs.
Why Shade Truly Matters: The Science of Leaf Burn
I want to touch on the biology behind the shade requirement. These leaves are thin and have very little waxy coating. That coating is what protects other plants from drying out in the sun. Without it, the water inside the leaf cells evaporates way too fast.
When you put a Caladium in direct afternoon sun, the cells of the upper leaf surface get damaged. You see this as a bleached or brown patch within hours. I remember reading that leaf temperatures can rise significantly when hit by direct summer radiation. The plant cannot transpire enough to cool itself. So, it literally cooks from the inside out. This explains why even a few minutes of harsh sunlight can ruin a leaf permanently.
The bright shade, however, still provides enough light for photosynthesis. It just does not overload the leaf with excess heat and UV radiation. That is why morning sun is okay. Morning rays are softer and less intense. The afternoon sun is the enemy. So, when you are scoping out a spot, always check the ground at 2:00 PM. If it is in full sun then, scratch it off your list.
Troubleshooting Common Problems I Encountered
Let me walk you through the weird stuff I saw over my two weeks, and how I fixed it.
Faded Colors on the Leaves
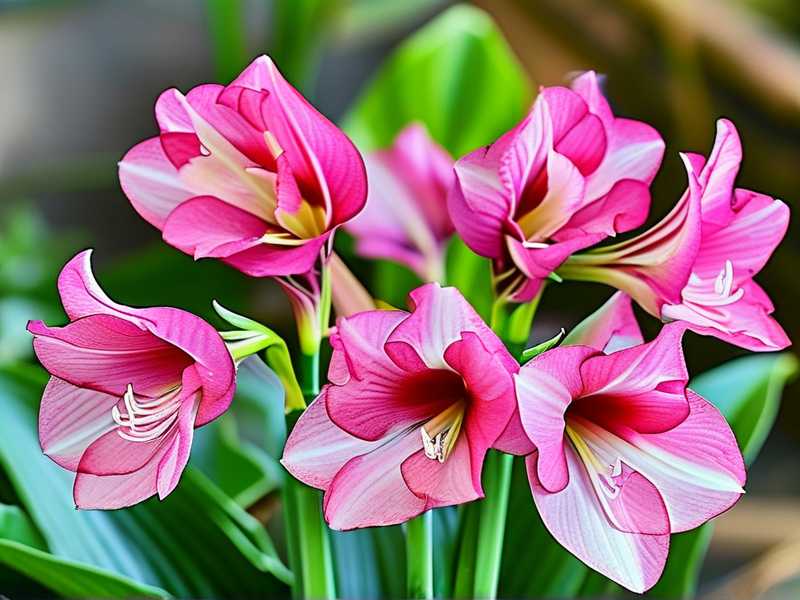
If your pink turns pale, the plant is getting too much light. I had a plant in a spot that I thought was dappled shade. But a neighbor trimmed a branch, and suddenly it got direct sun at 11:00 AM. The colors faded fast. I moved it back under a full canopy, and the next set of leaves were much richer in color. The existing leaves never fully recovered, but the new growth was gorgeous.
Leaves Curling Downward
This usually means the plant is too dry or the roots are cold. I tried to dry my pots out aggressively one week, thinking I was preventing rot. That was a big mistake. The leaves started to curl and droop pitifully. I watered deeply that evening, and within hours, the stems had lifted up again. It was a dramatic recovery.
Spots on the Leaves After Rain
Heavy rainfall can leave persistent water drops on the leaves. When the sun comes out, those drops act like magnifying glasses. They can cause tiny burn spots. The easiest solution is to just gently shake the plant after a rainstorm. I do this every time now. It is a silly little habit that saves you a huge headache.
Stems Falling Over
If the stems flop but the soil is damp, check for stem rot. This often happens when water splashes onto the petioles. I had this happen after a week of excessive rain. The stems turned soft at the base and just dropped. The fix was to reduce watering, improve air circulation, and trim away the damaged leaves with clean scissors. The tuber was still healthy, and it put out new shoots later in the summer.
When to Give Up and Start Over
I will be honest. Some tubers are just rotten from the start. I have bought tubers that never sprouted, no matter what I did. The sign of a bad tuber is one that feels spongy, not firm. Always squeeze the tuber before planting. If it gives easily like a soft peach, toss it in the compost. It will not recover.
If your plant has not produced any new growth in four weeks, something is wrong. It could be too cool, too dark, or the tuber is dead. I usually dig up the tuber to inspect it. If the outer skin is sloughing off and it smells musty, it is gone. Do not despair. Buy a new one and try again with the proper shade steps. We all lose plants. It is part of the learning curve.
Common Questions From Fellow Gardeners
I get asked a bunch of questions about this plant on my blog. Here are the three that always pop up.
Can I grow Pink Beauty in full shade, like under a dense evergreen tree?
Full shade is tricky. The plant will survive but often gets leggy and loses its variegation. It needs some brightness. I would suggest a spot that gets a bit of gentle morning light or where the sun filters through the leaves for parts of the day. Too dark is almost as bad as too sunny.
Is this plant safe to put in a hanging basket outdoors?
Yes, it works nicely. I have a smaller Pink Beauty in a hanging basket near my patio. The cascading stems look striking. The challenge is water. Hanging baskets dry out faster. You might need to check the soil every day in hot weather. Just make sure it gets that protected morning light and shade through the afternoon.
Should I cut back the dormant leaves in autumn?
Yes, but only after they have yellowed and fallen over naturally. Do not force it. If the leaves are green, they are still feeding the tuber. Wait until they look completely spent. Then, trim them at soil level with snips. That tells the tuber to go dormant for the winter.
A Final Word From My Experience
Growing Caladium Pink Beauty outdoors becomes so much simpler once you commit to the shade steps. It is not about pampering the plant. It is about respecting its natural preference for filtered light and consistent moisture.
I wasted my first two seasons trying to force this plant into a sunny flower bed. That was pure pride. I wanted it to be tougher than it is. But the plant does not care about my wishes. When I finally gave it a spot under a big oak tree, it rewarded me with prolific leaves and a beautiful, vibrant display that lasted all summer.
So, my final advice is this: do not fight the plant. Give it shade. Keep the soil damp, not drenched. Wait a month before fertilizing. And always start with good drainage. Those four things are the whole ballgame. The rest is just tiny adjustments. You will not lose this plant if you follow these rules. The mystery is gone. It is all about patience and observation. Go find that perfect shady corner today. Your Pink Beauty will thank you with a riot of pink and green.





