 bluename
 If you're searching for how to grow Caladium White Christmas outdoors, the short answer is: plant the tubers 2 inches deep in rich, well-draining soil, keep them consistently moist but never soggy, and place them in dappled shade or morning sun. That's the whole game. I killed two pots before I figured out the rest. Honestly, the details matter, but they're not rocket science.
Why I Fell for the White Christmas Caladium
I remember spotting a photo of Caladium 'White Christmas' online. The leaves looked like someone had splattered white paint on deep green canvas. I ordered five tubers immediately. They arrived as ugly, knobby brown things. I almost thought they were dead. They weren't.
The first season, I planted them in a shady corner of my backyard. By midsummer, that corner looked like a tropical dream. The white leaves seemed to glow in the low light. Neighbors stopped to ask what they were. But getting to that point took some trial and error. I killed three plants in my first year. Let me save you the trouble.
The 3 Deadly Mistakes Newbies Make (I Made All Three)
① Overwatering: The Silent Killer
90% of indoor plants die from overwatering. But outdoor caladiums face the same risk. I learned this the hard way. My first batch of tubers rotted in the ground because I watered them every single evening. I thought I was being helpful. I was actually drowning them.
The soil stayed wet. The tubers developed soft spots. Within two weeks, the shoots that had just appeared turned brown and mushy. I dug them up and the smell was awful – like a swamp. The RHS notes that caladiums need consistently moist soil, but not waterlogged conditions. You want damp, not dripping.
My fix: I stopped watering on a schedule. I started checking the soil with my finger. If the top inch feels dry, I water deeply. If it's still damp, I walk away. Simple as that.
② Wrong Light Placement: Too Much Sun Burns Them
Caladiums are shade-loving plants. But "shade" confused me at first. I put my second batch in full afternoon sun because I assumed more light meant bigger leaves. Big mistake. Within a week, the leaf edges turned crispy and brown. The beautiful white centers looked scorched and translucent.
The AHS describes caladiums as ideal for "shaded, humid conditions." They thrive under tall trees or on the north side of a house. Morning sun with afternoon shade works brilliantly. But direct midday sun? Forget it.
My fix: I moved them to a spot that gets gentle morning light until about 10 AM, then dappled shade for the rest of the day. That location changed everything. New leaves emerged without burning.
③ Wrong Pot or Bed Setup: Drainage Is Everything
My third mistake was planting them in a bed with heavy clay soil. The water pooled on the surface after every rain. The tubers sat in wet mud. They sprouted, but the growth stalled. Then the roots rot started.
The hardest part was realizing this wasn't a watering problem at all. It was a drainage problem. I had to dig them up, amend the soil with compost and perlite, and replant. If you're planting in a pot, the pot needs drainage holes. Not one hole – at least four. I had a pot with two small holes and the soil stayed wet for days.
My fix: I now mix 50% garden soil, 30% compost, and 20% perlite for my beds. For pots, I add a layer of gravel at the bottom and ensure the pot sits on feet so water drains freely.
My Step-by-Step Outdoor Bed Guide
Here's exactly what I do now, in order, after two full seasons of trial and error.
Step 1: Choose the Right Site
I walk around my yard at different times of day before planting. I'm looking for two things: light and wind.
Caladiums hate strong winds almost as much as they hate scorching sun. The leaves are thin and fragile. A single gust can shred them. I found a spot between my fence and a large oak tree. It's sheltered, gets morning sun, and the canopy filters afternoon light.
The soil should be loose, rich, and slightly acidic (pH 5.5 to 6.5). The RHS recommends soil with high organic matter. If your soil is heavy clay, don't plant directly. Amend it first.
Step 2: Wait for the Right Time
I am impatient. I admit that. The first year, I planted my tubers in early April because the weather felt warm. Then a cold snap hit. The soil temperature dropped below 50°F (10°C). The tubers just sat there. Then they started to rot.
Now I wait until the soil temperature stays above 60°F (15°C). In my zone (7b), that's usually mid-to-late May. If you're in a warmer zone, you can start earlier. But the rule is simple: wait until the nights are consistently warm. Caladiums are tropical plants. They can't handle cold soil.
Step 3: Prepare the Soil Properly
I learned this after my clay-soil disaster. Now, two weeks before planting, I dig the bed down to about 8 inches. I mix in a generous amount of leaf mold, compost, and a handful of bone meal. The bone meal provides slow-release phosphorous, which helps root development.
The AHS actually has a great resource on amending soil for tropical bulbs. They recommend testing drainage by filling a hole with water. If it takes longer than 30 minutes to drain, you need more organic matter. I tried this and my hole took almost an hour. That explained everything.
Step 4: Plant Tubers Correctly
Here's something I got wrong initially: which side is up. Caladium tubers look like lumps with no clear direction. But look closely and you'll see small pink or white buds. Those go up. The smooth side goes down.
I plant each tuber 2 inches deep, spacing them about 12 inches apart. If you plant them closer, they'll compete for nutrients. If you space them further, the bed can look sparse. I found 12 inches is the sweet spot for a full, lush look.
Water thoroughly after planting. This settles the soil around the tuber and eliminates air pockets. But only water once. Then wait. I know it's tempting to keep watering, but honestly, just wait.
Step 5: The Waiting Game
This is where most people panic. Did you plant them upside down? Are they dead? Actually, caladium tubers can take 3 to 8 weeks to sprout. The soil needs to be warm enough. If you planted too early, they'll just sit there, dormant.
I check soil moisture once a week but I don't water until I see growth. The exception is if the soil dries out completely, which rarely happens in spring. Once the first shoots appear, I switch to regular watering – about an inch per week.
My 2-Week Observation Log (Real Data)
I kept a daily journal during my most recent planting. Here's exactly what I observed in the first 14 days.
Day 1: Planting Day
Soil temp: 63°F (17°C). I planted 6 tubers. Sky was clear. I watered them in and then stepped back.
Day 3: No Change
Soil still damp. I resisted the urge to water. Two days of no visible activity. I checked the RHS forum and someone said their tubers took 4 weeks. I breathed.
Day 5: Still Nothing
I dug around one tuber slightly. Just to check. There were tiny white root tips starting. Good sign. I covered it back up carefully.
Day 7: First Sign of Life
One tuber has a tiny green tip emerging from the soil. Just barely. It looked like a small pinkish-green spike. I was ecstatic.
Day 9: Second Tuber Peeking
Another sprout appeared. This one looks slightly reddish, which I've read is normal for some varieties. The first sprout has opened a bit and I can see the leaf unfurling.
Day 11: First True Leaf
The first leaf has opened about 70%. It's still pale and a bit crinkled. I ran my finger along the edge – it feels sturdy but soft. The white pattern is already visible.
Day 13: Color Development
The leaf has fully expanded. It's mostly white with green veins and thin green margins. Absolutely stunning. The second sprout is now clearly visible above the soil.
Day 14: Steady Growth
The first leaf is about 4 inches across. Two more leaves are emerging from the same tuber. The other tubers remain dormant. I'm not worried. Different tubers, different schedules. The soil feels good – slightly damp at depth but dry on top.
How I Water (The Exact Method)
I stopped trusting my intuition and started following a simple rule: stick my index finger into the soil up to the second knuckle. If it comes out clean, water. If it comes out with soil sticking to it, wait.
During hot weeks, I water deeply every 3 days. During cooler weeks, once a week is enough. The RHS suggests caladiums need "consistent moisture" and that's exactly what I aim for. But I've also learned that consistency doesn't mean daily water. Consistency means the soil never fully dries out, and never stays soggy.
One tip that helped me: mulch. I spread a 2-inch layer of shredded bark over the soil. This retains moisture and keeps the soil temperature even. I noticed fewer yellow leaves after adding mulch.
Fertilizer: What Worked for Me
I use a balanced liquid fertilizer (20-20-20) at half strength once a month. More than that, and I get leaf burn. Less than that, and the growth slows down.
I also learned something about nitrogen. Too much nitrogen gives you lush green leaves but minimal white coloration. If you want that striking white effect, you need lower nitrogen. I've switched to a 5-10-10 mix in midsummer and I'm seeing better variegation.
Overwintering and Replanting
If you live in USDA zones 9-11, you can leave tubers in the ground year-round. But I live in zone 7b. I have to dig mine up every fall. The leaves die back when the soil gets cold. I wait until the foliage turns yellow and flops over.
Dig carefully around the tubers. Don't pull them up by the stems – the stems break easily. Let the tubers dry in the sun for a few days. Brush off excess soil, but don't wash them. Trim the dead foliage. Store them in paper bags filled with dry peat moss. Keep them somewhere cool (around 50-60°F) and dark.
Truthfully, I forgot about them one year. They sat in my garage through a surprise freeze. By spring, they were mush. Don't be like me. Check on them monthly. If any tuber feels spongy, toss it immediately.
Common Problems I Encountered and Fixes
Leaf Edges Turning Brown
This almost always happens from sun exposure or low humidity. I moved my bed to a shadier spot. For humidity, I mist the leaves in the morning. This helped a lot.
Leaves Curling Inward
This is usually dehydration. The soil may look moist but if the roots fail, the leaves can't take up water. I check soil moisture and also inspect for root rot. If root rot is present, I dig up, cut off the mushy parts, and replant in drier soil.
Leggy Stems and Small Leaves
Insufficient nutrients. I started feeding monthly and the next growth showed an improvement within 2 weeks. The AHS has a guide on fertilizing tropical foliage plants that matches what I've experienced.
Pest Issues
The main culprits for me were spider mites and aphids. I noticed tiny webs on the underside of leaves. I treated with a strong spray of water (to knock them off) followed by a neem oil solution. Repeat weekly until they disappear.
Companion Planting Ideas
Caladiums look stunning next to ferns, hostas, and astilbes. I've planted mine beside Japanese ferns and the contrast between the deep fern fronds and bright white caladium leaves is incredible. They also pair well with impatiens for a shady, colorful bed.
Avoid planting them near aggressive spreading plants like mint or ground ivy. They'll get smothered. I made that mistake once. The mint won.
How to Increase Leaf Size and Whiteness
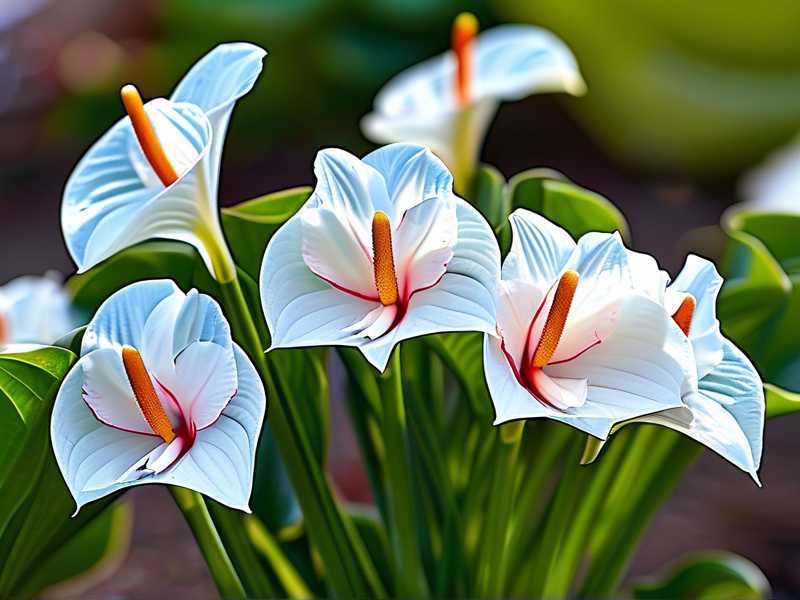
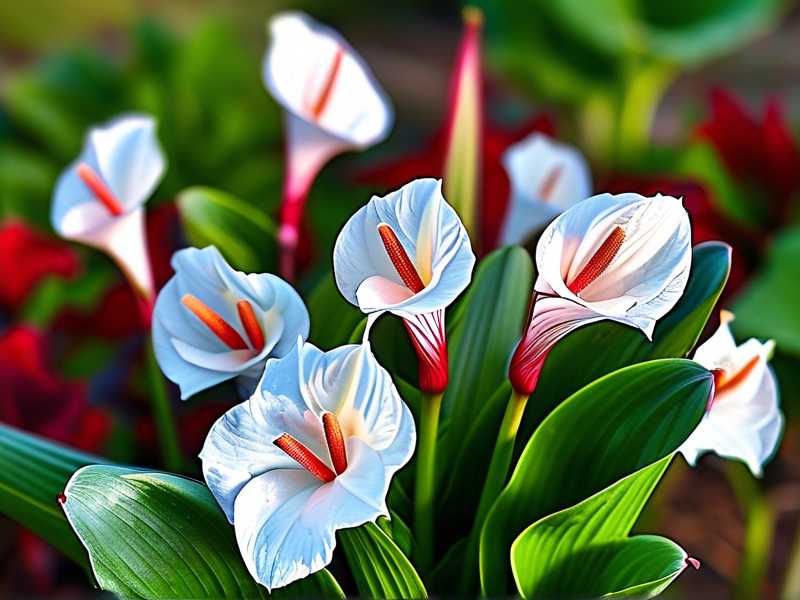
If you want larger leaves, pinch off the first few flower buds. Caladiums produce small white flowers that look like calla lilies. But those flowers take energy away from leaf production. I removed all the buds in the first season and my leaves reached 8 inches wide. In the second season, I let the flowers grow and the leaves were smaller, about 5 inches.
From what I've researched, the AHS believes leaf size depends on tuber size. Larger tubers produce larger leaves. If you want huge leaves, buy jumbo tubers. They cost more, but the visual payoff is huge.
Frequently Asked Questions
1. How much sun does Caladium White Christmas need?
They prefer partial shade. About 2-4 hours of morning sun is ideal. Avoid direct midday sun as it will burn the thin leaves. If you live in a hotter climate, opt for more shade.
2. Can I grow Caladium White Christmas in pots?
Yes, absolutely. Use a pot at least 8 inches deep with drainage holes. Fill with a potting mix that retains moisture but drains well. Keep the pot sheltered from strong winds to prevent leaf tears.
3. When should I plant Caladium tubers outdoors?
Wait until the soil temperature is consistently above 60°F (15°C) and all danger of frost has passed. In most northern hemisphere zones, this is late May or early June. Planting too early leads to rot.
Final Thoughts
Honestly, growing Caladium White Christmas outdoors is a journey. I've killed plants. I've revived plants. I've babysat tubers through winter. But every time I see that first leaf unfurl, white as fresh snow against the green background, it's all worth it.
The takeaway is simple: keep the soil moist but not wet, find that dappled shade spot, and don't rush the process. These plants reward patience. They're forgiving once you understand their needs. And if you make a mistake? Dig it up, let it dry, and try again. I've done it more times than I count.





