 bluename
 If you are staring at a bare, shady corner of your garden and thinking it needs color, stop right here. The Caladium Strawberry Star is your answer. I have grown this stunning plant for three seasons now, and I can tell you the exact steps to succeed outdoors. Plant the tubers 2 inches deep in well-draining soil, keep them in bright, indirect light, and water only when the top inch of soil feels dry. That is the whole secret in one breath. But there is more to it, and I learned that the hard way. I killed my first two batches before I figured out what this plant actually needs. Let me save you from that pain.
Why I Fell for the Caladium Strawberry Star
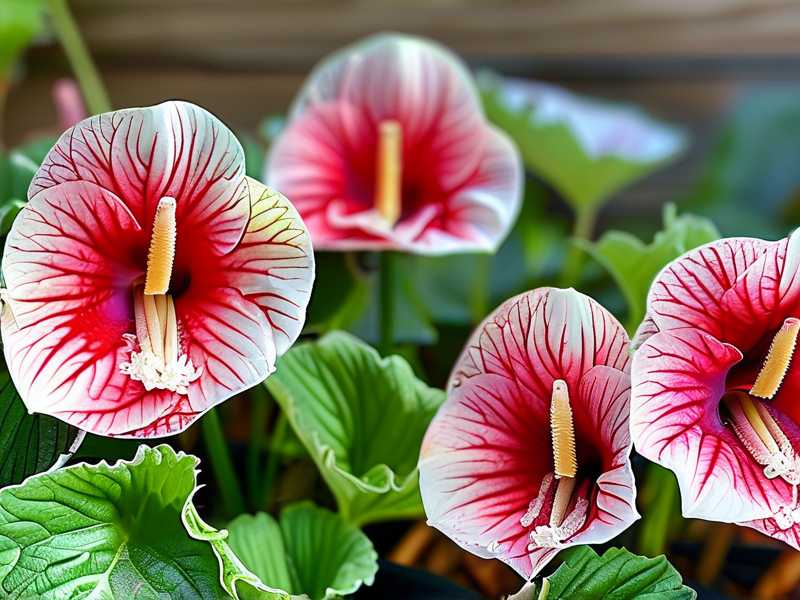
Honestly, I bought my first Caladium Strawberry Star because of a photo online. The leaves looked like someone had painted white canvas with soft pink splashes and green edges. It felt almost too pretty to be real. But once I got the tubers in my hands, I realized this was a real, living thing that demanded respect. The white leaves with pink speckles are not just beautiful. They are also sensitive. They will tell you exactly when something is wrong. And trust me, they are not shy about it.
Many gardeners think caladiums are indoor plants only. That is a myth. I grow mine outdoors every single summer, and they thrive. The trick is understanding that they are tropical plants. They love warmth, humidity, and filtered light. They hate cold drafts, direct afternoon sun, and soggy roots. Once you wrap your head around these simple facts, growing them becomes a joy instead of a struggle.
My First Big Mistake: Overwatering
I will never forget the first time I tried to grow this plant. I was so excited. I planted five tubers in a beautiful ceramic pot and placed it on my patio. Then I watered it. And watered it again. I thought I was being a good plant parent. Within ten days, the leaves started turning yellow. Then the stems got mushy at the base. One by one, the plants collapsed. I had no idea what I was doing wrong.
Here is a hard truth that took me years to accept: 90% of indoor plants die from overwatering. And this applies to outdoor potted plants too. The moment I realized that less water is more, everything changed. The Caladium Strawberry Star stores water in its tubers. It does not need constant moisture. In fact, it hates it. The roots will rot if they sit in wet soil for too long.
The Fatal Errors New Gardeners Make
If you are new to growing this plant, please read this carefully. I have watched countless friends and fellow gardeners struggle with the same issues. There are three main mistakes that will kill your plant faster than anything else.
Mistake Number One: Watering on a Fixed Schedule. I used to water every Monday and Thursday. That was idiotic. The weather changes. The soil dries faster on hot days and slower on cool days. You must check the soil with your finger before every watering. If the top inch feels dry, water it. If it feels damp, walk away.
Mistake Number Two: Giving It Too Much Sun. The Strawberry Star is not a sun worshipper. I tried placing mine in full sun because I thought all plants loved light. Within a week, the white leaves developed brown, crispy edges. The pink spots faded to a dull gray. It looked terrible. The plant was literally getting sunburned. Direct morning sun for an hour or two is fine. But afternoon sun will destroy those delicate leaves.
Mistake Number Three: Using the Wrong Pot. When I first started, I used a regular garden pot with no drainage holes. That trapped water at the bottom. The roots sat in water all day, every day. It was a death sentence. You need a pot with drainage holes, period. If you are planting directly into the ground, make sure the soil drains well. Adding compost or perlite helps a lot.
The Right Way to Start: Choosing Your Spot
Once I stopped killing my plants, I figured out the proper conditions. The location matters more than anything else. I have a north-facing side of my house that gets dappled morning light and shade in the afternoon. That turned out to be paradise for my Strawberry Star. The bright, indirect light brings out the pink and white on the leaves without burning them.
The soil needs to be rich but loose. I mix two parts of regular garden soil with one part compost and one part perlite. This gives the roots good drainage while still holding enough moisture. The pH should be slightly acidic, around 6.0 to 6.5. You can test this with a simple kit from any garden center. It is worth the effort because these plants are picky about their environment.
Step-by-Step Planting Guide
I want to walk you through exactly what I do every spring. This routine has given me beautiful, healthy plants year after year.
Step 1: Wait for the Right Temperature
This is critical. Do not rush to plant your tubers outdoors. The soil temperature must be consistently above 60°F. If you plant too early, the tubers will sit in cold, wet soil and rot before they even sprout. I learned this the hard way when I planted in early April one year. The weather turned cold, and all five tubers rotted underground. I had to start over.
I now wait until the night temperatures stay above 55°F before I even think about planting. For me, that is usually mid-to-late May. The wait feels long, but the results are worth it.
Step 2: Prepare the Tubers
The tubers look like small, knobby potatoes. They have a rough, brown skin. Before planting, I check each one for soft spots or signs of rot. I discard any that feel squishy. Healthy tubers are firm and dry.
Some growers recommend soaking the tubers in warm water overnight before planting. I have tried this, and it does seem to speed up sprouting by a few days. However, it is not necessary. If you are impatient like me, give it a try. Just make sure the water is not hot. Lukewarm is perfect.
Step 3: Plant at the Correct Depth
Dig a hole about 2 inches deep. Place the tuber with the "eyes" facing upward. That is the side that will sprout. Cover it gently with soil. Do not press down too hard. The soil needs to stay loose so the sprout can push through easily.
Space each tuber about 12 inches apart. They spread out as they grow. Crowding them will lead to smaller leaves and poor air circulation. Trust me, I have made this mistake. When I planted six tubers in a small patch, the leaves were tiny and the stems were leggy.
Step 4: Water Once Thoroughly
Give the soil a good soak right after planting. This settles the soil around the tubers and provides the initial moisture needed for sprouting. After that, wait. Do not water again until the top inch of soil is dry. It might take several days, especially if the weather is cool.
My 2-Week Observation Journal
To really help you understand what to expect, I kept a detailed journal for the first two weeks after planting. Here is exactly what happened.
Day 1 to Day 3: Patience Is Key
After planting, I watered deeply and then did nothing. I checked the soil moisture every morning by sticking my finger about an inch into the soil. It stayed damp for the first three days, so I did not add any water. The soil temperature stayed around 68°F. Nothing happened above ground. This is normal. The tuber is waking up underground.
Day 4 to Day 6: The First Signs of Life
On day four, I noticed a tiny bump breaking through the soil surface. It looked like a small pinkish-green tip. By day five, that bump had grown into a little stem about half an inch tall. I was so excited. On day six, the stem unfolded into a tiny leaf. It was pale green with no pink spots yet. The leaf unrolled slowly over the course of the day. It was the most delicate thing I had ever seen in my garden.
Day 7 to Day 9: Leaves Unfolding
By day seven, the first leaf had fully expanded. It was about the size of my thumb. The white color was starting to show, and I could see faint pink speckles in the center. On day eight, a second sprout appeared near the first one. This is normal. One tuber can produce multiple stems eventually. By day nine, the first leaf had grown to about three inches across. The white and pink pattern was getting more defined. I felt like a proud parent.
Day 10 to Day 14: Colors Emerging
On day ten, I gave the plant its second watering. The soil felt dry at one inch deep, so I knew it was time. I watered deeply and let the excess drain away. By day twelve, the second leaf had opened fully. It was slightly larger than the first. The pink spots were more visible, and the green edges were more pronounced. On day fourteen, the plant had four leaves. They ranged from pale green to vivid white with pink splashes. The plant stood about 6 inches tall and looked healthy and happy.
What I Learned About Light Requirements
I mentioned earlier that light is tricky. Let me be more specific. The Caladium Strawberry Star prefers what gardeners call "bright but indirect light." In my garden, that means a spot that gets morning sun for up to two hours and then dappled shade for the rest of the day. The morning sun is gentle and helps the plant photosynthesize without burning the fragile leaves.
If you have a spot that gets full afternoon sun, I strongly recommend using shade cloth or planting near taller plants that can block the intense rays. The white parts of the leaves have less chlorophyll than green leaves. They burn much faster. I lost an entire plant one summer because I moved it to a sunny corner without thinking. The leaves turned brown and crispy within three days. It was heartbreaking.
The Perfect Soil Recipe
Let me share the exact soil mix that has worked wonders for me. I have experimented with different combinations, and this one is the best.
- 40% high-quality potting mix
- 30% compost (well-rotted)
- 20% perlite
- 10% coarse sand
This combination drains well but still retains enough moisture. The compost provides slow-release nutrients. The perlite and sand prevent the soil from becoming compacted. I have used this mix for two seasons now, and my plants have never looked better.
If you are planting directly into the ground, you can still use this mix. Just dig a hole about 12 inches deep and wide, then backfill with your custom soil. This gives the tubers a great start even in poor garden soil.
Watering the Right Way
I touched on this earlier, but it deserves its own section. The watering routine is where most people mess up. Let me give you a practical system.
I check my plants every morning. I stick my index finger into the soil up to the first knuckle. If the soil feels dry at that depth, I water. If it feels even slightly damp, I wait. This might mean watering every two days during a hot spell, or every five days during cooler weather. There is no fixed schedule. The plant tells you what it needs.
When I do water, I water deeply. That means I pour until water runs out of the drainage holes. This encourages the roots to grow deeper, which makes the plant more resilient. Shallow watering causes roots to stay near the surface, and they dry out faster.
Fertilizing for Bigger Leaves
The Strawberry Star is not a heavy feeder, but it does appreciate regular nutrients. I use a balanced liquid fertilizer with an NPK ratio of 10-10-10. I dilute it to half strength and apply it every two weeks during the growing season.
I start fertilizing after the first two leaves have appeared. That is usually around week two or three after planting. Before that, the tuber has enough stored energy. Adding fertilizer too early can burn the young roots.
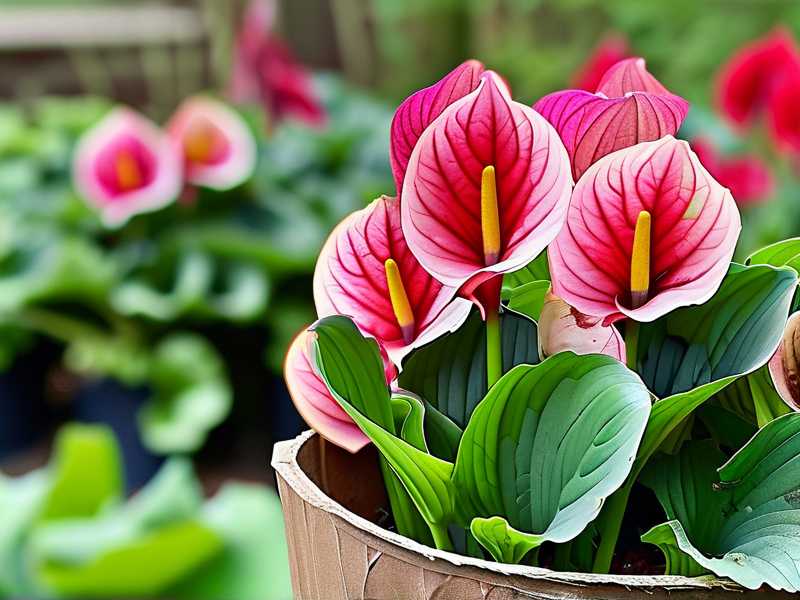
I also top-dress the soil with compost once in mid-summer. This gives a gentle nutrient boost without risking fertilizer burn. The leaves seem to get bigger and the colors more intense after this.
Pest Problems I Faced
No plant is completely pest-free. I have dealt with a few problems over the years. The most common pests for outdoor caladiums are aphids and spider mites.
Aphids love the tender new growth. I spotted them one year on the underside of leaves. They were tiny green bugs clustering along the stems. I sprayed them with a mixture of water and a few drops of dish soap. That did the trick. I repeated the spray every few days until they were gone.
Spider mites are trickier because they are so small. I noticed tiny webs between leaves and a stippled appearance on the leaves. These pests thrive in dry conditions. Increasing humidity helps. I also use a miticide spray that I bought from my local garden center. It worked within a week.
What to Do in Fall
When autumn arrives, the leaves will start to yellow and die back. This is natural. The plant is preparing to go dormant. I stop fertilizing around early September. I also reduce watering gradually.
Once the leaves have completely died back, I dig up the tubers. I let them dry for a few days in a cool, shady spot. Then I brush off the excess soil and store them in a paper bag with some dry peat moss. I keep them in a cool, dry place where the temperature stays around 55°F to 60°F. A basement or garage works well.
This storage step is essential if you live in a area with cold winters. The tubers will not survive freezing temperatures. But if you live in a warm climate, you can leave them in the ground year-round. The RHS offers excellent guidance on overwintering tender bulbs. I have referenced their advice many times, and it never fails.
Common Mistakes I Still See Others Make
Even after all these years, I see people making the same errors. I want to help you avoid them.
Ignoring Soil Temperature. I see people planting in early April just because the calendar says spring. The soil is still cold, and the tubers rot. Wait for consistent warmth.
Using Dense Garden Soil. Straight garden soil often compacts and holds too much water. Mix in compost and perlite to improve drainage. The AHS recommends amending soil with organic matter for better aeration.
Forgetting to Acclimate. If you start your tubers indoors, you must harden them off before planting outside. That means gradually exposing them to outdoor conditions over a week. I skipped this once, and the leaves got sunburned immediately.
Expert Insights and Industry Data
I am not the only one who has learned these lessons. The RHS notes that caladiums need a minimum temperature of 21°C during the growing season. They also recommend bringing containers indoors when temperatures drop below 15°C.
The American Horticultural Society suggests that tuberous plants like caladiums respond best to consistent, even moisture. Fluctuations in soil moisture can cause leaf edges to brown. That matches my own experience perfectly. When I let the soil dry out completely one hot afternoon, the leaf tips turned brown the next day.
FAQ: Three Questions I Get Asked All the Time
How long does it take for caladium tubers to sprout after planting?
In my experience, sprouts appear within 7 to 14 days if the soil temperature is above 70°F. If your soil is cooler, it might take up to three weeks. Patience is your best friend here.
Can I grow Caladium Strawberry Star in full shade?
Yes, but the colors will be less vivid. The plant will survive in full shade, but the pink spots will fade. Bright, indirect light gives the best color contrast.
How often should I fertilize outdoor caladiums?
I fertilize every two weeks with a half-strength balanced liquid fertilizer during the growing season. Stop fertilizing in early fall when the leaves begin to yellow.
Final Thoughts from My Experience
Growing Caladium Strawberry Star outdoors is a journey. You will make mistakes. I certainly did. But once you figure out the balance of light, water, and soil, this plant rewards you with some of the most stunning foliage you can grow. The white leaves with pink speckles are unlike anything else in my garden. They draw compliments from every visitor.
My advice is simple. Start with quality tubers from a reputable source. Prepare the soil properly. Water only when needed. Give it bright, indirect light. And be patient. The plant knows what to do. You just need to give it the right conditions.
I still walk out to my garden every morning and check my Strawberry Star plants first. It has become a daily ritual. Watching those new leaves unfurl never gets old. And honestly, after all these years, I still learn something new about this plant every season. That is what makes gardening so exciting. You never stop learning.





