 bluename
 How to Fix Caladium Carolyn Whorton Root Rot: Treatment Steps That Actually Work
I still remember the morning I lifted my Carolyn Whorton caladium out of its pot and smelled that sour, swampy odor. The leaves had gone limp and yellow almost overnight, and the stems felt like wet spaghetti. If you're reading this, you probably have the same problem right now. So let me give you the short answer first: root rot in Caladium Carolyn Whorton is almost always caused by soggy soil, poor drainage, and cool temperatures. You fix it by removing all the mushy roots, treating the healthy ones with a fungicide, and repotting into a fresh, fast-draining mix. That's it in a nutshell. The rest of this article is the detailed, step-by-step version I wish someone had handed me years ago.
I've killed more caladiums than I care to admit. My first Carolyn Whorton died in a decorative ceramic pot with no drainage hole. My second one rotted because I watered it on a strict schedule instead of checking the soil. It took me three dead plants before I finally understood what root rot really looks like and how to stop it. Now I want to save you that heartbreak.
Why Carolyn Whorton Caladiums Are So Prone to Root Rot
Caladiums grow from tubers. Those tubers store water and nutrients, which is great for the plant but terrible when the soil stays wet. The tuber basically sits in a puddle and slowly turns to mush.
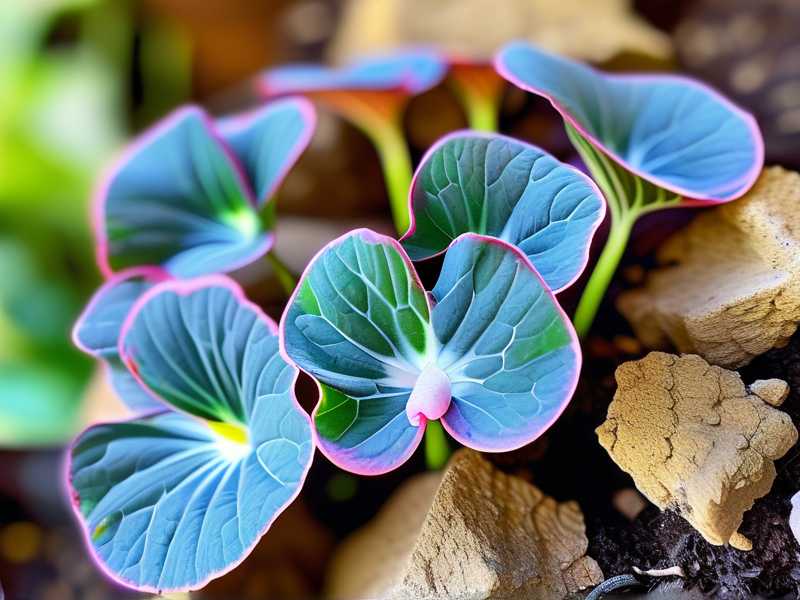
Carolyn Whorton is a fancy-leaf variety with big, pink-speckled leaves. Those leaves are gorgeous, but they also need warmth and consistent moisture, not saturation. The Royal Horticultural Society (RHS) has long warned that tuberous plants are especially vulnerable to fungal and bacterial rots when drainage is poor. RHS recommends amending soil with grit or perlite for exactly this reason.
Here's the thing most beginners miss: root rot isn't just about watering too much. It's about water sitting around the roots with no oxygen. Roots need air. When they don't get it, they suffocate and die, and then fungi move in.
The Three Mistakes That Killed My Caladiums (And Probably Yours Too)
Mistake #1: Overwatering on a Schedule
I used to water every Sunday. Rain or shine, wet soil or dry soil. That's a death sentence for caladiums.
You have to check the soil first. Stick your finger about an inch deep. If it feels moist, wait. If it feels dry, water. Simple as that.
The American Horticultural Society (AHS) notes that overwatering is the leading cause of houseplant decline. AHS puts it bluntly in their guidance: most plants die from too much love, not too little. And honestly, 90% of indoor plants die from overwatering. That statistic gets thrown around a lot, but after years of gardening, I believe it.
Mistake #2: Wrong Light Conditions
Carolyn Whorton needs bright, indirect light. Not a dark corner. Not blazing afternoon sun.
I once put mine on a north-facing windowsill in winter. It got cold, the soil stayed wet, and the tuber rotted within two weeks. On the flip side, I tried full sun on a south-facing porch and the leaves scorched.
The sweet spot? A spot near an east or west window, or a few feet back from a south window. Filtered light through a sheer curtain works beautifully.
Mistake #3: Using the Wrong Pot
This one is sneaky. A pot that's too big holds too much soil, and too much soil holds too much water. Your caladium's roots never fill it, so the excess moisture just sits there.
I learned this the hard way with a gorgeous glazed pot that was three inches wider than the root ball. The tuber rotted in ten days.
Use a pot that's only one to two inches wider than the tuber. Make sure it has drainage holes. If you want to use a decorative pot without holes, keep the plant in a nursery pot and set it inside. Dump the excess water every time.
How to Identify Root Rot in Caladium Carolyn Whorton
Before you start treatment, you need to confirm it's actually root rot. Here's what I check:
- Smell: Healthy soil smells earthy. Rotting tubers smell sour, musty, or like a swamp.
- Leaves: Yellowing, wilting, and mushy stems that collapse at the base.
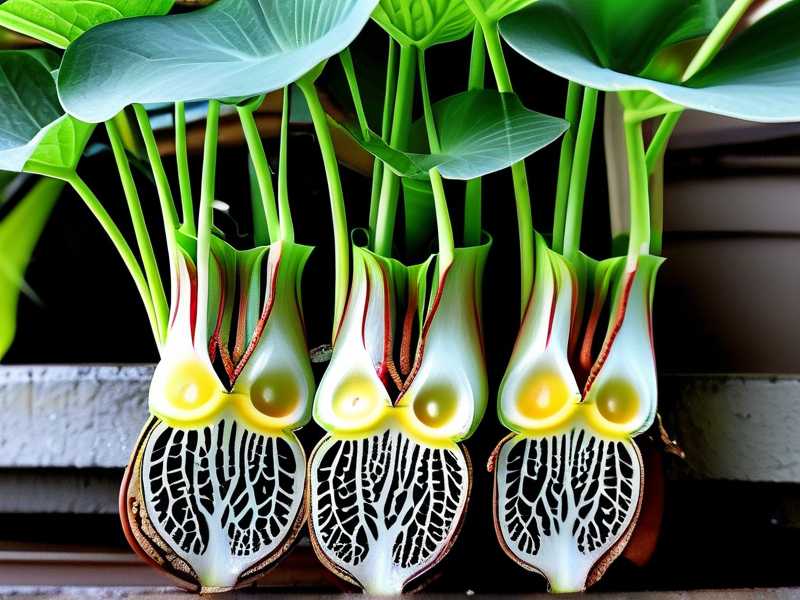
- Tuber texture: A healthy tuber is firm like a potato. A rotting one is soft, squishy, or hollow.
- Color: Healthy tubers are creamy white inside. Rotten ones are brown or black.
- Soil: Constantly wet, sometimes with a white or gray fuzzy mold on the surface.
If you're seeing two or more of these signs, it's time to act. Don't wait. Root rot moves fast.
My 2-Week Root Rot Treatment Plan (Step by Step)
This is the exact process I used on my most recent Carolyn Whorton rescue. I documented it over 14 days. Let me walk you through it.
Day 1: Remove the Plant and Inspect the Tuber
Take the caladium out of its pot. Gently shake off the soil. Don't rinse it yet — you want to see the damage clearly.
Now inspect the tuber. Use your fingers to feel for soft spots. I use a clean, sharp knife to cut away any mushy areas. You have to cut until you see firm, white, healthy tissue. If you leave even a little rot, it spreads.
I once tried to "save" a tuber by just trimming the edges. It rotted again within a week. Lesson learned: be ruthless.
Day 1: Treat with Fungicide
After trimming, I dust the cut surfaces with a powdered fungicide. You can also use a liquid fungicide dip. I've used both, and honestly, the powder is easier to apply on tubers.
Let the tuber dry in a warm, well-ventilated spot for 24 hours. This lets the cuts callous over. Skipping this step is a mistake I made once — the tuber went straight back into moist soil and rotted again.
Day 2: Repot with Fresh, Fast-Draining Mix
Here's my go-to mix for caladiums:
- 40% peat moss or coco coir
- 30% perlite
- 20% orchid bark
- 10% worm castings
It sounds fussy, but it works. The bark and perlite create air pockets. The coir holds just enough moisture. The worm castings give a gentle nutrient boost.
Plant the tuber with the eyes (the little buds) facing up. Cover it with about one inch of mix. Don't bury it deep. I made that mistake early on — deep planting kept the tuber too wet.
Water lightly. Just enough to settle the soil. Not drenching.
Days 3–7: Keep It Warm and Dry
This is the hard part. You have to resist the urge to water.
I kept my rescued caladium in a warm spot — around 75°F (24°C) — with bright, indirect light. No direct sun. No cold drafts. I didn't water again until day 7, and even then, I only gave it a tiny sip around the edges of the pot.
What did I see? Nothing at first. No new growth. The remaining leaves drooped. I panicked a little. But by day 5, the soil was finally drying out, and the tuber felt firm when I gently poked around the surface.
Days 8–14: Watch for New Growth
By day 10, I noticed a tiny green tip pushing through the soil. That was my sign that the tuber was alive and recovering.
I watered lightly every 5–7 days, always checking the top inch of soil first. The mix stayed barely moist, never wet.
By day 14, I had one small new leaf unfurling. It wasn't much, but it was everything.
Here's a quick recap of what I observed over those two weeks:
- Day 1: Removed rot, treated, dried
- Day 2: Repotted in fresh mix
- Day 5: Soil drying, no new growth
- Day 10: First new shoot visible
- Day 14: Small leaf unfurling, tuber firm
What I'd Do Differently Next Time
I've learned a few things from my failures and successes. Here's what I'd tell any beginner:
Don't panic-trim too much. If the tuber is mostly firm with just one soft spot, you can save it. But if it's mushy all over, toss it. I've tried to revive completely rotten tubers, and it never works. Save your energy.
Skip the "dry out and hope" approach. I once left a rotting caladium in dry soil for a month, thinking it would heal itself. It didn't. You have to remove the rot physically.
Use a smaller pot than you think. A 4-inch pot for a single tuber is often enough. I know it looks tiny, but caladiums actually prefer being slightly snug.
Keep the temperature stable. Cold, wet soil is the perfect environment for rot. If your home gets chilly at night, move the plant to a warmer room.
Preventing Root Rot in the Future
Once your Carolyn Whorton recovers, you want to keep it that way. Here's what works for me:
- Water only when the top inch of soil is dry. I check every 3–4 days in summer, every 7–10 days in winter.
- Use a moisture meter if you're unsure. I bought a cheap one years ago, and it's saved more plants than I can count.
- Never let the pot sit in standing water. Empty saucers and cachepots after watering.
- Repot every spring. Fresh mix, fresh start. Old soil compacts and holds water.
- Avoid watering on cloudy, cool days. Plants use less water when there's less light.
FAQs About Caladium Carolyn Whorton Root Rot
Can a caladium tuber recover from root rot?
Yes, if the rot hasn't spread through the entire tuber. You need to cut away all soft, brown, or smelly tissue until you see firm white flesh. Treat with fungicide, let it callous, and repot in fresh mix. I've saved tubers with only a small healthy section left.
How long does it take for a caladium to show new growth after root rot treatment?
In my experience, it takes about 7–14 days in warm conditions. Keep the soil barely moist and the temperature around 75°F. If you see nothing after three weeks and the tuber feels mushy, it's probably too late.
Should I water a caladium with root rot?
No. Not until you've removed the rot and repotted. Watering a rotting tuber makes everything worse. After repotting, water lightly once and then wait until the soil dries out before watering again.
Final Thoughts
Root rot on Caladium Carolyn Whorton is scary, but it's not a death sentence. I've brought back tubers that looked hopeless, and you can too. The key is acting fast, being brave with the knife, and being patient during recovery.
Remember: 90% of indoor plants die from overwatering. Don't be part of that statistic. Check your soil, use the right pot, and give your caladium the warm, bright, well-drained home it craves. Your Carolyn Whorton will thank you with those stunning pink-speckled leaves for months to come.





