 bluename
 If your Caladium 'Gingerland' has turned into a tangled mess of skinny stems and flopping leaves, the fix is simpler than you think: dig up the tubers, divide them, and replant with proper spacing so each one has room to breathe.
I know that sounds blunt, but overcrowding in Caladium Gingerland is one of those problems that gets worse the longer you wait.
I learned this the hard way. My first Gingerland pot looked gorgeous in June, then turned into a crowded jungle by August.
Leaves got smaller. Color faded. A few just rotted at the base.
That's when I realized the tubers had multiplied underground and were basically suffocating each other.
So let me walk you through exactly how I fixed it, what I observed over two weeks, and the three mistakes I see beginners make over and over again.
Why Caladium Gingerland Gets Overcrowded So Fast
Caladium 'Gingerland' is a dwarf variety. That's part of its charm.
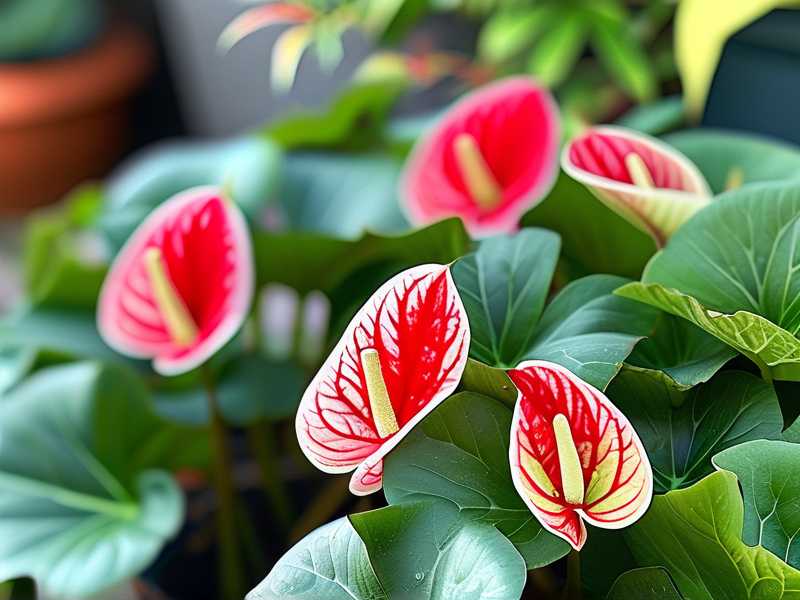
It stays compact, with those stunning heart-shaped leaves splashed in green, white, and pink.
But here's the thing nobody tells you at the nursery: dwarf caladiums multiply aggressively underground.
Each tuber can produce two, three, sometimes four new tubers in a single growing season.
So if you planted three tubers in a 6-inch pot back in spring, by mid-summer you could have ten or more crammed into that same space.
The roots compete for water and nutrients. The leaves shade each other out. Air circulation drops to almost nothing.
And that's when disease moves in.
According to the RHS, caladiums grown in tight conditions are far more susceptible to tuber rot and fungal leaf spot. The AHS also notes that proper spacing is critical for tropical aroids grown as houseplants or in containers.
I've seen this firsthand. Crowded Gingerlands always decline faster than properly spaced ones.
Signs Your Gingerland Is Overcrowded (Not Just Full)
Not every full pot is an overcrowded pot. There's a difference.
A healthy, full Gingerland looks lush and vibrant. An overcrowded one looks stressed.
Here's what I look for:
Smaller new leaves. If the newest leaves are noticeably smaller than the older ones, the plant is running out of resources.
Leaning or flopping stems. When tubers are packed tight, stems push against each other and grow sideways instead of up.
Yellowing lower leaves. This happens when light can't reach the inner growth and the plant starts sacrificing older foliage.
Slow growth despite good conditions. If your watering and light are on point but the plant just stalls, overcrowding is likely the culprit.
Visible tubers at the soil surface. When tubers push up above the soil line, that's a clear signal they've run out of room.
I noticed all five of these on my Gingerland last summer. The turning point was when I lifted the pot and saw tuber tops literally breaking through the soil surface.
The Thinning Process: Step by Step
This is the exact process I used. It took about 45 minutes from start to finish.
Step 1: Water the Pot the Day Before
Don't dig into dry soil. It damages roots and makes the tubers harder to separate.
I watered my Gingerland thoroughly the evening before dividing. The next morning, the soil was moist but not soggy.
Step 2: Slide the Plant Out Gently
Turn the pot on its side. Tap the bottom. Let gravity do the work.
Don't yank the plant by the stems. I did that once with a different caladium and snapped three stems clean off. Not fun.
If the root ball is stuck, run a butter knife around the inside edge of the pot.
Step 3: Break Apart the Root Ball
Use your fingers to loosen the soil around the edges. Work inward.
You'll start to feel the tubers. They look like small, knobby potatoes.
Gently pull them apart. Some will separate easily. Others might still be connected by a thin stolon. Just snip those with clean scissors.
Step 4: Inspect Every Tuber
This part matters more than people realize.
Look for mushy spots, dark discoloration, or a sour smell. Those are signs of rot. Toss any rotten tubers immediately. Don't compost them.
Healthy Gingerland tubers are firm and tan to light brown.
I found two rotten tubers in my batch. If I hadn't caught them, they would have infected the healthy ones after replanting.
Step 5: Let Them Dry for a Few Hours
This is a step most guides skip. Don't skip it.
After dividing, let the tubers sit in a cool, dry spot for two to four hours. This lets any cuts or breaks callous over.
It reduces the risk of rot after replanting.
Step 6: Replant with Proper Spacing
Here's my rule: one Gingerland tuber per 4-inch pot, or three tubers in an 8-inch pot with at least 2 inches between each one.
Use a light, well-draining mix. I use two parts potting soil, one part perlite, and one part peat moss.
Plant tubers with the eyes facing up, about 1 to 1.5 inches deep.
Step 7: Water Lightly and Wait
Don't soak the soil after replanting. Give it a light watering just to settle the mix.
Then wait. New growth usually appears within 7 to 14 days.
What I Observed Over Two Weeks
I kept notes. Here's what actually happened.
Days 1–3: Nothing visible. The tubers were settling in. I resisted the urge to water again. That was hard.
Days 4–7: Tiny nubs started pushing through the soil on the larger tubers. The smaller ones were still dormant.
Days 8–10: First real leaves unfurled. The color was already more vivid than the crowded plant's leaves had been.
Days 11–14: Multiple stems per tuber. Leaves were noticeably larger than the ones on the overcrowded original. Stems stood upright. No flopping.
By the end of week two, I could see the difference clearly.
The divided Gingerlands looked healthier, more colorful, and more upright than the crowded original ever did in its final weeks.
Three Mistakes That Kill Gingerland (I Made All Three)
1. Overwatering
This is the big one. Let me just say it: 90% of indoor plants die from overwatering.
I killed my first Gingerland by watering it every other day because the soil looked dry on top. The tubers were sitting in wet soil the whole time.
Caladium tubers rot fast in soggy conditions. The soil surface dries faster than the soil at tuber level.
Always check moisture at least an inch below the surface before watering. If it's still damp, wait.
2. Wrong Light
Gingerland needs bright, indirect light.
I tried full morning sun once. The leaves bleached out and got crispy edges within three days.
Then I overcorrected and put it in a dark corner. Growth stopped completely. Stems got leggy and pale.
The sweet spot is a spot near an east or north window, or a few feet back from a south-facing window with a sheer curtain.
3. Wrong Pot
I used a pot that was too big once. That might sound like the opposite of overcrowding, but it caused the same problem: rot.
A pot that's too large holds too much moisture around the tubers. Gingerland actually prefers being slightly snug.
Use a pot that's just 1 to 2 inches wider than the tuber cluster.
Also, drainage holes are non-negotiable. I've seen people try to grow caladiums in decorative pots without drainage. It never ends well.
When to Divide Gingerland
Timing matters.
The best time is at the start of the growing season, when tubers are just beginning to sprout. For most US and Canadian growers, that's late spring.
In warmer zones like Australia, you can divide in early spring or even late winter if you're keeping them indoors.
You can also divide mid-season if overcrowding is severe. I did mine in July and the plants recovered fine. But early-season division gives you a full season of growth.
If your Gingerland goes dormant in fall, you can also divide the tubers during dormancy. Just store them in dry peat moss until spring.
Aftercare Tips That Actually Matter
Once your Gingerland is divided and replanted, here's what keeps it thriving:
Consistent moisture, not constant wetness. Water when the top inch of soil feels dry.
Fertilize lightly. I use a diluted liquid fertilizer at half strength every four weeks during the growing season. Full-strength fertilizer burns the roots.
Remove yellow leaves promptly. They attract pests and block air circulation.
Keep humidity up. Gingerland loves humidity above 50%. I run a small humidifier nearby, or set the pot on a tray of pebbles with water.
Don't repot again for at least a year. Let the new divisions establish.
I've been growing caladiums for six years now. The Gingerland is still one of my favorites, but only when it has room to grow properly.
Frequently Asked Questions
Can I divide Gingerland while it's actively growing?
Yes, but be gentle. I've done it mid-season and the plants recovered within two weeks. Water lightly after replanting and keep them out of direct sun for the first week.
How many tubers should I put in one pot?
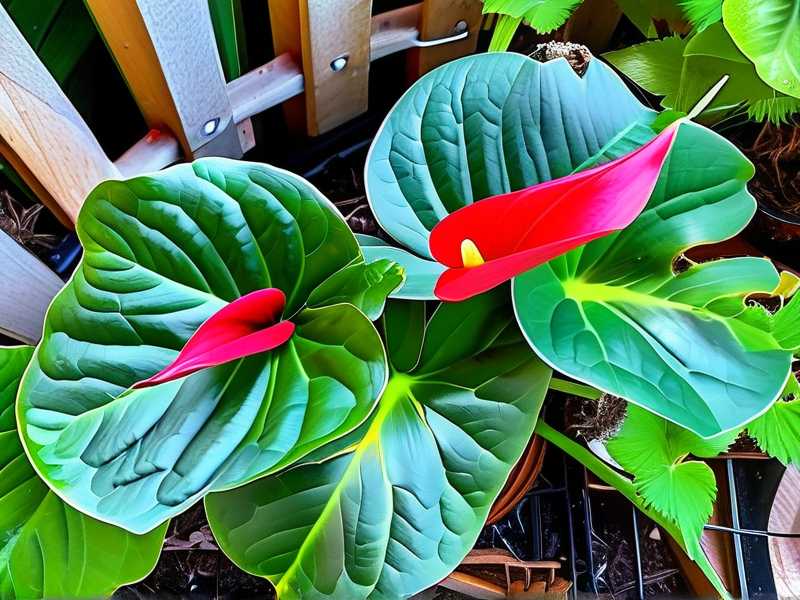
Three tubers in an 8-inch pot is my go-to ratio. If you're using a 4-inch pot, stick to one tuber. Giving each tuber at least 2 inches of space prevents the overcrowding from coming back.
What if my Gingerland tubers are all tangled together?
Soak the root ball in lukewarm water for 20 minutes. The soil will loosen and the tubers will separate more easily. Don't force them apart dry, or you'll break the growing eyes.
Final Thoughts
Caladium Gingerland overcrowding isn't a death sentence. It's just a signal that the plant needs more room.
Divide the tubers, space them properly, use the right pot, and watch how quickly they bounce back.
I went from a floppy, faded mess to vibrant, upright foliage in just two weeks. You can do the same.
The biggest mistake is waiting too long. Once rot sets in, you lose tubers you could have saved.
So if your Gingerland looks crowded right now, don't put it off. Grab a butter knife, some fresh potting mix, and give those tubers the space they deserve.





