 bluename
 How to Care for Caladiums During Dormancy: Winter Steps
I’ve seen it happen too many times. A friend excitedly shows off their vibrant caladiums in July, only to message me in panic come November: “My leaves are all dying! Is it dead? What did I do wrong?” If you’re holding a pot of what looks like a rapidly declining caladium, take a deep breath. Your plant isn’t dying; it’s simply telling you it’s time for its long winter nap. The real challenge, and the core pain point for most enthusiasts, isn’t keeping them alive in summer—it’s successfully guiding them through dormancy and waking them up healthy and strong next spring. After years of trial and significant error, I’ve refined a reliable process for caladium winter care. Let me walk you through my exact steps, the crucial two-week observation period, and the pitfalls I’ve learned to avoid.
Understanding the Dormancy Signal
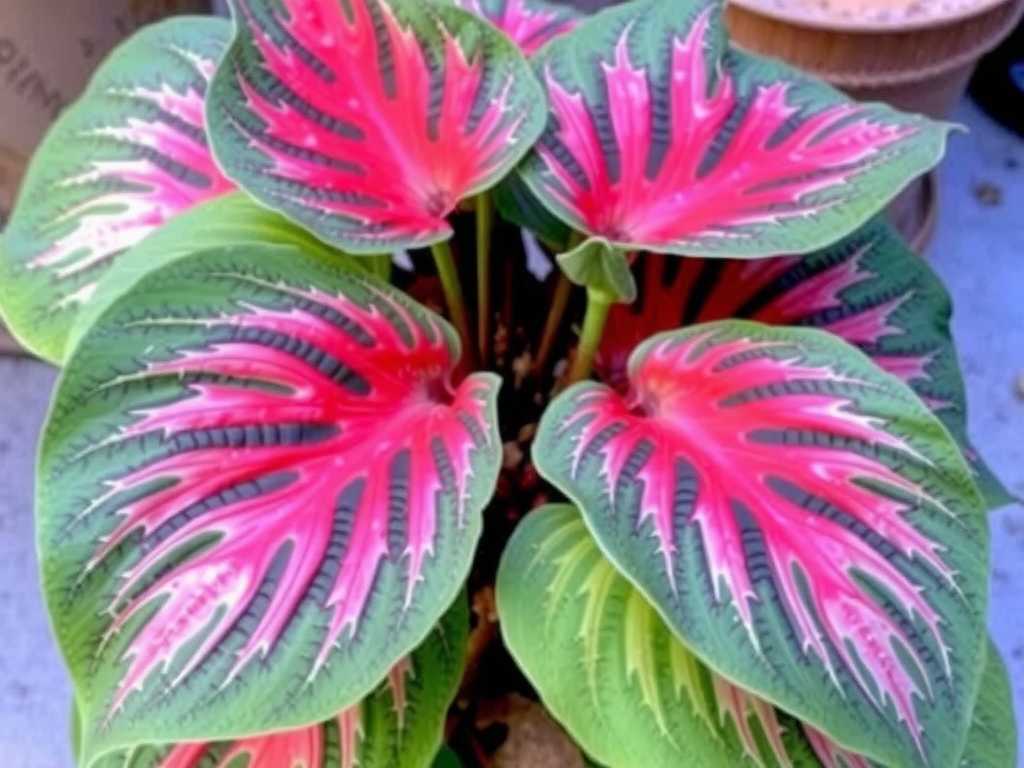
First, you must recognize the signs. As daylight wanes and temperatures drop, your caladium will begin its natural shutdown. Leaves will yellow, starting from the edges inward. Stems will soften and droop. This isn’t a disease; it’s a physiological cue. The American Horticultural Society notes that for many tropical bulbous plants like caladiums, dormancy is a vital survival mechanism to conserve energy during unfavorable conditions. Fighting this process by trying to force leaf growth under weak winter light will only exhaust the tuber. The key is to work with the plant, not against it.
My Step-by-Step Process for Overwintering Caladium Tubers
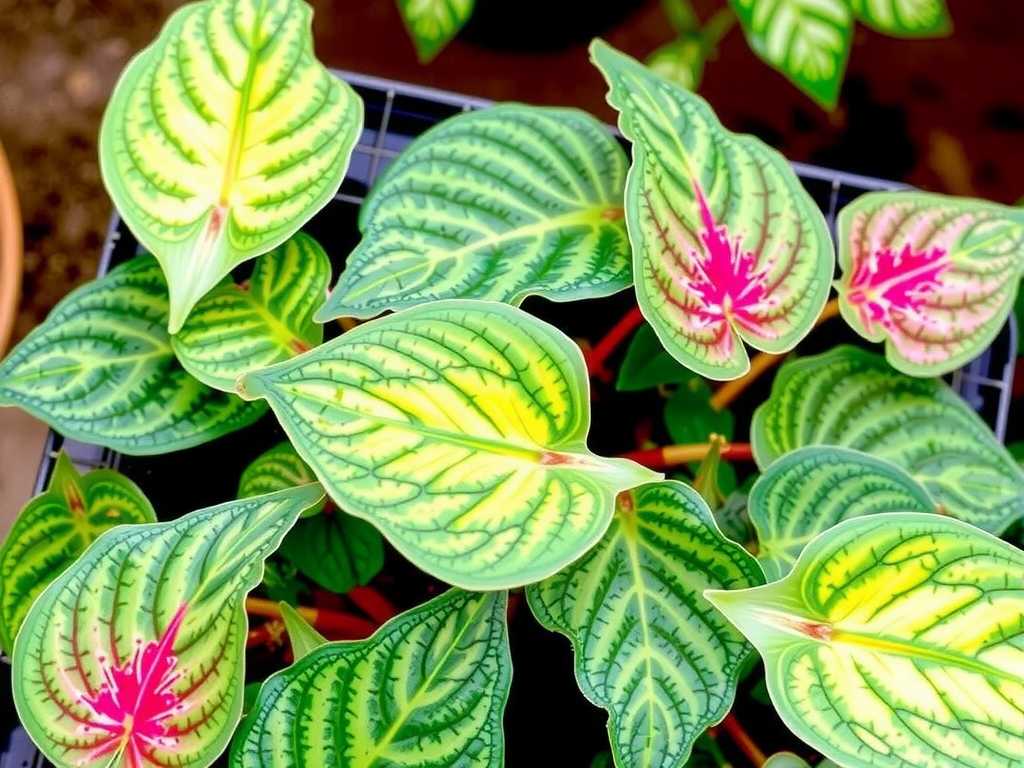
I follow a clear, staged approach once I see those first yellow leaves. Here is my personal method, honed over several seasons.
Step 1: The Gradual Wind-Down
I stop fertilizing my potted caladiums about 6-8 weeks before I expect to bring them indoors. This allows them to start using up existing nutrients without promoting tender new growth that would be vulnerable later. As the leaves begin to yellow, I gradually reduce watering. This mimics the drier season in their native habitat and encourages the tuber to start drawing energy back from the foliage.
Step 2: The Decision: To Dig or Not to Dig?
This depends on your setup. If your caladiums are in pots outdoors, the process is simple: I stop watering entirely once most leaves have yellowed and died back. I then move the entire pot to a cool, dark, and dry storage location. My preferred spot is an unheated basement corner where temperatures stay consistently between 50-60°F (10-15°C).
For caladiums planted in the garden bed, you must dig up the tubers. I wait until a majority of the foliage has yellowed but before the first hard frost. Using a garden fork, I gently loosen the soil in a wide circle around the plant to avoid spearing the tubers. I lift the clump and gently brush off most of the soil.
Step 3: Cleaning and Curing: A Critical Phase
Here’s where I made my biggest mistake early on. I used to immediately cut off all the foliage and pack the tubers away. This led to rot. Now, I practice curing. I lay the dug-up tubers in a single layer in a warm, dry, and airy spot out of direct sun—my garage workbench works perfectly. I leave the foliage attached. Over 7-10 days, the remaining leaves wither completely, and the papery outer skin of the tuber dries and tightens. This process seals any minor wounds and significantly reduces the risk of fungal infection during storage, a point strongly emphasized in Royal Horticultural Society guidelines for overwintering tender bulbs.
Step 4: Preparing for Storage
After the foliage is completely crisp and brown, I gently twist it off; it should detach easily without tearing the tuber. I do not wash the tubers, as moisture is the enemy. I give them a final, light dusting of sulfur powder or an organic fungicide like cinnamon powder (a great DIY alternative) as a preventative measure. This is a simple step that adds a layer of protection.
For storage, medium is key. I’ve tried peat moss, but it can become too compact and wet. My winning combination is slightly damp (not wet) sphagnum moss or vermiculite. I place a layer in the bottom of a cardboard box or a ventilated plastic crate. I nestle the tubers in, ensuring they are not touching each other, and cover them completely with more medium. I label each variety—trust me, you’ll forget by spring!
Step 5: The Winter Watch: A Two-Week Check Routine
Storage isn’t a “set it and forget it” affair. For the first two weeks after boxing them, I check on my tubers every 3-4 days. I’m looking for two things: excessive dryness or signs of rot. If the storage medium feels bone dry and the tubers start to shrivel, I lightly mist the medium—never the tubers directly—to reintroduce minimal moisture. If I see a soft, mushy spot on a tuber (my nose often detects a foul smell first), I act immediately. Using a clean knife, I cut away the rotted portion until only firm, healthy tissue remains. I dust the cut area heavily with fungicide powder and let it air-dry for a day before returning it to a separate, clean storage box. This vigilant initial period allows me to catch and correct environmental issues before they wipe out my entire collection.
Long-Term Storage and Spring Awakening
After that critical two-week period, monthly checks are sufficient. My storage goal is to keep the tubers cool, dark, and just barely moist enough to prevent desiccation. Come early spring, about 6-8 weeks before my last frost date, I begin the waking process. I unbox the tubers and inspect them. Healthy tubers will often have prominent, plump “eyes” or buds. I pot them up in fresh, well-draining potting mix, place them in a warm (70-75°F), bright spot, and water sparingly. Once I see the first sturdy sprouts, I resume regular watering and watch the magic begin again.
Common Pitfalls and How I Solved Them
- Pitfall 1: Storing Tubers Too Damp. This was my rookie error. I lost several prized varieties to mold. The fix was switching to barely-damp vermiculite and ensuring the storage area had good air circulation.
- Pitfall 2: Cutting Foliage Too Early. This created an open wound for pathogens. Letting the foliage die back naturally during the curing phase allows the plant to seal itself off.
- Pitfall 3: Storing in a Fluctuating Environment. A garage that freezes or an attic that gets too hot will kill tubers. Finding that consistent 50-60°F spot is non-negotiable. I now use a simple minimum-maximum thermometer to monitor my storage corner.
My caladiums are still green, but it’s getting cold. Should I force them into dormancy? No, never force it. Continue to care for them as houseplants in a sunny window if you wish. They will naturally enter dormancy when they are ready, which may be later indoors. Forcing dormancy by cutting green leaves or withholding water from an active plant severely weakens the tuber.
I found a shriveled tuber in storage. Is it dead? Not necessarily. A slightly shriveled tuber can often be revived. Soak it in lukewarm water for a few hours before planting in spring. If it plumps up and feels firm, it’s still viable. If it remains rock-hard and desiccated or mushy, it is likely a loss.
Can I skip dormancy and keep my caladium growing year-round? You can try, but it’s not ideal. Without a rest period, the plant will often produce progressively smaller, weaker leaves. A mandatory dormancy period of a few months allows the tuber to rest and recharge, resulting in a more vigorous display the following season. Think of it as essential self-care for your plant.
Successfully guiding your caladiums through their dormant period is a rewarding practice that connects you to the natural rhythms of the plant. By providing the right conditions for rest—cool, dark, and dry—you are investing in their future performance. The simple acts of careful digging, patient curing, and vigilant storage monitoring make all the difference. When you see those first bold, colorful leaves push through the soil next spring, you’ll know your careful winter steps for caladiums were worth every moment.





