 bluename
 How to Grow Caladiums in Bright Bedrooms: Mastering Light Control for Stunning Foliage
I love the vibrant, heart-shaped leaves of caladiums, but for the longest time, I struggled to keep them happy in my bright, sun-drenched bedroom. I’d bring home a lush plant, only to watch its beautiful colors fade or its leaves develop crispy, brown edges within weeks. The common advice of “bright, indirect light” felt vague and confusing when faced with the reality of a south or west-facing room flooded with sunlight. If you’re facing the same frustration, wondering why your caladiums look washed-out or scorched despite your care, you’re not alone. The secret isn’t less light, but smarter light control. After extensive trial, error, and a dedicated two-week observation period, I’ve developed a reliable system. This guide will walk you through the exact steps I took to transform my bright bedroom into a caladium paradise.
Understanding Caladiums and Their True Light Needs
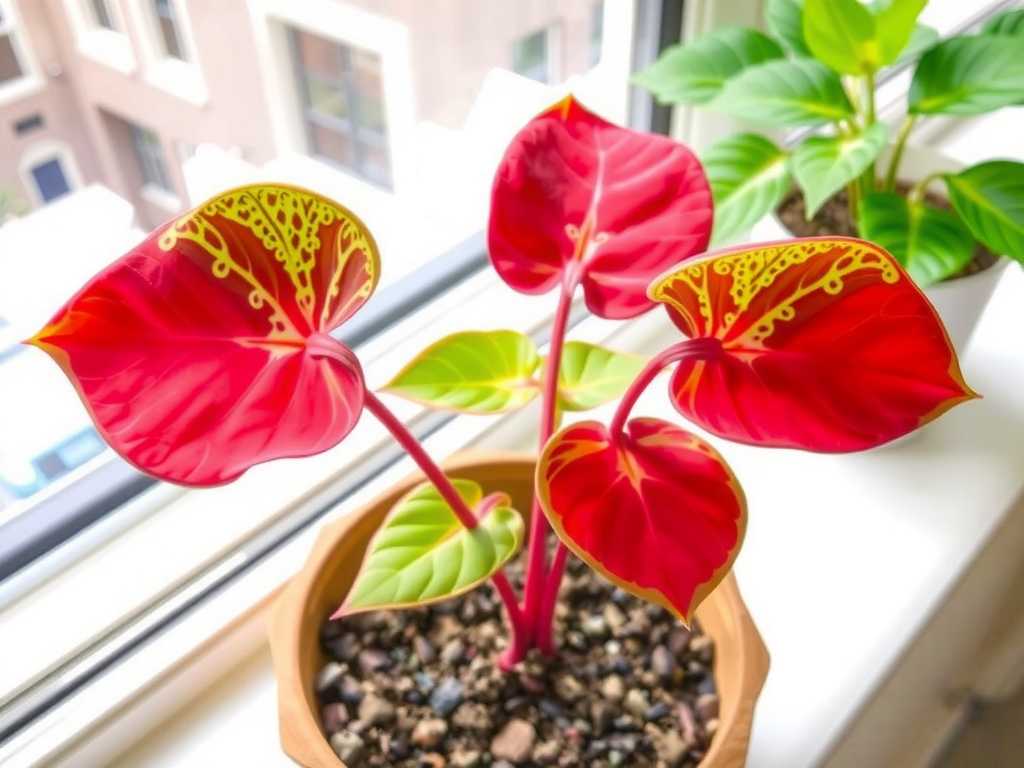
Caladiums are tropical understory plants, naturally thriving beneath the canopy of taller trees. This means they are adapted to receive dappled, filtered sunlight, not the harsh, direct rays of a midday sun. In a bright bedroom, uncontrolled direct light is the primary enemy. It leads to leaf scorch, where cells literally burn, causing brown, papery patches. It also causes color bleaching, where the brilliant pinks, reds, and whites fade to a dull green as the plant produces more chlorophyll to protect itself.
However, bright rooms also offer a tremendous advantage: abundant ambient light. The goal is to harness this light while diffusing or blocking the direct, damaging beams. I learned to distinguish between direct light (where you can see clear, sharp shadows) and bright indirect light (where the room is very bright, but no sunbeams directly touch the leaves). The latter is the sweet spot.
My Step-by-Step Light Control Strategy
Here is the precise, actionable plan I followed, which you can replicate in your own space.
Step 1: The Initial Assessment and Placement
First, I spent a full day observing my bedroom’s light patterns. I noted where and when direct sunlight hit the floor and surfaces. My south-facing window received intense direct light from about 11 AM to 4 PM. I placed my caladiums about 4-5 feet away from this window, on a side table. This was my starting point. Crucially, I ensured the plant itself was never in the path of a visible sunbeam. A simple trick is to hold your hand where the plant will be; if you see a sharp, defined shadow, it’s direct light. A soft, faint shadow indicates indirect light.
Step 2: Implementing Diffusion Layers
Even at a distance, the intensity was high. So, I introduced diffusion. I installed a sheer, white curtain—a classic and highly effective solution. As noted by the Royal Horticultural Society (RHS), “A sheer curtain is ideal for softening direct sunlight, creating the dappled effect many houseplants crave.” This single layer transformed the harsh light into a gentle, glowing brightness. Immediately, I noticed the leaves stopped feeling warm to the touch in the afternoon.
Step 3: Strategic Rotation and Observation
No spot in a room receives perfectly even light. To promote symmetrical growth and prevent the plant from leaning toward the light source (phototropism), I instituted a weekly quarter-turn rotation every Sunday. This simple habit ensures all sides of the plant receive equal exposure, leading to a fuller, more balanced appearance.
The Two-Week Observation: Data and Adjustments
I committed to a detailed, two-week observation period to validate my setup. I kept a simple journal, noting leaf color, firmness, and any new growth daily.
- Days 1-3: The existing leaves showed no further signs of stress. The slight crispiness on one leaf edge did not progress.
- Days 4-7: I noticed the first sign of success: a new leaf spike (called a cataphyll) emerging from the tuber. It was a healthy, firm nub.
- Days 8-14: The new leaf unfurled beautifully. This was the critical test. The leaf was robust, with vibrant, deep pink veins and no signs of translucency or burning at the edges. Compared to a previous, bleached leaf from my pre-curtain days, the color saturation was dramatically different. The plant looked energized, not just surviving, but actively thriving.
The Pitfalls I Encountered (And How I Fixed Them)
My journey wasn’t without mistakes. Here’s where I went wrong and how I corrected course.
Pitfall 1: Misjudging “Morning Sun” I once thought an east-facing windowsill with “gentle morning sun” was safe. After just three days, the delicate new leaves showed faint yellow patches. Morning light, especially in summer, can still be too direct. The American Horticultural Society’s (AHS) light intensity charts confirm that clear morning sun can exceed 10,000 lux, which is too strong for delicate caladium foliage.
- Solution: I moved the plant back from the windowsill to a spot where the morning sun hit the wall behind it, not the plant directly. The ambient light remained excellent without the burn risk.
Pitfall 2: Overcompensating with Darkness Worried about scorch, I once moved a caladium too far into the room corner. Within a week, the stems became elongated and leggy, reaching weakly for light, and the leaf colors turned muddy and less distinct. This is a classic sign of insufficient light.
- Solution: I used a light meter app on my phone (a surprisingly handy tool) to find a spot that consistently read between 2,500 and 4,000 lux—the ideal range for bright indirect light. This quantitative check took the guesswork out.
Pitfall 3: Neglecting Seasonal Light Shifts The sun’s angle changes with the seasons. My perfect winter spot became a direct sun trap in late spring as the sun climbed higher.
- Solution: I now do a seasonal “light audit.” I reassess the room’s sun paths in spring and fall and adjust my plant’s position or curtain setup accordingly. It’s a proactive step that prevents seasonal scorch.
Complementary Care for Light-Controlled Caladiums
Mastering light is 80% of the battle, but other factors work in synergy.
- Watering: With controlled light, soil moisture evaporates more consistently, not rapidly. I water only when the top inch of soil feels dry. Overwatering in lower-light conditions is a major cause of tuber rot.
- Humidity: Bright rooms can be dry. I place my caladium on a pebble tray filled with water. The evaporating water creates a localized humid microclimate, which keeps the large, thin leaves from developing dry edges.
- Feeding: During active growth (spring/summer), I use a balanced, diluted liquid fertilizer every 4-6 weeks. Strong light supports photosynthesis, and gentle feeding provides the nutrients needed to produce those spectacular leaves.
Addressing Your Top Concerns
Can caladiums ever adapt to direct sun? While some varieties labeled “sun-tolerant” can handle more light, no caladium truly thrives in prolonged, harsh direct sun. The foliage will always be tougher, smaller, and less vibrantly colored than one grown in perfect, bright indirect light. It’s always best to err on the side of protection.
My room doesn’t have windows suitable for curtains. What are my alternatives? There are several effective solutions. Static-cling window films that provide a frosted, light-diffusing effect are excellent. You can also use adjustable blinds to angle light upwards onto the ceiling, which then reflects down as soft, ambient light. Moving the plant just a few feet back or using a taller piece of furniture as a light barrier can also work.
Are artificial grow lights a good substitute in a bright room? In a truly bright room, they are often unnecessary for caladiums. However, if your bright light is very seasonal or you want to supplement during dark winters, a gentle, full-spectrum LED grow light can be beneficial. Use it to supplement ambient light, not replace it, and keep it on a low setting for 4-6 hours to extend the “day” length without overwhelming the plant.
Growing caladiums in a bright bedroom is entirely possible—it simply requires you to become a light manager. By observing your space, employing simple diffusion tools like sheer curtains, and committing to regular plant rotation, you can create the ideal environment. My two-week experiment proved that with controlled light, caladiums don’t just survive; they showcase their most breathtaking colors and vigorous growth. Remember, it’s about quality of light, not just quantity. Start by moving your plant out of the direct beam today, and watch as those magnificent leaves thank you with their stunning display.





