 bluename
 How to Grow Caladiums in Low Light Offices: Desk Plant Guide
You love the idea of a vibrant, leafy desk plant, but your office feels more like a cozy cave than a sun-drenched conservatory. I get it. For years, I stared longingly at photos of lush, colorful caladiums, convinced they could never survive in my dimly lit workspace. The common advice was clear: "Bright, indirect light only." It felt like a rule written for someone else, someone with a south-facing window I could only dream of.
Then, I decided to experiment. What if I treated a caladium not as a diva, but as a resilient partner? This guide is the result of that journey—a practical, step-by-step account of how I successfully cultivated beautiful caladiums in low-light office conditions. I’ll share my exact process, the mistakes I made (and how I fixed them), and the tangible results I observed over a dedicated two-week observation period. Let's transform that gloomy desk corner into a focal point of natural beauty.
Understanding Caladiums and the Low-Light Reality
First, let's set realistic expectations. Caladiums, native to the understory of South American tropical forests, are indeed adapted to dappled light. However, "low light" does not mean "no light." In an office context, low light typically means no direct sunbeams hitting the leaves, but sufficient ambient light from overhead fixtures or a distant window to comfortably read a book without a lamp. This is our baseline.
According to the Royal Horticultural Society (RHS), while caladiums thrive in bright, filtered light, certain varieties with darker leaves possess more chlorophyll and can tolerate lower light levels better than their lighter-leaved cousins. This was my first crucial takeaway: variety selection is everything.
My Two-Week Low-Light Caladium Experiment: A Diary
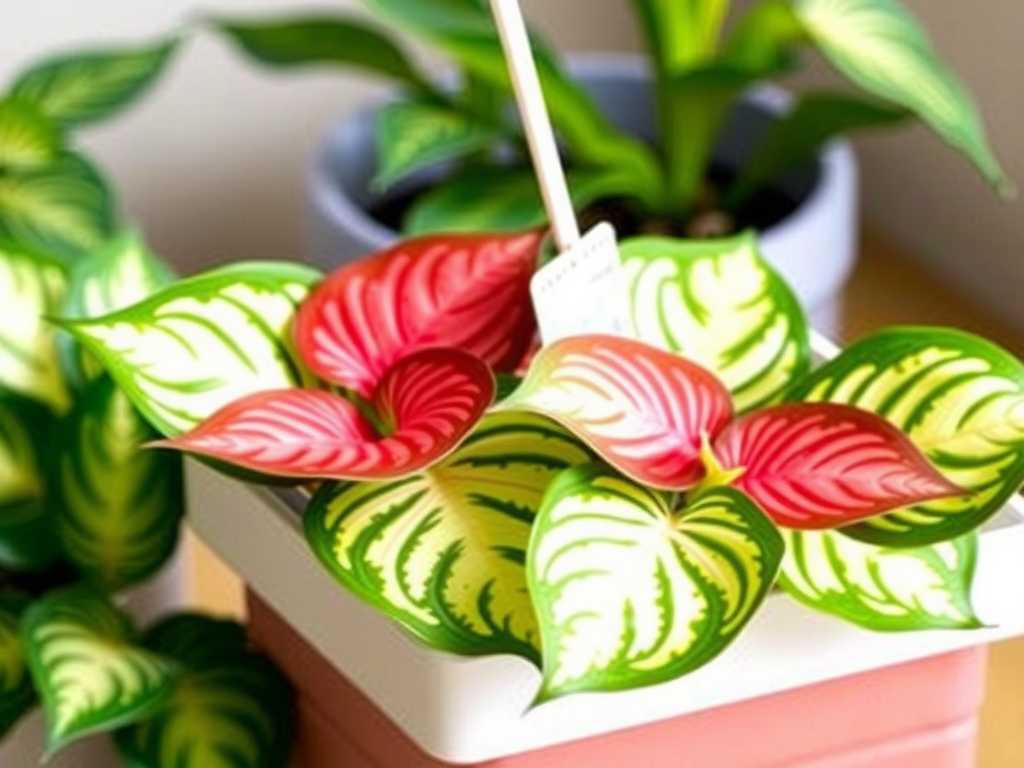
I chose two varieties for my experiment: a 'White Queen' (known for its delicate white and pink veins) and a sturdier 'Red Flash' (with deep red centers and green edges). I placed them on my desk, approximately 10 feet from a north-facing window, relying solely on standard LED office ceiling lights for about 10 hours a day.
Week 1: Acclimation and Initial Adjustments
The first three days were about observation. The 'White Queen' immediately showed signs of stress—its stems seemed to stretch slightly, a condition known as etiolation, where a plant grows leggy seeking light. The 'Red Flash,' however, held its compact form. I realized my first mistake: assuming all caladiums would react the same.
Fix: I moved the 'White Queen' to the very edge of my desk, closer to the ambient light path from the door. I also gently rotated both plants a quarter turn every morning to ensure even exposure. This simple step prevented them from leaning awkwardly toward the faintest light source.
By day five, I focused on watering. In low light, evaporation slows dramatically. I checked soil moisture not by a schedule, but by touch. I inserted my finger about an inch into the soil. If it felt dry, I watered thoroughly until it drained from the bottom into a saucer, which I emptied after 30 minutes to prevent root rot—a major risk in cool, low-light environments. The American Horticultural Society (AHA) emphasizes that overwatering is the single biggest killer of indoor plants, especially in sub-optimal light.
Week 2: Growth Signs and Humidity Hacks
Entering the second week, the 'Red Flash' did something wonderful: it unfurled a new leaf. It was slightly smaller and had a deeper, less vibrant red hue than it might in brighter light, but it was healthy and robust. The 'White Queen' had stabilized; its stretching halted.
The central air conditioning created a desert-like dryness. Caladiums crave humidity. Their leaf edges began to show minor, crispy brown tips. This was my second challenge.
Fix: I employed two low-maintenance office-friendly solutions. First, I placed the pots on a wide, shallow tray filled with pebbles and a bit of water. As the water evaporates, it creates a localized humid microclimate. Second, I started using a small, quiet USB-powered desktop humidifier for a few hours during the workday. The difference within 48 hours was remarkable. The new leaves on the 'Red Flash' emerged without any browning.
By the end of week two, both plants were not just surviving but actively adapting. The key lesson was that growth in low light is slower and colors may be more muted, but with the right care, vitality is absolutely achievable.
Your Step-by-Step Guide to Success
Based on my trial, here is your actionable blueprint for growing caladiums in low-light offices.
1. The Critical First Step: Choosing the Right Variety This is the most important decision you'll make. Forget the spectacular, almost translucent white varieties for deep low-light areas. Instead, opt for cultivars with darker foliage:
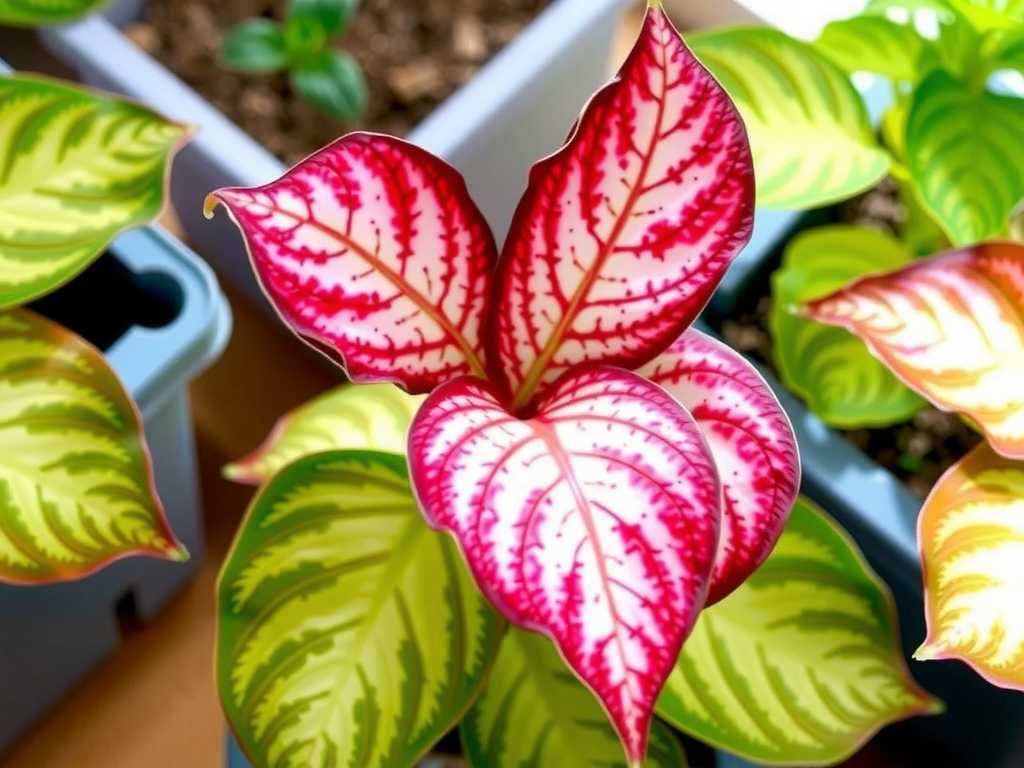
- 'Red Flash', 'Burgundy Blush', or 'Black Magic': Their dark red and near-black leaves absorb light more efficiently.
- 'Miss Muffet' or 'Florida Sweetheart': These have dense, mottled patterns that often perform better than stark white-and-green types. Look for plants that already appear sturdy, not leggy, in the nursery.
2. Potting and Soil: The Foundation Drainage is non-negotiable. Use a pot with multiple drainage holes. I prefer a well-aerated, peat-based potting mix amended with extra perlite or orchid bark (about a 3:1 ratio). This ensures the roots get oxygen and the soil doesn't stay soggy. A heavy, moisture-retentive soil is a death sentence in a cool, low-light office.
3. The Art of Watering in Low Light Abandon the calendar. Your watering cue is the soil, not the day of the week. Use the finger test. When the top inch is dry, water deeply and evenly until it runs from the bottom. Then, let the pot drain completely. In my office environment, this translated to watering approximately every 10-12 days, but this will vary based on your specific conditions.
4. Boosting Humidity Without the Fuss Grouping plants together can create a shared humid zone. The pebble tray method I used is highly effective and discreet. For a more direct approach, a small desktop humidifier is a game-changer. Avoid misting the leaves frequently, as this can promote fungal diseases if the leaves stay wet in cool, stagnant air.
5. Supplemental Lighting: A Simple Game-Changer If you notice significant stretching or color loss, consider a subtle boost. I added a compact, low-wattage LED grow light bulb to a small desk lamp. I positioned it about 18 inches above the plants and set it on a 6-hour timer, providing a gentle "sunrise" period without disrupting the office aesthetic. This single addition can dramatically improve growth and color intensity.
6. Feeding: Less is More During the active growing season (spring and summer), feed your caladiums sparingly. I use a balanced, diluted liquid fertilizer (half-strength) only once a month. In low light, the plant's growth is slower, and its nutritional needs are reduced. Over-fertilizing will lead to salt buildup in the soil and can burn the roots.
Troubleshooting: The Pitfalls I Encountered
- Yellowing Leaves: This was my first panic. I learned it could mean two things: overwatering or natural dormancy. If multiple leaves yellow and the soil is wet, cut back on water immediately. If it's autumn and the plant slowly yellows, it may be entering its natural rest period. Reduce watering and let it die back.
- Leggy Growth: This is a pure sign of insufficient light. Either move the plant to a brighter spot (even a few feet can make a difference) or introduce a supplemental grow light.
- Drooping Leaves: Could be underwatering or a cold draft. Check the soil moisture first. Also, ensure your plant isn't sitting directly under an AC vent.
Can caladiums really survive with only fluorescent office lighting? Yes, they can survive, particularly the darker-leaved varieties. However, "survive" is different from "thrive." Their growth will be slower and their colors less vivid. For best results, position them as close to the light source as possible or provide supplemental LED grow lighting for a few hours a day.
How often should I water my office caladium in winter? Even less frequently. With lower light levels and cooler temperatures, evaporation slows to a crawl. The plant may also be dormant. Water only when the soil is dry well below the surface—perhaps only once every 3-4 weeks. The goal is to keep the bulbs from completely desiccating, not to support active growth.
My caladium's leaves are all dying back. Have I killed it? Not necessarily! Caladiums are tuberous plants that often require a dormant period, especially in lower-light conditions that mimic shorter days. When leaves die back, stop watering and store the pot in a cool, dry place for 2-3 months. When you see new growth nubs in spring, resume watering and bring it back to your desk. It's a cycle, not a failure.
Growing caladiums in a low-light office is an exercise in attentive partnership rather than strict control. It teaches you to read subtle signs—the slight lean of a stem, the texture of the soil, the hue of a new leaf. By choosing the right variety, mastering the soak-and-dry watering method, and creatively managing humidity, you can enjoy the spectacular, heart-shaped beauty of caladiums even in the most light-challenged workspace. My 'Red Flash' is now a permanent, conversation-starting resident on my desk, a living testament to the fact that a little adaptability goes a very long way. Start with a resilient variety, observe patiently, and enjoy the process of bringing a slice of the tropics to your daily grind.





