bluename
 How to Use a Saucer for Caladium Pots and Avoid the Dangers of Standing Water
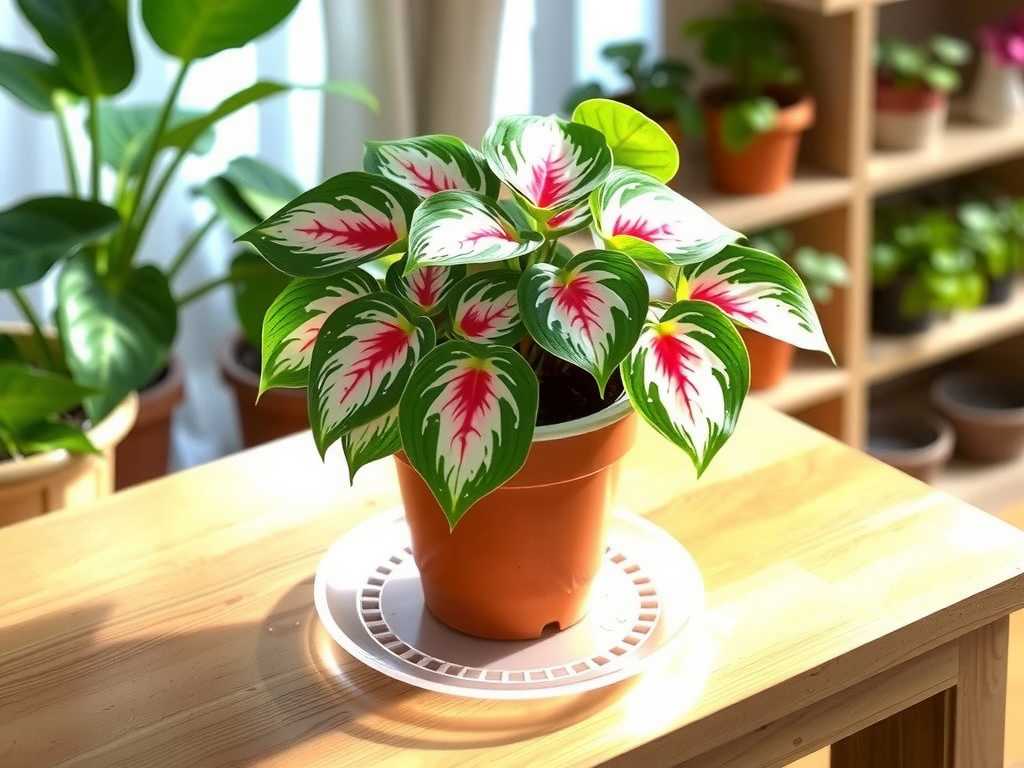
I love my caladiums. Their vibrant, heart-shaped leaves are like living stained glass in my home. But for years, I struggled with a silent killer: overwatering. No matter how careful I was, my caladiums would sometimes develop yellowing leaves or, worse, soft, rotten tubers. The culprit was often hidden—standing water trapped in the saucer beneath the pot. It wasn't until I learned the right way to use a saucer for caladium pots that I turned things around. This isn't just about placing a dish under a pot; it's a crucial practice for avoiding standing water and ensuring those stunning leaves thrive. Let me walk you through my tested method, the mistakes I made, and the remarkable difference it made over a focused two-week observation period.
Why Your Caladium's Life Depends on Proper Saucer Use
Caladiums are tropical plants that adore humidity but despise "wet feet." Their tubers are prone to rot in consistently soggy soil. A saucer's primary job is not to hold water for the plant to drink later, but to protect your surfaces from drainage water. When we let water sit in the saucer, we create a perfect environment for root rot, fungus gnats, and soil compaction. The American Horticultural Society (AHS) emphasizes that "good drainage is non-negotiable for tuberous plants like caladiums." Standing water effectively re-saturates the soil from the bottom up, undoing all the benefits of a well-draining potting mix.
My Step-by-Step Guide to the "Saucer Method" for Healthy Caladiums
Here is the exact process I follow every time I water my caladiums. It's simple but requires a slight shift in mindset.
Choosing the Right Tools: Pot and Saucer Harmony
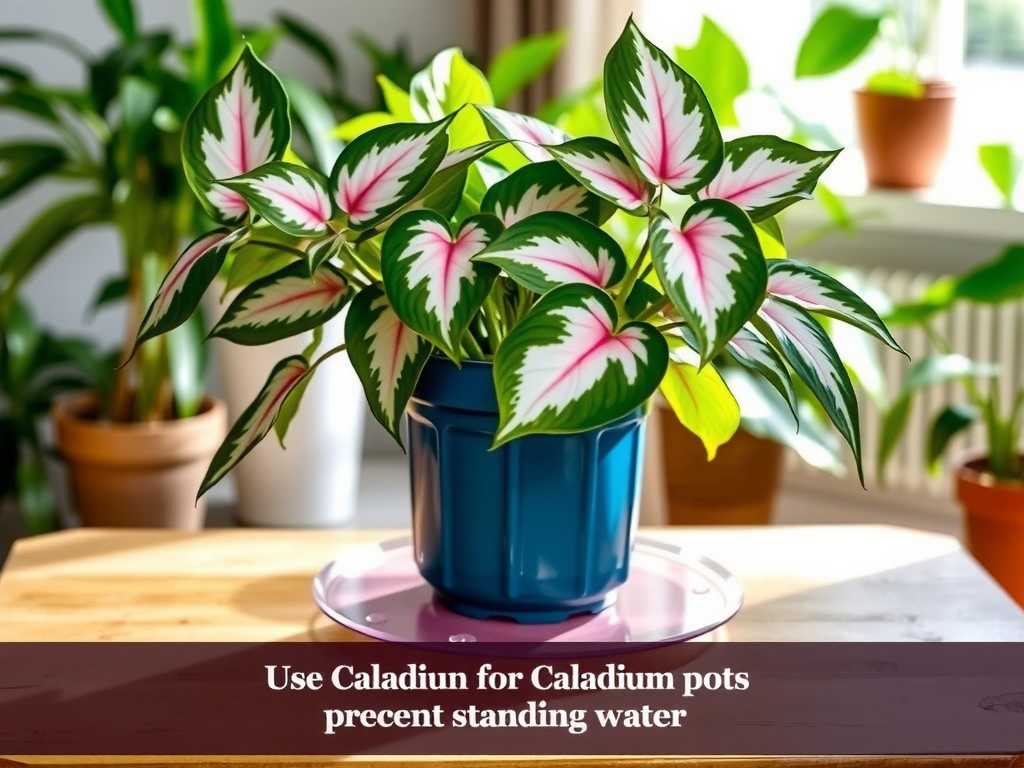
First, your pot must have adequate drainage holes. This is non-negotiable. I pair it with a saucer that is just slightly wider than the pot's base. A saucer that's too large is tempting to overfill with water, and one that's too small won't catch all the runoff. I prefer shallow, flat saucers over deep ones, as they visually discourage letting water pool.
The Watering Ritual: It's a Two-Part Process
I take my plant to the sink, which is my number one tip. Water thoroughly until you see a steady stream flowing from the drainage holes. This ensures the entire root ball is evenly moistened. I let it drain in the sink for a full 15-20 minutes. This waiting period is critical; it allows excess water the potting mix can't hold to fully escape.
The Critical Step: Emptying the Saucer
Once drainage has completely stopped, I place the pot back into its dry, empty saucer. Then, and only then, do I return the plant to its decorative spot. This is the core of avoiding root rot in caladiums. The saucer is now there as insurance for any last drips, not as a reservoir.
My 2-Week Experiment: Observing the Difference
I decided to test this rigorously. I took two similar caladium plants from the same nursery batch. For both, I used the sink watering method.
- Plant A (Correct Saucer Use): After draining, it was placed on an empty saucer.
- Plant B (Incorrect Saucer Use): After draining, I deliberately left about half an inch of water in its saucer.
Week 1 Observations: By Day 4, the soil moisture for Plant B was still high at the bottom, while Plant A's soil felt consistently moist but not wet. Plant B showed no visible issues yet, but I noted a few fungus gnats around it.
Week 2 Observations: By Day 10, the tip of one lower leaf on Plant B began to yellow. The soil surface for Plant B took much longer to dry out. Plant A, however, pushed out a new, perfectly formed leaf. The soil dried at an even, expected rate from top to bottom. The difference in vitality was becoming clear.
The Pitfalls I Encountered (And How I Fixed Them)
Even with the best intentions, I made mistakes. Here’s what can go wrong and how to solve it.
The "Forgotten Saucer" Syndrome
Life gets busy. I'd water my plant, let it drain, and then get distracted. An hour later, I'd find the pot still sitting in a puddle in the sink's drip tray. The fix was to make the draining part of the ritual. I set a timer on my phone for 20 minutes as soon as I finish watering. When it goes off, I complete the task.
Misjudging Soil Saturation
Sometimes, especially with peat-heavy mixes, water can run straight through without fully saturating the root ball. I'd think I'd watered thoroughly, but the center was still dry. I learned to water slowly, in stages, and to feel the weight of the pot. A well-watered pot is significantly heavier. If in doubt, I use a wooden chopstick inserted into the soil to check moisture deep in the pot.
Dealing with Non-Removable Saucers on Large Planters
Some decorative pots have attached saucers. For these, I use a tool: a turkey baster. After watering and allowing the pot to drain in place for 30 minutes, I use the baster to suck every last drop of water out of the integrated saucer. It’s oddly satisfying and incredibly effective for preventing waterlogged soil in container plants.
Expert Insights: Why This Method Works
My experience aligns with expert guidance. The Royal Horticultural Society (RHS) advises that "after watering container plants, always empty the outer pot or saucer of excess water." This practice is a cornerstone of proper caladium pot drainage. It allows for necessary oxygen to reach the roots, which is as vital as water itself. A study on root health consistently shows that cyclic drying and wetting promotes stronger root systems than constant moisture.
Advanced Tips for the Discerning Plant Parent
Once you've mastered the basics, consider these steps for even healthier plants.
- Use Pot Feet or Pebbles: Placing small pebbles or specialized pot feet inside the saucer, then setting the pot on top, creates an air gap. This ensures the pot's drainage holes are never in direct contact with any accidental water that might seep in.
- Monitor with a Moisture Meter: For beginners, a simple soil moisture meter takes the guesswork out. It helps you learn the "feel" of your plant's watering needs and confirms when the bottom soil is drying appropriately.
- Adjust for Seasons: My caladiums need much less frequent watering in their dormant winter period. The "empty saucer" rule remains, but the watering interval stretches significantly.
How often should I water my caladium if I'm using this saucer method? Water only when the top 1-2 inches of soil feel dry to the touch. The frequency depends on light, heat, and pot size. The saucer method doesn't change when you water, it ensures that when you do, it doesn't lead to waterlogging.
Is it ever okay to leave water in the saucer for humidity? No. For humidity, use a humidifier, a pebble tray (where the pot sits above the water line), or regular misting. Letting the pot sit in water for humidity is counterproductive and harmful to the roots.
What if my caladium is already showing signs of overwatering from a soggy saucer? Stop watering immediately. Remove the plant from its pot and inspect the tubers and roots. Cut away any soft, mushy, or rotten parts with a sterile tool. Repot in fresh, dry, well-draining mix and a clean pot. Do not water for several days, then resume with the correct saucer technique.
Mastering the humble saucer transformed my caladium care. It shifted my role from a passive waterer to an active manager of soil conditions. By simply ensuring that saucer stays empty after every single watering, you provide the precise balance of moisture and air your caladium craves. The results are undeniable: stronger roots, more vibrant and persistent foliage, and the deep satisfaction of nurturing a plant in a way that truly aligns with its needs. Give this method a try for two weeks—your caladiums will show you their gratitude.