 bluename
 How to Elevate Caladium Pots: Improve Airflow for Healthier, Happier Plants
I’ve always been mesmerized by the stained-glass beauty of caladium leaves. But for the longest time, my own collection told a story of frustration. Despite perfect watering and light, I’d see stems that felt a bit soft, or lower leaves yellowing mysteriously and dropping. The real heartbreak was losing a stunning ‘White Queen’ to what I now know was the beginning of tuber rot. The common advice—check your watering—wasn’t the full answer. It wasn’t until I shifted my focus from just the top of the soil to what was happening underneath the pot that everything changed. The true secret, I discovered, lies in one simple, often overlooked principle: how to elevate caladium pots to improve airflow. This isn’t just a minor tip; it’s a foundational practice that transforms plant health from the ground up.
For two weeks, I dedicated myself to an experiment, elevating every single one of my caladium pots and meticulously documenting the results. The journey wasn’t without its hiccups, but the outcome was so profoundly positive that I’ll never go back. Here’s my hands-on guide, born from trial, error, and ultimately, triumph.
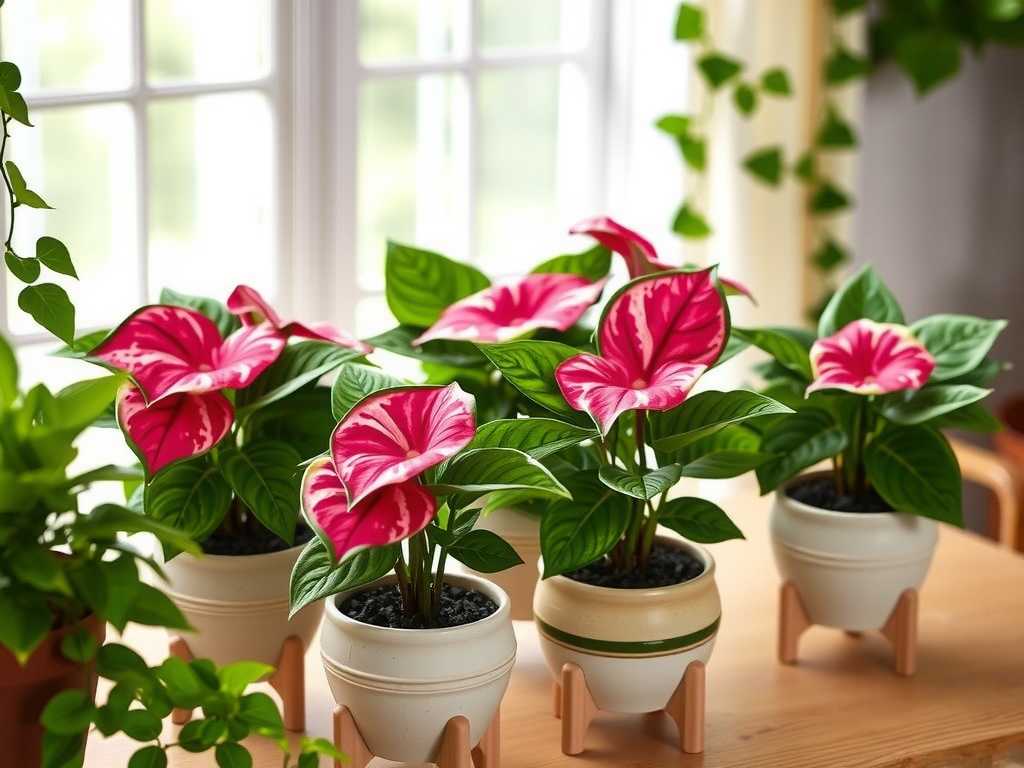
Why Your Caladium’s Pot Bottom is a Danger Zone
We pour so much love into the soil mix, ensuring it’s well-draining. We use pots with drainage holes. Yet, we often plop those pots directly onto saucers, trays, or solid surfaces. This creates a sealed chamber. When you water, excess moisture has nowhere to go but to pool in the saucer. Even if you empty it, a film of dampness remains, clogging the drainage hole.
This stagnant, humid environment is a recipe for disaster. It suffocates the roots, preventing the crucial gas exchange they need. More critically, it invites pathogens. The Royal Horticultural Society (RHS) consistently emphasizes that “good drainage is essential” for preventing root rot, and that starts with ensuring pots are never left sitting in water. By elevating the pot, you break this seal, allowing air to circulate freely underneath, actively wicking away moisture and creating a hostile environment for rot-causing fungi.
My Two-Week Elevation Experiment: Step-by-Step
I gathered my caladiums—a mix of fancy and strap-leaved varieties in plastic and ceramic pots—and three different elevation methods to test.
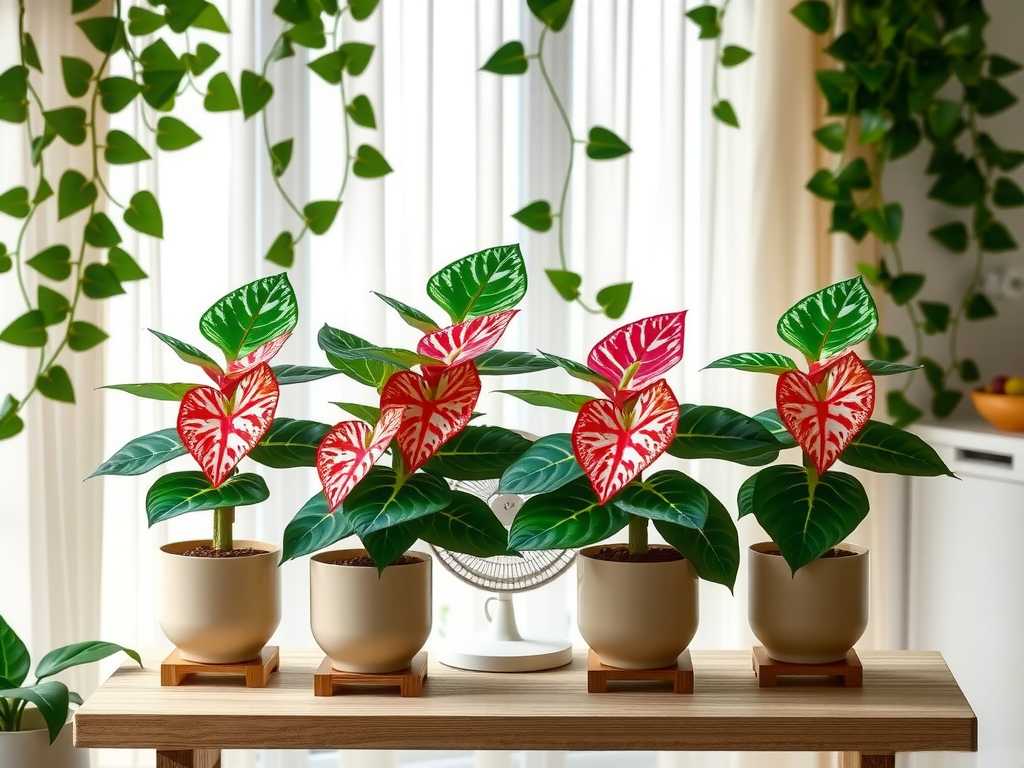
Week 1: Implementation and Initial Observations
My goal was to boost caladium health with proper pot elevation. I set up three groups:
- Group A (Pot Feet): I placed simple ceramic pot feet under four of my pots. This lifted them about 1.5 inches off the saucer.
- Group B (DIY Pebble Tray): For three pots, I used a deeper tray filled with a layer of uniform pebbles. The pot sat on the pebbles, above any water that might drain through.
- Group C (Specialized Plant Risers): I invested in a set of plastic mesh plant risers/cradles for my two largest pots. These are designed specifically for maximum airflow.
I watered all plants as usual, ensuring water flowed freely from the holes. For Groups A and C, any excess water drained into the saucer below but had no contact with the pot base. For Group B, water trickled down into the pebbles.
The First “Gotcha”: Within two days, I noticed an issue with my DIY pebble tray setup. The pebbles I used were too small and packed too tightly. They weren’t allowing for optimal air movement and were staying wet for too long, partially defeating the purpose. Solution: I immediately swapped the small pebbles for larger, river-washed stones about 1 inch in diameter. The difference in air space was instantly visible.
Week 2: Visible Transformations and Data
By the end of the second week, the changes were undeniable.
- Faster Dry-Back Cycle: I monitored soil moisture with a meter. The elevated pots consistently moved from “moist” to “slightly moist” (the ideal caladium range) 24-48 hours faster than before elevation. This meant I could water more confidently, knowing the roots weren’t stewing in wet soil.
- Visible Plant Response: The most dramatic change was in a ‘Pink Symphony’ that had been stagnant. It pushed out a new, perfectly formed leaf at an accelerated rate. The existing leaves on all elevated plants appeared more turgid and vibrant.
- The Ultimate Test – The Root Check: Carefully tipping out a ‘Miss Muffet’ from a pot foot-elevated container revealed the proof. The root ball was firm and white, with fine, healthy root hairs. There was zero sign of the slimy, brown roots I’d found during its earlier struggle.
The American Horticultural Society (AHS) notes that healthy roots are the cornerstone of plant vitality, and their development is heavily influenced by soil aeration. My experiment proved that aeration isn’t just about soil mix—it’s about the entire environment, including the pot base.
Choosing the Right Method to Elevate Your Caladium Containers
Not all elevation is created equal. Here’s my breakdown from practical experience:
- Pot Feet: My overall winner for simplicity and effectiveness. They are inexpensive, come in various materials (clay, metal, plastic), and provide excellent clearance. Ensure they are stable enough to support your pot’s weight.
- Specialized Risers/Cradles: Fantastic for larger, heavier pots. The mesh design offers unbeatable airflow. They can be more costly but are a worthwhile investment for prized specimens.
- The Improved Pebble Tray: After my fix, this method worked well, especially in dry climates where the evaporating water can provide a slight humidity boost. The key is using large, clean stones and ensuring the pot sits above the waterline.
A Critical Avoidance: Do not use wooden blocks, which can rot and mold, or books, which will be ruined by moisture. The material must be waterproof and durable.
Advanced Tips: Integrating Elevation into Your Full Care Routine
Elevation isn’t a magic standalone fix; it supercharges your other good practices.
- Watering Synergy: With improved airflow, your watering becomes more efficient. You can water thoroughly until it runs out, knowing the pot will drain and dry effectively. This promotes deeper, stronger root growth as roots chase the receding moisture.
- The Soil Connection: Pair pot elevation with an airy, chunky potting mix. A blend of potting soil, perlite, and orchid bark is ideal. Elevation ensures this great mix can perform as designed.
- Seasonal Adjustments: During cooler, lower-light months when water evaporates slower, the benefits of elevation are even more critical for preventing soil from staying soggy for weeks.
Troubleshooting: Lessons from My Mistakes
- Wobbly Pots: If your pot is unstable on feet, use four instead of three, or opt for a rimmed saucer with a built-in elevation grid.
- Salt Buildup: You might notice more white mineral crusts on pot feet or saucers. This is normal—it’s just salts being flushed out with the drainage water. Wipe them clean periodically.
- Outdoor Considerations: For patio caladiums, elevating pots off decking or concrete prevents staining and improves drainage after heavy rain, further enhancing caladium growth through better drainage.
How often should I empty the saucer under an elevated pot? Always empty it within 30 minutes of watering. The point of elevation is to prevent re-absorption. A saucer full of water under a pot on feet is as bad as no elevation at all.
Can I elevate caladiums in self-watering pots? The concept is different. Self-watering pots rely on a wicking system from a reservoir. Elevating the entire unit won’t improve internal airflow. Focus instead on ensuring the soil medium is exceptionally well-aerated and monitor the water level carefully.
Will elevating pots dry out my caladiums too quickly? In very hot, dry, or windy climates, it’s possible. Monitor soil moisture closely. The goal is not to create desert conditions, but to eliminate stagnant dampness. If they dry too fast, you may need to water slightly more frequently, but you’ll be watering a healthy, aerated root system, which is far safer.
Embracing the practice of elevating my caladium pots was a game-changer. It moved me from reactive plant care—treating problems as they arose—to a proactive, preventative approach. The improvement in airflow at the root zone resolved lingering issues I couldn’t pin down and gave my plants a visible boost in vigor. It’s a small, simple adjustment that honors what these tropical beauties need: breathable conditions from top to bottom. Give your caladiums the gift of air beneath their feet, and watch them reach their full, spectacular potential.





