 bluename
 How to Grow Caladiums in Hanging Baskets: A Complete Trailing Care Guide
I’ve always been captivated by the vibrant, heart-shaped leaves of caladiums. But like many plant lovers with limited floor space, I struggled to find a way to showcase their stunning foliage. Pots on shelves just didn’t do them justice. That’s when I decided to try growing caladiums in hanging baskets. The vision was clear: a cascade of colorful, painterly leaves spilling over the edges, turning any corner into a tropical oasis. However, I quickly learned that standard caladium care advice falls short for hanging baskets. The challenges are real—faster soil drying, wind exposure, and achieving that lush, trailing habit aren’t covered in most basic guides. After a season of trial, error, and meticulous observation, I’ve perfected a system for trailing caladium care. Let me walk you through the exact steps that transformed my hanging baskets into the envy of my gardening circle.
Why Hanging Baskets Are a Game-Changer for Caladiums
Most people think of caladiums as upright, bedded plants. But their flexible petioles (leaf stems) can absolutely be trained to create a stunning trailing effect. The key advantage of a hanging basket is light exposure. Caladiums thrive in bright, indirect light, and elevating them helps every leaf access that precious filtered sunshine, promoting more uniform and vigorous growth. It also turns the plant into a living sculpture, allowing you to appreciate the intricate veining and patterns on the top side of the leaves—a view often missed when they’re planted at ground level.
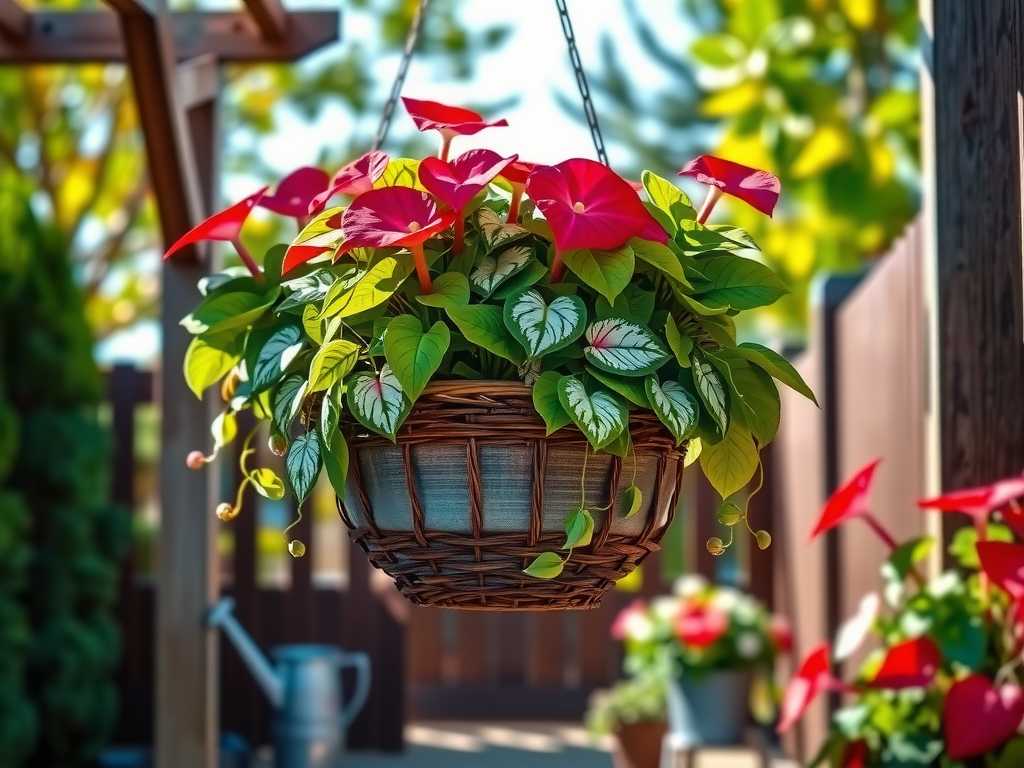
My Step-by-Step Process for Planting and Initial Training
I started my project in early spring, just as the tubers were waking up. Here’s the exact process I followed, including the first pitfalls I encountered.
Choosing the Right Basket and Tubers My first mistake was using a cheap, small plastic basket. It dried out in mere hours on a warm day. I switched to a 12-inch woven coco liner placed inside a wire frame basket. The coco liner retains moisture better than plain plastic and provides excellent aeration for the roots. As the Royal Horticultural Society (RHS) notes, good drainage coupled with moisture retention is crucial for tuberous plants like caladiums to prevent rot.
For tubers, I selected varieties known for their vigor and slightly longer petioles, which are essential for a trailing look. ‘White Queen’, ‘Florida Sweetheart’, and ‘Miss Muffet’ proved to be excellent choices. I ensured each tuber had at least three prominent “eyes” or growth points.
The Perfect Soil Mix and Planting Technique A standard potting mix is too dense. I created my own blend: 50% high-quality peat-free potting compost, 30% coconut coir (for water retention), and 20% perlite (for drainage). This mix is fluffy, moisture-retentive yet fast-draining—exactly what caladiums crave.
Instead of planting the tuber upright in the center, I laid it on its side about 2 inches deep, positioning it closer to the basket’s edge with the eyes facing outward. This encourages growth to immediately head toward the side, promoting that coveted trailing habit from the start. I planted three tubers around the perimeter of the basket.
Initial Watering and Placement I watered the planted basket thoroughly until water ran freely from the bottom and hung it in a spot that receives dappled morning sun and bright, shaded light for the rest of the day. A north-facing porch or under a dense tree canopy is ideal. Direct afternoon sun will scorch those delicate leaves.
The Crucial First Two Weeks: Observation and Adjustment
This period was critical. I monitored the basket closely, and my notes revealed the key to early success.
Week 1: The Waiting Game For the first 5-7 days, nothing happened. The soil stayed consistently moist. I resisted the urge to overwater, checking moisture daily by sticking my finger an inch into the side of the basket. The American Horticultural Society’s (AHA) Plant Heat-Zone Map reminded me that caladiums need warm soil to sprout, so patience was key until temperatures stabilized above 70°F (21°C).
Week 2: Sprouting and First Crisis By day 10, tiny, knobby pink and green sprouts emerged near the basket’s edge—success! But by day 12, I noticed the leaves on one sprout were unfurling smaller than expected and looked slightly pale. This was my second big mistake: I had not supplemented the soil initially. Caladiums are heavy feeders, especially when tasked with filling a large basket.
My Solution: A Gentle Feeding Start I immediately began a weak, liquid fertilizer regimen. Using a balanced, water-soluble fertilizer (10-10-10), I diluted it to half the recommended strength and applied it with my next watering. The response was dramatic within just 3-4 days. The new leaves grew larger and the colors intensified. I learned that for caring for trailing caladiums, consistent, gentle nutrition is non-negotiable.
Ongoing Care: Watering, Feeding, and Training for a Lush Trail
Once established, the routine is simple but specific.
Mastering the Watering Balance Hanging baskets dry out faster than any container. During peak summer, I often water once a day. The “finger test” is your best friend. Never let the soil dry out completely, but also avoid letting the basket sit soggy. I found watering in the early morning prevented fungal issues and prepared the plant for the day ahead.
The Feeding Schedule for Explosive Growth After the initial half-strength feed, I switched to a balanced feeding schedule. Every two weeks, I used a full-strength, water-soluble fertilizer. Once a month, I supplemented with a liquid seaweed emulsion to support strong petiole growth and stress resistance. This combination resulted in larger leaves and longer stems, perfect for the trailing aesthetic.
Encouraging the Trail: Gentle Persuasion, Not Force As leaves grew, I didn’t forcefully bend them. Instead, I gently rotated the basket a quarter turn every few days. This ensured all sides received even light, preventing the plant from reaching in just one direction. The stems naturally began to arch over the edge under the weight of their own magnificent leaves. For stubbornly upright stems, I used soft, green garden wire to create a very loose, supportive guide that encouraged a horizontal growth direction without constricting the stem.
Common Problems I Faced (And How I Solved Them)
Brown Leaf Edges: This was initially due to wind scorch on my slightly exposed porch. I moved the basket to a more sheltered location and increased humidity by misting the air around the plant (not the leaves directly) in the morning. Leggy Growth with Small Leaves: This signaled insufficient light. I moved the basket to a brighter spot with filtered light, and new growth returned to normal. Pests: I noticed spider mites once during a hot, dry spell. A weekly spray-down with a strong jet of water on the undersides of the leaves (done in the morning so they dry quickly) prevented a full infestation. Neem oil was my next line of defense.
Frequently Asked Questions
Can I use caladium bulbs from my garden in a hanging basket? Absolutely. Dig up the tubers in fall after the leaves die back, store them over winter in a cool, dry place, and plant them in your basket in spring following the same process. They may even perform better the second year.
How often should I really water my hanging caladium? There’s no universal schedule. It depends on your climate, basket size, and sun exposure. The only reliable method is the daily finger test. When the top inch of soil feels dry, it’s time for a thorough watering.
My caladium’s leaves are all facing upward. How do I make them trail? This is usually a light issue. The leaves are reaching for the sun. Ensure the light is coming from above or slightly to the side, not just from one direction below. Consistent, gentle rotation of the basket is the most effective way to train them to spill over the sides gracefully.
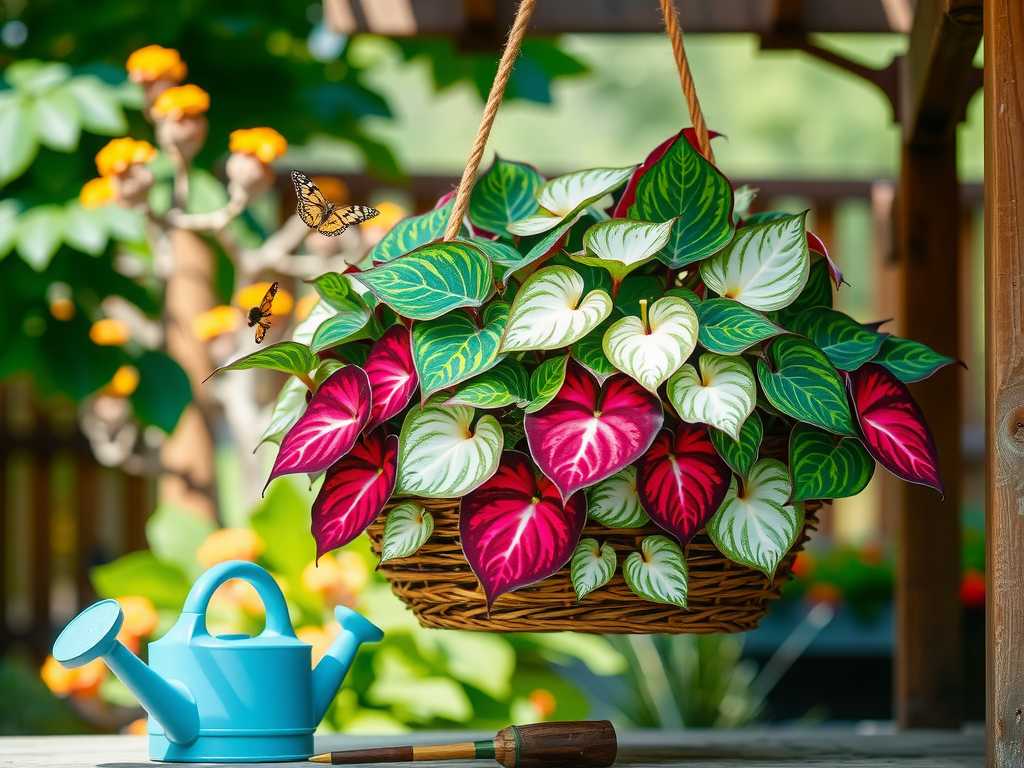
Growing caladiums in hanging baskets is more than just a gardening project; it’s a way to elevate these stunning plants into living art. By focusing on the right setup, a consistent care routine tailored to the aerial environment, and a little patience during the training phase, you can create a breathtaking display of trailing color. The journey from dormant tuber to a flowing cascade of foliage is incredibly rewarding. Start with the right basket and soil mix, be vigilant with water and food, and let those magnificent leaves naturally find their path over the edge. Your perfect hanging garden of caladiums is well within reach.





