 bluename
 How to Grow Caladiums in Wall Planters: A Vertical Garden Journey from Setup to Spectacular Display
I’ve always loved the dramatic, heart-shaped leaves of caladiums, but as an urban gardener with more wall space than floor space, I faced a real dilemma. How could I enjoy these tropical beauties without sacrificing my precious square footage? The answer seemed obvious: grow caladiums in wall planters. But moving these shade-loving, moisture-sensitive plants from their traditional pots to a vertical setup felt risky. Would they get enough water? Would the soil stay moist without becoming waterlogged? After a successful, multi-season experiment, I’m here to guide you through every step. This isn't just theory; it's a practical, tested method born from my own trials, errors, and a two-week intensive observation period that made all the difference.
Why Vertical Caladiums Are a Game-Changer
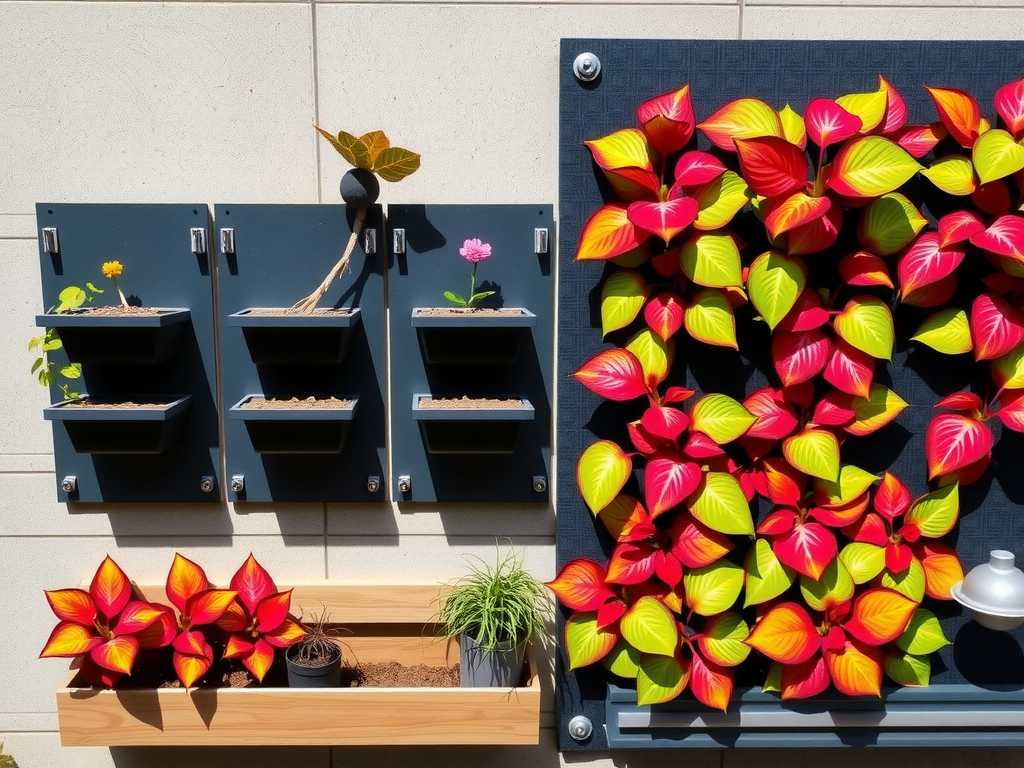
If you think caladiums are only for shady garden beds, you're missing out. Growing them vertically transforms them into a living piece of art. Their vibrant pinks, reds, whites, and greens create a stunning tapestry against any wall. For apartment dwellers, those with small patios, or anyone wanting to add a lush backdrop to an outdoor seating area, vertical gardening with caladiums is the perfect solution. It maximizes your growing area, brings color to eye level, and can even help cool a sun-baked wall by creating a microclimate. According to principles often highlighted by the American Horticultural Society (AHS), utilizing vertical spaces is a key strategy for sustainable, space-efficient gardening, allowing for greater plant diversity in limited areas.
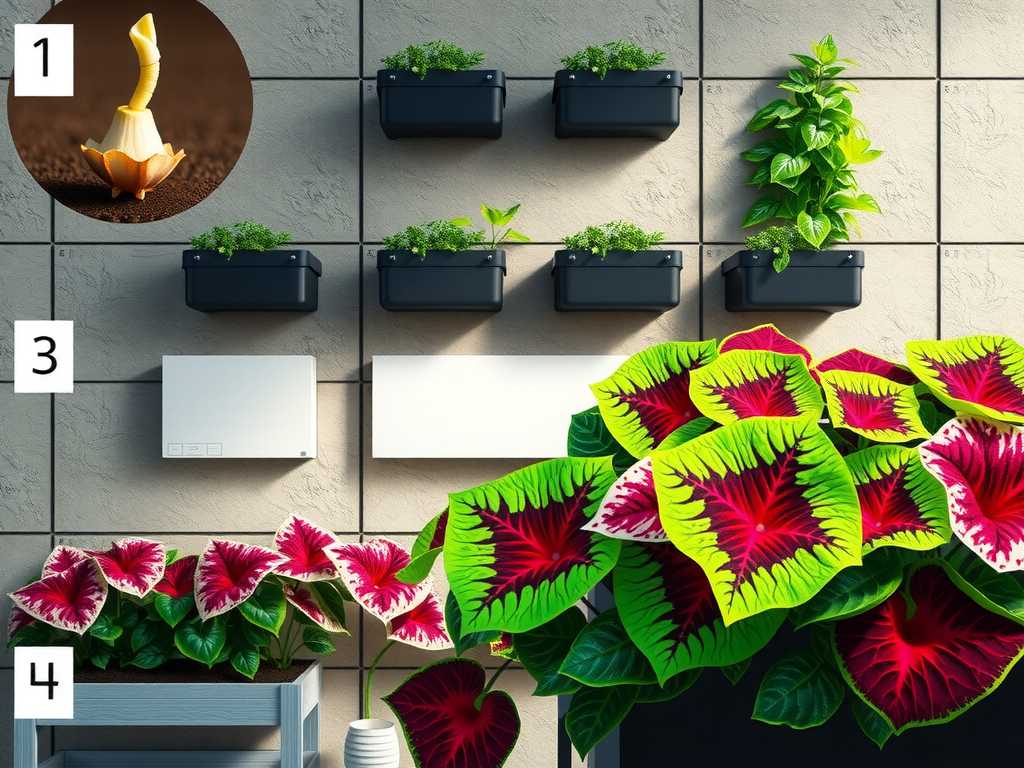
Getting Started: Your Pre-Planting Checklist
Success begins long before the first bulb is planted. Rushing this stage was my first mistake in an earlier attempt, leading to inconsistent growth. Here’s what you absolutely need to get right.
Choosing the Right Wall Planter
Not all planters are created equal for moisture-loving caladiums. I learned this the hard way. Avoid shallow, single-pocket fabric planters. Caladiums need room for their roots and consistent moisture.
- Material: I’ve had the best results with modular, rigid plastic or fiberglass planters with built-in reservoirs or self-watering features. They retain moisture better than porous terracotta or thin felt. The Royal Horticultural Society (RHS) advises that for plants requiring high humidity and consistent moisture, non-porous containers help reduce water stress.
- Depth: Aim for pockets or containers at least 6-8 inches deep. This provides adequate soil volume for root development and water retention.
- Drainage: This is non-negotiable. Every planter must have drainage holes. Stagnant water is the fastest way to rot your caladium bulbs.
Selecting Caladium Varieties for Vertical Success
Some caladiums adapt better to container life than others. I recommend starting with dwarf or medium-sized varieties for a fuller, more manageable display. My top performers have been:
- ‘White Queen’: Stunning white leaves with green veins and pink speckles. It thrived in my partially shaded setup.
- ‘Red Flash’: Deep red leaves with fuchsia spots and dark green edges. It provided incredible contrast.
- ‘Carolyn Whorton’: Pink leaves with dark green margins. It was consistently vigorous and reliable. I sourced healthy, #1 grade bulbs from a reputable nursery. Larger bulbs typically produce more and bigger leaves faster, which is ideal for creating an instant visual impact on your wall.
The Perfect Soil Mix: Your Secret Weapon
Standard garden soil is a death sentence for wall planters—it compacts and drains poorly. After a failed attempt with a generic potting mix that dried out too quickly, I developed my own blend. The goal is a mix that holds moisture but is also airy and well-draining.
- 60% High-quality peat-free potting compost (for structure and nutrients)
- 30% Coconut coir (for superb water retention)
- 10% Perlite or horticultural grit (for essential aeration and drainage) I moisten this mix thoroughly before planting so it’s damp, not soggy, throughout.
Step-by-Step: Planting Your Caladium Bulbs in the Wall Planter
Now for the fun part. I perform this task in early spring, once nighttime temperatures are consistently above 60°F (15°C).
1. Preparing and Mounting the Planter First, securely mount your empty wall planter system on a sturdy wall or fence in your chosen location. Ensure it can support the weight when fully planted and watered. I reinforced mine with extra brackets for peace of mind. Line the bottom of each planting pocket with a small piece of permeable landscape fabric to prevent soil from washing out while allowing water to drain.
2. Planting the Bulbs Correctly This is where attention to detail pays off. Fill each pocket about one-third full with your pre-moistened soil mix. Place the caladium bulb inside with the knobby side (the side with more bumps, which are the growth points) facing up. If you’re unsure, plant the bulb on its side—it will figure out which way to grow. Cover the bulb with 1.5 to 2 inches of soil. Gently firm the soil, but don’t compact it. You can plant one bulb per smaller pocket or cluster 2-3 bulbs in a larger container for a denser look.
3. The Initial Watering and Placement Water the newly planted bulbs gently but thoroughly until you see water just beginning to drip from the drainage holes. The key here is location. Caladiums prefer bright, indirect light or partial shade. A north or east-facing wall is ideal. Direct afternoon sun will scorch their delicate leaves. I started mine on a east-facing wall that received gentle morning sun and dappled light for the rest of the day.
The Critical First Two Weeks: Observation and Adjustment
This period is crucial. I marked my calendar and committed to daily check-ups. Here’s what I tracked and learned.
Week 1: The Waiting Game For the first 5-7 days, I resisted the urge to overwater. The pre-moistened soil stayed damp. I checked daily by sticking my finger an inch into the soil in a few pockets. My goal was to maintain even moisture, not wetness. The first signs of life—small nubs poking through the soil—appeared by day 8 in the warmest pockets. Growth was uneven, which is normal.
The “Overwatering Scare” and Recovery In Week 2, during a hot spell, I panicked and watered every day. Soon, the leaves in two lower pockets looked yellow and limp. I realized I had created a soggy environment. I immediately stopped watering and allowed those pockets to dry out significantly for 3 days. I also gently aerated the surface soil with a small stick. Thankfully, the plants recovered, and new growth emerged. This taught me that even moisture-loving plants need a breathable root zone. My fix was to adjust my watering to a deep, thorough soak only when the top inch of soil felt dry to the touch, which turned out to be every 2-3 days in my climate, not daily.
Ongoing Care for a Thriving Vertical Display
Once established, your vertical caladium garden is surprisingly low-maintenance.
Watering Wisdom Consistency is key. I use a watering can with a long, narrow spout to target the soil directly, avoiding wetting the leaves which can encourage fungal disease. In peak summer, I may water every other day. Self-watering wall planters can be a fantastic investment to automate this process and provide a consistent water reservoir.
Feeding for Fabulous Foliage Caladiums are grown for leaves, not flowers, so use a balanced, water-soluble fertilizer (like a 10-10-10 or 20-20-20) or one slightly higher in nitrogen. I feed mine every 4-6 weeks during the active growing season, following the label’s instructions for container plants. Over-fertilizing can burn the leaves.
Pruning and Maintenance Regularly remove any yellowing or damaged leaves at the base to keep the display tidy and direct energy to new growth. This also improves air circulation. If a plant becomes too leggy, don’t be afraid to pinch it back to encourage bushier growth.
Overwintering Your Caladium Bulbs When temperatures drop in fall and leaves begin to die back, it’s time to save your bulbs. I stop watering, let the foliage die back, then carefully remove the bulbs from the wall planters. I brush off the soil, let them dry for a week, and store them in a mesh bag filled with dry peat moss or vermiculite in a cool, dark place (around 50-60°F). Come next spring, they’re ready to start the cycle again.
Troubleshooting Common Vertical Garden Problems
- Yellowing Leaves: Usually a sign of overwatering or poor drainage. Check your soil moisture and drainage holes.
- Brown, Crispy Leaf Edges: Often caused by too much direct sun, underwatering, or low humidity. Adjust placement and mist the surrounding air lightly on very hot days.
- Leggy or Small Leaves: Typically indicates insufficient light or a need for fertilizer. Move to a brighter location (without direct sun) and review your feeding schedule.
- Pests: Watch for aphids or spider mites. A strong spray of water or an application of insecticidal soap usually takes care of them.
Frequently Asked Questions
Can I grow caladiums in a wall planter indoors? Absolutely. Choose a bright room with no direct hot sun, like near a north or east-facing window. Indoor air can be dry, so misting the leaves occasionally or using a nearby humidifier will help. Ensure your planter has a proper drip tray to protect your walls.
How often should I really water my vertical caladium garden? There’s no universal schedule. It depends on your climate, sun exposure, and planter material. The “finger test” is your best guide. Water deeply when the top inch of soil is dry. In my setup, that meant every 2-3 days in summer, and less in spring and fall.
My caladiums aren’t as colorful as I expected. What’s wrong? Light is the primary driver of color. While they burn in direct sun, too much deep shade can cause colors to fade and leaves to become more green. Experiment by moving your planter to a spot with brighter, filtered light to intensify those brilliant pinks and reds.
Growing caladiums vertically has been one of my most rewarding gardening projects. It turned a blank wall into a dynamic, living canvas that evolves throughout the season. By choosing the right setup, mastering the soil and water balance, and learning from close observation—especially during those critical first weeks—you can create a breathtaking display that defies traditional gardening limits. Start with healthy bulbs, be patient during establishment, and you’ll be rewarded with a stunning vertical garden that sparks joy all summer long.





