bluename
 How to Add Drainage Holes to Caladium Pots: A Plant Lover's DIY Guide
I love my caladiums. Their stunning, heart-shaped leaves with intricate veining are like living art in my home. But for a long time, I struggled with a silent killer: overwatering. I noticed my caladium's leaves turning yellow, the stems feeling soft, and despite my careful watering schedule, the soil at the bottom of those beautiful, decorative pots stayed soggy for days. The culprit? Pots without drainage holes. Many of the most aesthetically pleasing containers lack this critical feature, putting our beloved plants at risk of root rot. After losing a prized 'White Christmas' caladium to this very issue, I decided to take matters into my own hands. This guide is the result of my hands-on journey, detailing exactly how to add drainage holes to caladium pots, the tools I used, the mistakes I made, and the remarkable recovery I witnessed over two weeks.
Why Drainage is Non-Negotiable for Caladiums
Caladiums, originating from tropical regions, enjoy moisture but absolutely despise "wet feet." Their tuberous roots need a cycle of watering and drying. According to the American Horticultural Society's (AHA) guidelines on container gardening, proper drainage is the single most important factor in preventing root diseases. Without an escape route, excess water pools at the pot's base, creating an anaerobic environment where harmful fungi thrive and roots suffocate. A pot with adequate drainage holes allows gravity to pull excess water through the soil, ensuring roots have access to both water and oxygen. For caladiums, this isn't just a preference; it's a matter of plant health and vibrant leaf production.
Gathering Your DIY Drainage Toolkit
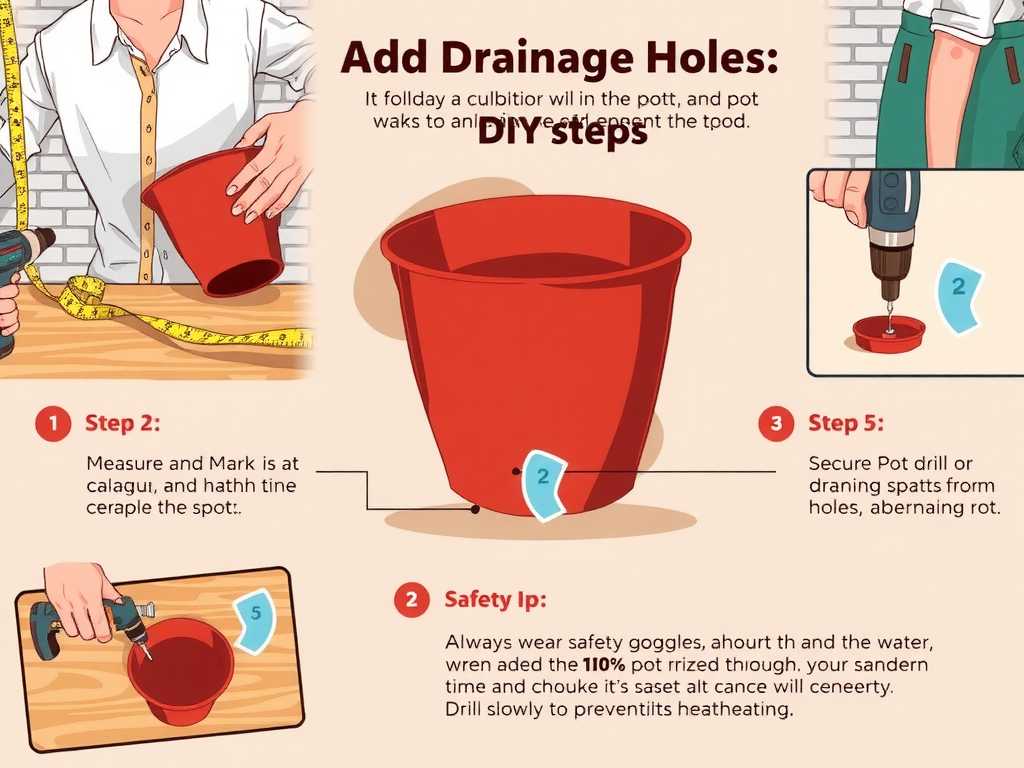
You don't need a workshop to do this safely and effectively. Here’s what I gathered, most of which you might already own:
- The Pot: My subject was a gorgeous, medium-sized ceramic pot I'd been too scared to drill.
- Safety Gear: Safety glasses are essential. I learned this the hard way when a tiny shard flew near my eye during my first, clumsy attempt.
- Drill & The Right Bit: A variable-speed power drill is ideal. The key tool is the drill bit. For glazed ceramic, porcelain, or glass, you need a diamond-tip hole saw bit or a carbide-tipped masonry bit. I started with a standard masonry bit and ruined it on the hard glaze. I switched to a diamond-tip hole saw (about 1/2 inch diameter), and it was a game-changer.
- Lubricant & Cooling: A small spray bottle with water. Drilling generates heat that can crack the pot; keeping the drilling area cool is crucial.
- Work Surface: A stable surface. I placed my pot on a flat piece of scrap wood and wedged a folded towel inside to prevent cracking from vibration.
- Finishing Touch: A small piece of fine-grit sandpaper to smooth any rough edges after drilling.
My Step-by-Step Process: Patience is Key
This isn't a race. Rushing leads to broken pots and frustration. Here’s the exact process I followed for my successful attempt.
1. Marking the Spot and Preparing the Pot First, I turned the pot upside down. Using a pencil, I marked 3-4 spots around the center of the pot's base. For larger pots, you might want 5-6 holes. I started with a smaller pot to gain confidence. Crucially, I filled the pot with water and let it soak for several hours. A saturated pot is less likely to crack from the stress of drilling. This simple step, which I skipped in my first failed try, made all the difference.
2. The Drilling Technique: Slow and Steady I secured the pot on my wood block with the towel inside. Donning my safety glasses, I set my drill to a low speed. I positioned the diamond-tip bit on one of my marks at a 90-degree angle. I began drilling with very light pressure, letting the bit do the work. Every 10-15 seconds, I sprayed a little water on the drilling point to keep it cool. I could feel the bit grinding through the hard glaze and then into the clay body beneath. The moment it punched through, I released the trigger immediately.
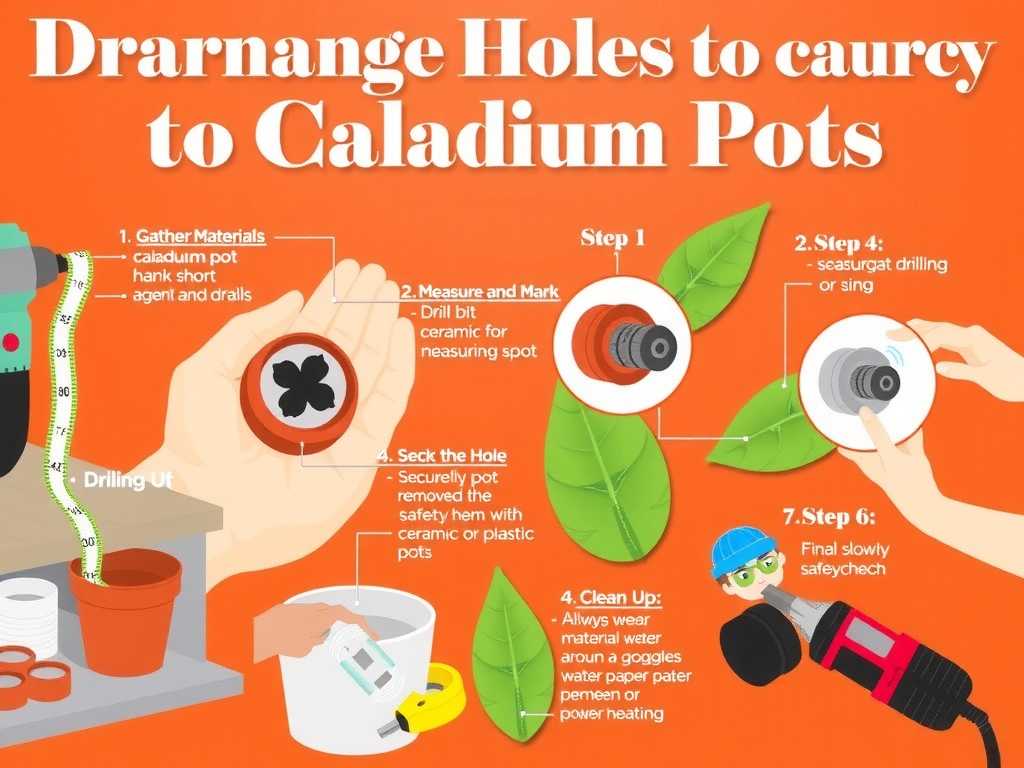
3. Finishing and Cleaning Up I repeated this slow, patient process for each marked spot. Once all holes were drilled, I used the sandpaper to gently smooth the edges from the inside and outside of the pot. This prevents root damage when repotting. Finally, I rinsed the pot thoroughly to remove all ceramic dust and debris. The pot was now ready for its plant.
The Two-Week Transformation: Observing My Caladium's Recovery
The real test began after I repotted my struggling caladium into its newly modified home with fresh, well-draining potting mix.
- Days 1-3: The plant looked largely the same—a bit droopy with some yellowing. The key change was in the soil. When I watered it thoroughly until water freely ran out the new holes, the soil moisture began to normalize within hours, not days.
- Days 4-7: I noticed the yellowing had stopped progressing. The remaining firm, green leaves seemed to perk up slightly. The soil surface dried out appropriately between waterings, confirming the drainage was working.
- Days 8-14: This was the most encouraging period. A small, new leaf spike, which had been stalled for weeks, began to unfurl. The existing leaves looked more robust, and the overall plant posture improved dramatically. There was no further sign of stem softness. The plant was clearly using the water efficiently without being waterlogged.
Lessons Learned: The Pitfalls I Encountered and Fixed
My journey wasn't perfectly smooth. Here are the mistakes I made so you can avoid them:
- Pitfall 1: Using the Wrong Drill Bit. My first attempt with a standard masonry bit on a glazed pot resulted in a scorched bit, a chipped pot surface, and zero holes. Solution: Invest in the right bit for the material. The diamond-tip hole saw cut cleanly with minimal effort.
- Pitfall 2: Drilling Too Fast and Dry. In my initial frustration, I pressed hard and drilled fast. The heat buildup caused a hairline crack to shoot up the side of a different pot. Solution: Low speed, light pressure, and constant water cooling are non-negotiable.
- Pitfall 3: Not Securing the Pot. A wobbly pot is dangerous and can lead to uneven holes or breakage. Solution: The combination of a non-slip wood base and a soft towel interior wedge provided perfect stability.
Alternative Solutions for Non-Drillable Pots
What if you have a pot you absolutely cannot or don't want to drill? I've used these methods successfully as well. The best approach for pots without a drainage hole is the double-potting method. Plant your caladium in a plain plastic nursery pot with excellent drainage, and then place that pot inside your decorative, hole-less container. Simply lift the inner pot to water, let it drain completely over a sink, and then place it back. This method, often recommended by horticultural experts for managing moisture, provides all the benefits of drainage while protecting your favorite cache pot. You can also create a drainage layer of pebbles or lava rock at the bottom, but be cautious, as this can sometimes create a perched water table above the rocks.
How many drainage holes are ideal for a caladium pot? For most medium-sized pots (6-10 inches in diameter), I've found 3-4 holes, each about 1/2 inch in diameter, to be perfect. For larger pots, increase the number to ensure even drainage across the entire soil mass. The goal is to see water exit freely from multiple points when you water.
Can I use a regular drill bit if I'm only drilling into plastic pots? Yes, absolutely. For plastic pots, a standard twist drill bit works very well. The process is much easier and faster. Just be sure to secure the pot and drill slowly to prevent the plastic from cracking or the bit from snagging.
What should I do if I accidentally crack the pot while drilling? Small, hairline cracks on the base might not always render the pot useless for planting, but they can worsen over time. If the crack is significant or on the side of the pot, it's best to retire it from active planting duty. You can use it as a decorative outer sleeve for the double-potting method, or for holding gardening tools. Consider it a learning experience—my first cracked pot now holds my trowel and pruning shears on the shelf.
Adding drainage holes to my caladium pots transformed my plant care routine from a guessing game into a confident practice. It empowered me to use any container I loved without compromising my plant's health. The two-week revival of my caladium was all the proof I needed. By choosing the correct tools, embracing a patient technique, and learning from the inevitable missteps, you can successfully ensure your caladiums have the foundation they need for spectacular growth. Remember, those few holes at the bottom are the most important feature of any container garden, providing the breath of life for the roots within.