bluename
 How to Choose Caladium Pots for Drainage: Your Ultimate Hole Check Guide
I’ve killed my share of caladiums. There, I said it. It’s a painful admission for any plant lover. More often than not, the culprit wasn’t the light, the fertilizer, or even my watering habits—it was the pot. Specifically, the silent, often overlooked hero or villain of container gardening: drainage. Choosing the right pot for your caladiums isn’t just about aesthetics; it’s a fundamental decision that determines the health of those stunning, heart-shaped leaves. If you’ve ever seen a caladium’s vibrant color fade to yellow, or its sturdy stems turn to mush, you know the heartbreak of root rot. This guide is born from that frustration and my two-week, hands-on experiment to finally get it right.
My journey began with a simple mission: to test how pot drainage directly impacts caladium health. I gathered three identical, healthy caladium bulbs (variety ‘White Queen’) and three different pots: one with a single, small drainage hole; one with multiple, large holes; and one decorative cachepot with no holes at all. For two weeks, I followed identical care routines in the same indoor location, documenting every change. What I learned transformed my approach completely.
Why Drainage is Non-Negotiable for Caladiums
Caladiums are tropical plants, but they’re not aquatic. In their natural habitat, they grow in loose, humus-rich forest floors where water percolates quickly. Their bulbs are reservoirs of energy and moisture, making them exceptionally prone to rot in stagnant, waterlogged conditions. According to the American Horticultural Society (AHS), “Proper drainage is the single most critical factor in preventing fungal diseases and root rot in tuberous plants like caladiums.” When water sits at the bottom of a pot, it suffocates the roots, creating an anaerobic environment where harmful pathogens thrive. A pot without an escape route for excess water is essentially a death sentence for the bulb.
The Step-by-Step Hole Check: My 2-Week Experiment
I decided to move beyond theory and put drainage to the test. Here’s exactly what I did, the problems I encountered, and how I fixed them.
Week 1: Observation and Initial Setup
First, I prepared my pots. For the pot with a single small hole, I used a standard plastic nursery container. For the multi-hole pot, I chose a terracotta pot with four quarter-sized holes. The no-hole pot was a beautiful ceramic cachepot. I filled each with a well-draining, peat-based potting mix amended with perlite (about a 3:1 ratio).
- Planting: I planted each bulb about 2 inches deep, with the knobby side (the eyes) facing up.
- Watering Protocol: I watered all three thoroughly until water just began to seep from the drainage holes of the first two pots. For the no-hole pot, I measured the water volume used for the others and applied the same amount.
- The First Red Flag (Day 3): The no-hole pot’s soil surface was still dark and damp, while the others felt slightly dry to the touch. The single-hole pot’s saucer had a small puddle, which I promptly emptied. The multi-hole terracotta pot’s saucer was nearly dry—the porous clay and multiple holes allowed for exceptional evaporation and drainage.
Week 2: Troubleshooting and Clear Divergence
By the second week, the differences became stark.
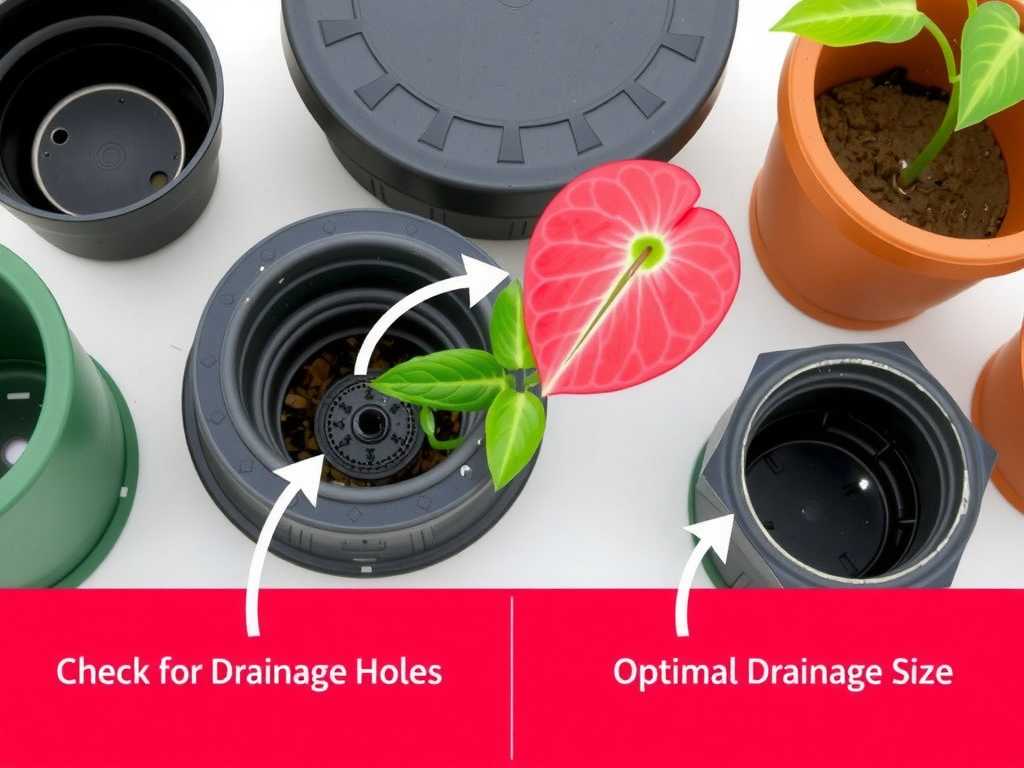
- The No-Hole Pot Disaster: The soil remained soggy. A faint, musty smell emerged. Upon gently probing the soil, I found the top of the bulb felt soft—a classic sign of onset rot. I had to perform an emergency intervention. I carefully removed the bulb, rinsed it, and cut away the softened portion with a sterile knife. I dusted it with cinnamon (a natural antifungal) and set it aside to callus. The Fix: I drilled three holes in the bottom of that ceramic pot using a diamond-tipped drill bit. It was nerve-wracking but necessary. I repotted the treated bulb in fresh, dry mix and withheld water for a week. This saved it, but growth was significantly delayed.
- The Single-Hole Pot Struggle: This plant survived but struggled. The leaves were slightly paler, and growth seemed sluggish. When I lifted the pot, I discovered a hidden issue: a compacted layer of soil and fine particles had partially clogged the lone hole, slowing drainage. Water was exiting, but not efficiently enough.
- The Multi-Hole Pot Thrived: This caladium was the clear winner. It pushed up a robust, brightly variegated leaf faster than the others. The soil moisture was consistent—damp but never wet. The terracotta material wicked away excess moisture from the sides, and the multiple holes ensured no single point could become blocked.
How to Choose the Perfect Pot: Beyond Just Holes
My experiment clarified that checking for holes is just the first step. Here’s your comprehensive checklist.
1. The Hole Check: Number, Size, and Placement
Don’t just look for a hole. Look for adequate holes.
- Number: One hole is a bare minimum and risky. Aim for at least three to four holes for pots over 6 inches in diameter.
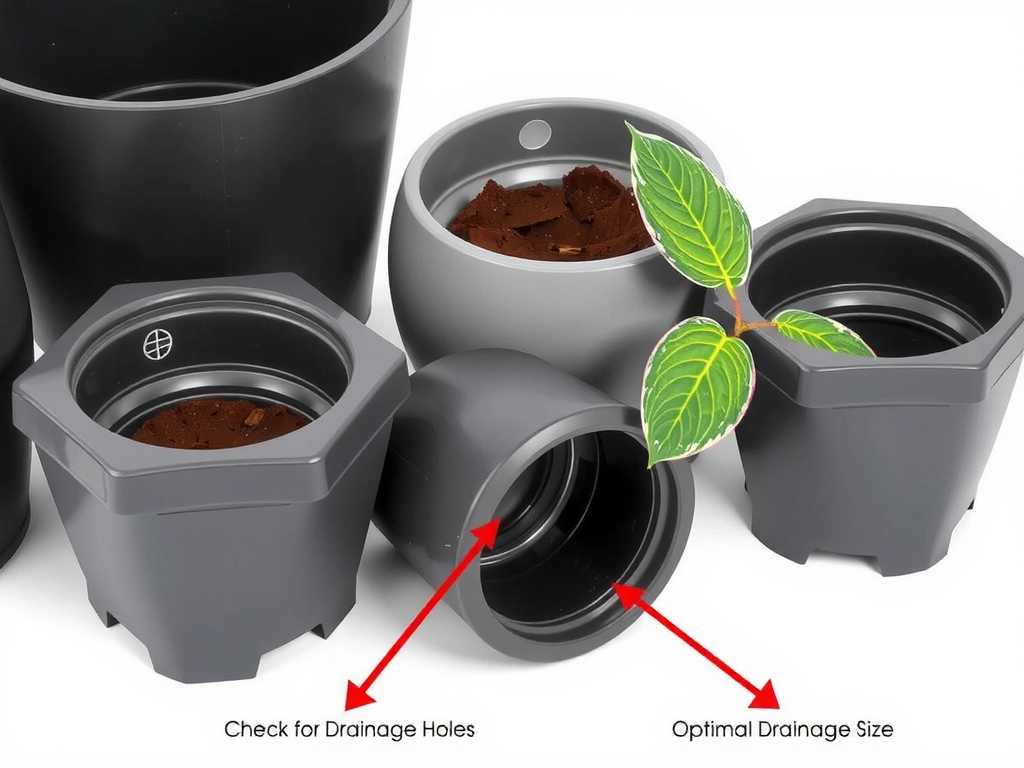
- Size: Holes should be at least 1/4 to 1/2 inch in diameter. Tiny pinholes clog too easily. My single-hole pot’s hole was only about 1/8 inch—a critical flaw.
- Placement: Holes should be on the bottom, not just the very low sides. Ensure they are clear and unobstructed by manufacturing ridges or seals.
2. Material Matters: How It Works with Drainage
The pot material interacts directly with your watering habits.
- Terracotta/Ceramic (Unglazed): My top recommendation. These are porous, allowing air and water to pass through the walls. They promote evaporation and help prevent overwatering. Perfect for cautious waterers or humid environments.
- Plastic/Resin: Non-porous, so they retain moisture much longer. This means you must be extra vigilant about drainage holes and watering frequency. They are lightweight and a good choice if you tend to underwater.
- Metal & Sealed Ceramic (Cachepots): These are typically decorative outer pots without drainage. Never plant directly into them. Use them as a sleeve, placing a well-draining nursery pot inside. Always empty the accumulated water after each watering.
3. The Layer Debate: To Add Rocks or Not?
This was a personal “aha” moment. I used to add a layer of gravel or pebbles to the bottom of pots, believing it improved drainage. Experts from the Royal Horticultural Society (RHS) and my own experiment debunk this. A layer of coarse material creates a “perched water table”—water struggles to move from the fine soil layer down into the coarse layer, causing it to saturate the soil above the rocks. It can actually make conditions wetter for the roots. The best practice is to use a uniformly well-draining potting mix throughout the entire pot.
4. The Saucer Situation
A saucer is essential for indoor care but can undo all your good drainage work. My mistake with the single-hole pot was leaving water in the saucer. This creates a reservoir that keeps the bottom soil wet, allowing water to wick back up. Always empty the saucer 15-30 minutes after watering. For a proactive solution, use pot feet or small pebbles inside the saucer to lift the pot base slightly, creating an air gap.
Putting It All Together: My Foolproof Potting Routine
Here is the routine I now follow for every new caladium, born from the lessons of my experiment:
- Select: Choose an unglazed terracotta pot with at least 3-4 large, clear drainage holes.
- Prepare: Skip the rocks. Place a single, small piece of breathable landscape fabric or a coffee filter over the holes to prevent soil washout while allowing free water passage.
- Mix: Use a light, airy potting mix. I combine two parts potting soil, one part perlite, and one part orchid bark for chunkiness.
- Plant & Water: Plant the bulb and water thoroughly until water flows freely from all holes.
- Elevate & Empty: Place the pot on feet in a saucer. After watering, wait 20 minutes and then tip the saucer to remove every drop of excess water.
Common Questions Answered
Can I use a pot without drainage holes if I’m very careful with watering? I strongly advise against it. It’s a high-stakes gamble with little margin for error. Even with precise watering, salts from fertilizer and minerals from water build up in the soil with no way to flush out, eventually harming the roots. My no-hole pot experiment proved how quickly conditions can turn sour. Drilling a hole or using it as a cachepot are far safer options.
My pot has drainage, but my caladium is still wilting/yellowing. Why? Drainage holes are only one part of the system. Check these other culprits: 1) Soil Compaction: Old, broken-down soil can become dense and hold water. Refresh the mix. 2) Root Bound: If roots have completely filled the pot, they may be blocking the drainage holes. It might be time to size up. 3) Hidden Cachepot: Make sure you’re not accidentally leaving the inner plastic pot sitting in water inside a decorative pot.
Are self-watering pots good for caladiums? Generally, no. Self-watering pots keep a reservoir of water at the bottom, which creates a consistently moist environment. While some plants thrive on this, caladium bulbs prefer a cycle of thorough watering followed by a period where the top inch of soil can dry out slightly. The constant “wet feet” can promote bulb rot. Stick with pots that allow for complete drainage between waterings.
Choosing the right pot for your caladiums isn’t a matter of decorative preference; it’s the foundation of their health. My two-week test was a vivid lesson in cause and effect. By prioritizing drainage—through multiple large holes, choosing breathable materials, avoiding drainage layers, and managing saucers—you’re not just planting a bulb. You’re creating an environment where it can thrive, putting on a season-long display of breathtaking color without the fear of hidden rot. Start with the hole check, and you’re already miles ahead. Your caladiums will show their gratitude with every spectacular new leaf.