bluename
 How to Grow Caladiums as Gifts: A Personal Guide to Potting and Wrapping with Heart
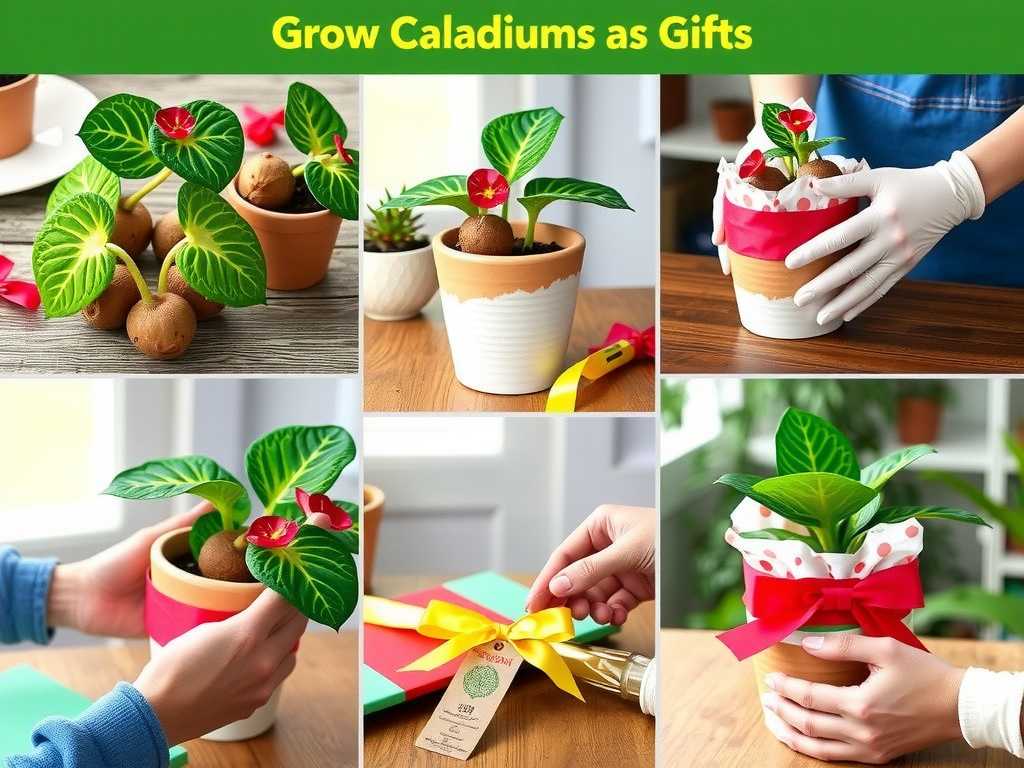
Finding a gift that feels both personal and alive can be a real challenge. You want something more meaningful than a store-bought card, something that grows and reminds the recipient of your thoughtfulness long after the occasion has passed. That’s where how to grow caladiums as gifts comes in. These “heart of Jesus” plants, with their stunning, painterly leaves in shades of pink, red, white, and green, are living art. But giving a caladium isn’t just about handing over a pot; it’s about presenting a promise of beauty, nurtured by your own hands. I learned this through trial, error, and two weeks of meticulous observation, and I’m here to guide you through every step, from selecting the bulb to the final decorative wrap.
My journey into gifting caladiums started when I needed a housewarming present for a friend who adored unique foliage. I wanted it to be perfect, but my first attempt was… educational. The process, when done right, transforms a simple tuber into a breathtaking living gift. Let’s dive into how you can do the same, avoiding the pitfalls I stumbled into.
Why Caladiums Make Exceptional Living Gifts
Before we get our hands dirty, let’s talk about why this effort is worthwhile. Caladiums are more than just pretty leaves. According to horticultural therapists and organizations like the American Horticultural Therapy Association (AHA), caring for plants can significantly reduce stress and promote a sense of well-being. By gifting a caladium, you’re not just giving a plant; you’re offering a therapeutic, engaging hobby. Their dramatic foliage serves as a constant, beautiful reminder of your connection. They thrive in the indirect light common in homes and offices, making them a practical and stunning choice for most recipients.
Part 1: The Foundation – Potting Your Caladium for Success
The secret to a impressive gift caladium starts weeks before the giving day. A healthy, actively growing plant is the ultimate goal.
Selecting Your Caladium Bulbs (Tubers)
Your success is literally rooted in the quality of the bulb, or tuber. Look for firm, plump tubers with several “eyes” or growth points. Avoid any that are soft, shriveled, or have signs of mold. I made the mistake of choosing a slightly soft bulb because it had a beautiful color label, and it struggled to sprout consistently. Trust the texture, not just the picture! Popular gifting varieties include ‘White Christmas’, ‘Pink Beauty’, and ‘Red Flash’ for their vibrant, heartwarming colors.
The Perfect Potting Mix and Container
Caladiums demand excellent drainage. Soggy soil is a death sentence. I use a mix of 50% high-quality peat-free potting mix, 30% perlite, and 20% orchid bark for aeration. This mimics the loose, rich forest floor they love.
For the container, choose a pot only 1-2 inches wider than the tuber. A pot that’s too large holds excess moisture. Ensure it has at least one drainage hole. A decorative cachepot (a outer decorative pot without a hole) is fine for the final presentation, but always plant in a pot with drainage.
The Step-by-Step Potting Process
- Prep the Tuber: Some tubers are large. If it has multiple large eyes, you can carefully cut it into sections, ensuring each has at least one or two eyes. Dust the cuts with fungicide. For beginners, I recommend planting the tuber whole.
- Planting Depth and Orientation: This is crucial. Place the tuber in the pot with the bumpy, knobby side facing up (these are the eyes). The smoother side is the bottom. Cover it with about 1.5 to 2 inches of your potting mix. A common mistake is planting too deep, which can delay or hinder sprouting.
- The Initial Watering: Water the soil thoroughly until it drains freely from the bottom. Then, place the pot in a warm location (70-75°F is ideal) with bright, indirect light. Do not water again until you see the first sprout emerge. Overwatering at this dormant stage is the number one cause of tuber rot.
My Two-Week Observation Diary
This is where the magic and learning happened. I potted three bulbs of ‘Carolyn Whorton’ on the same day.
- Days 1-4: Nothing visible. The soil surface dried out, but I resisted watering, remembering my earlier overwatering error.
- Days 5-7: The first pot showed a pink, knobby nudge breaking the soil! The other two were still quiet. I gave the sprouting pot a gentle drink at the soil base.
- Days 8-10: The first sprout unfurled into a tiny, rolled-up leaf. The second pot finally showed a sprout. The third pot showed no activity. I carefully excavated the third tuber about half an inch and found it was firm but just slower. I recovered it and practiced patience.
- Days 11-14: The first plant had its first magnificent, translucent pink and green leaf fully open. The second leaf was on its way. The second pot’s sprout was growing steadily. The third tuber finally sent up a shoot. The variance taught me that even under identical conditions, each tuber has its own timeline. The key is consistent warmth and disciplined watering.
Part 2: The Art of Presentation – Wrapping Your Potted Caladium
Once your caladium has at least one beautiful, unfurled leaf, it’s ready to be presented. The wrapping protects the plant and elevates the entire gift.
Sustainable and Beautiful Wrapping Materials
Forget non-recyclable cellophane. We want our living gift to be green in every way.
- Brown Craft Paper or Newsprint: Provides a rustic, chic backdrop that makes the leaf colors pop.
- Fabric (Furoshiki style): A square of beautiful, lightweight cotton or linen. This is reusable and part of the gift.
- Burlap: Perfect for a natural, textured look.
- Natural Twine, Raffia, or Jute Ribbon: For tying, not plastic tape.
- Sphagnum Moss or Preserved Sheet Moss: To cover the soil surface for a finished, lush look.
Creative Wrapping Techniques for Potted Plants
The Simple Sleeve Wrap (My Go-To Method):
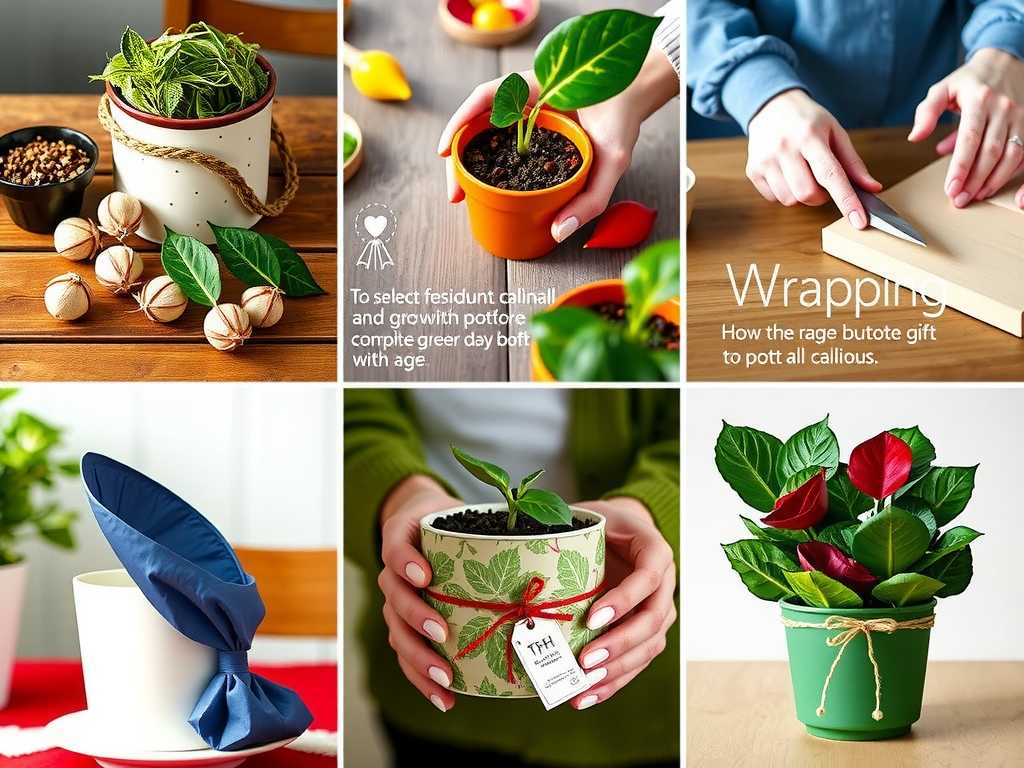
- Place your potted plant in the center of a large square of craft paper or fabric.
- Bring the material up around the pot, gathering it gently just below the pot’s rim. You want to showcase the plant, not smother it.
- Secure it loosely with twine or ribbon. I often tuck a small note or care tag into the tie.
The Furoshiki Wrap: This Japanese cloth-wrapping technique is elegant. I use a medium-weight cotton square. There are many folds, but a simple “basic carry” wrap looks fantastic. A quick online search for “furoshiki pot wrap” will show you the easy steps. It creates a beautiful, handle-like top for carrying.
The Finishing Touches: Before wrapping, I always cover the soil with a layer of moist sphagnum moss. It looks professional, helps retain a bit of moisture, and prevents soil from spilling. Attach a handwritten care card with essential tips: “Bright indirect light. Water when the top inch of soil feels dry. Enjoys warmth and humidity.” This shows you’ve thought of everything.
Part 3: Ensuring a Successful Handoff – Care Instructions for the Recipient
Your responsibility extends to setting the recipient up for success. A clear, simple care guide is as important as the wrapping.
Crafting the Perfect Plant Care Card
Don’t overwhelm them. On a small card, include:
- Light: “Loves bright, filtered light like near a north or east-facing window. Avoid harsh direct sun.”
- Water: “Water me when the top inch of soil is dry. I prefer a drink at the soil level, not on my leaves.”
- Temperature & Humidity: “I’m a tropical soul! I thrive in normal room temperatures and appreciate a occasional misting or a pebble tray.”
- Your Personal Note: “This ‘White Queen’ made me think of your elegant style. I’ve loved watching her first leaf unfurl for you.”
Common Pitfalls and How I Solved Them
- The Drooping Gift: My first gifted caladium drooped dramatically within two days. The recipient had placed it in a hot, direct sun window. Solution: The care card must explicitly say “NO direct sun.” I learned to emphasize this verbally, too.
- The Overwaterer: A family member lovingly drowned the plant. Solution: I now phrase watering as “Check me with your finger” and suggest using a small watering can with a long spout for control.
- The Dormancy Surprise: Caladiums naturally go dormant in fall/winter, losing leaves. This can panic a new owner. Solution: I now always add a line to the care card: “Don’t worry if I get sleepy and lose my leaves in the cooler months. Just reduce watering, and I’ll return when the days get longer.”
How long does it take for a potted caladium bulb to sprout? From my consistent two-week observation, under optimal warm (70-75°F) conditions, you can expect to see the first sprout in 7-14 days. A full, beautiful leaf may take another 1-2 weeks to unfurl. Factors like tuber size and variety can cause variation, so patience is essential.
Can I gift a caladium bulb instead of a potted plant? Absolutely. This is a wonderful option for gardening friends. Present the tuber in a box with moss, include a beautiful pot, some potting mix, and clear planting instructions. It turns the gift into a shared experience and project.
What if my caladium leaves are small or not very colorful? This is often a light issue. While they avoid direct sun, too little light results in smaller leaves and faded colors. Encourage the recipient to find a brighter spot with indirect light. Also, ensure the plant isn’t over-fertilized; a balanced, diluted fertilizer once a month during growth is plenty.
Gifting a caladium you’ve nurtured from a dormant bulb is an act of shared anticipation and beauty. It moves beyond a transaction to become a story—a story of watching a tightly rolled spear of pink and green slowly open into a breathtaking leaf, of carefully wrapping it, and of passing on not just a plant, but a moment of growth and a piece of living art. By following these potting and wrapping steps, you’re giving more than a gift; you’re offering a connection that, with a little care, will continue to grow and flourish.