 bluename
 How to Display Caladium Cut Leaves: An Indoor Decor Guide That Actually Works
I’ve always loved the dramatic, heart-shaped leaves of caladiums, but as a renter without a garden, I felt limited to admiring them in pots. That changed when I first tried using their cut leaves as decor. I envisioned stunning, long-lasting displays, but my initial attempts ended in wilted, sad-looking leaves within days. The core frustration was real: how do you keep these beautiful, delicate leaves vibrant and perky once they’re cut, and how do you style them in a way that complements your home? After a lot of trial, error, and a dedicated two-week experiment, I cracked the code. This guide is my personal, step-by-step journey to mastering the art of displaying caladium cut leaves, sharing exactly what worked, what failed, and how you can create your own breathtaking displays.
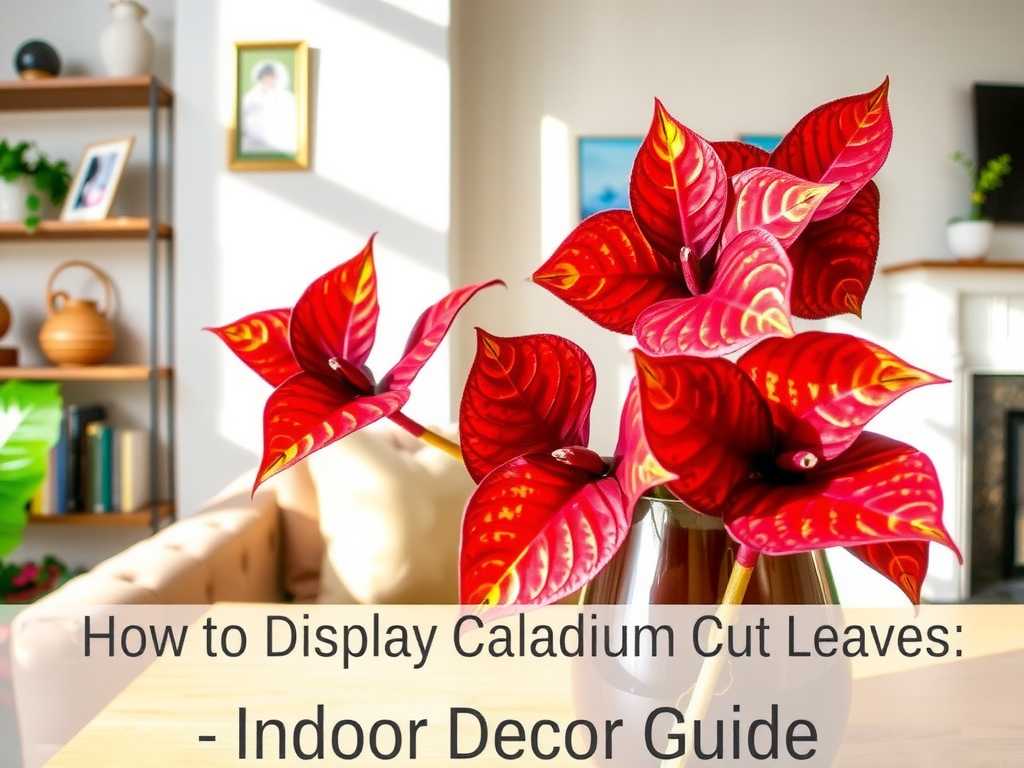
Why Caladium Leaves Make Exceptional Cut Foliage
Before we dive into the "how," let's talk about the "why." Caladium leaves are not your average greenery. Their stunning veining and painterly splashes of pink, red, white, and green make each leaf a living work of art. According to insights from the American Horticultural Society (AHS), using foliage as a primary decorative element, a practice known as "foliage-forward design," adds depth, texture, and a sophisticated, lasting beauty to interiors that flowers alone often can't achieve. Caladiums are perfect for this. However, their reputation for being tender can be misleading. With the right technique, they can be surprisingly resilient as cut decor.
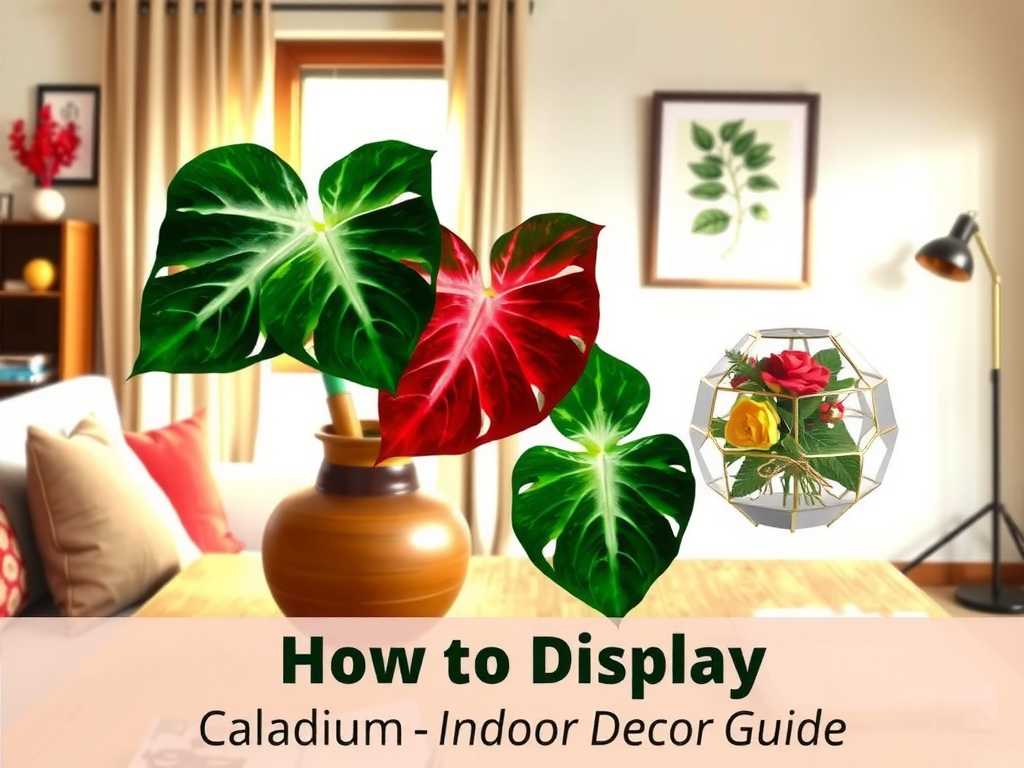
My Essential Toolkit for Success
Gathering the right tools before you start is half the battle. Here’s what I used:
- Sharp, Clean Pruners or Scissors: Crucial for a clean cut that doesn’t crush the stem.
- Clear Glass Vases & Vessels: I prefer clear glass to monitor water clarity. A mix of heights and shapes (cylinders, bud vases, wide bowls) adds visual interest.
- Floral Preservative: This was a game-changer. A commercial packet or a homemade mix (1 quart water, 2 tablespoons lemon juice, 1 tablespoon sugar, and ½ teaspoon bleach) feeds the leaf and inhibits bacterial growth.
- Rubber Bands or Clear Hair Ties: For discreetly grouping stems.
- Soft Cloth: For gently wiping leaves.
The Step-by-Step Process: From Plant to Display
This is the exact process I followed for my two-week observation period.
Step 1: Selecting and Cutting the Leaves The journey begins at the plant. I learned the hard way that cutting any leaf won't do. You must choose mature, firm, and perfectly healthy leaves—no blemishes or soft spots. Early morning is the best time, as the leaves are fully hydrated. I used my sterilized pruners to cut the stem at a sharp 45-degree angle, about an inch from the soil base. This angle increases the surface area for water uptake. I immediately placed the stem in a container of lukewarm water.
My Mistake & Fix: On my first try, I chose a young, still-unfurling leaf. It wilted irreversibly within 12 hours. The fix? Patience. Only select leaves that have been fully open and firm for at least a week.
Step 2: The Critical Hydration Prep This step is non-negotiable. I filled my clean vases with the floral preservative solution (using the homemade recipe above). Then, I recut each stem underwater. Why underwater? It prevents an air bubble from forming in the vascular system, which can block water flow—a phenomenon called an air embolism. I kept the leaves in a cool, dark place for 2-3 hours to let them drink deeply before arranging.
Step 3: Designing Your Display This is the fun part. I experimented with three core styles over two weeks:
- The Minimalist Single Stem: One spectacular leaf in a slender bud vase. It’s powerful in its simplicity, perfect for a bedside table or windowsill.
- The Monochromatic Grouping: I gathered 3-5 leaves of similar color (all pinks, or all whites) and loosely bound their stems with a rubber band under the water line before placing them in a taller vase. This creates a bold, artistic statement.
- The Textural Mix: I combined a large, heart-shaped caladium leaf with other long-lasting cuttings like aspidistra (cast iron plant) leaves and a few stems of eucalyptus. The contrasting shapes were stunning.
I always ensured no leaves were submerged, as this leads to rapid decay. The Royal Horticultural Society (RHS) emphasizes the principle of "clean stems, clean water, clean vessel" for prolonging the life of any cut plant material, and it’s absolutely true here.
My 2-Week Observation Diary & Key Learnings
I documented the state of my three displays (one of each style) every other day. Here’s what happened:
- Days 1-3: All leaves were perky and vibrant. The water was clear.
- Days 4-7: The leaves in the preservative solution remained perfect. In a control vase with plain water, I noticed the very first sign of softening at the stem tip. Lesson: Preservative is essential.
- Days 8-10: I changed the water in all vases, recut the stems (again underwater), and refreshed the preservative. This revived the leaves noticeably. A slight bit of sediment had built up.
- Days 11-14: The single stem and the monochromatic group still looked excellent—perhaps 85% as good as day one. The textural mix also held up, though the more delicate eucalyptus began to dry. The leaves themselves showed minimal fading and no wilting.
The Biggest "Aha!" Moment: The single most important factor for longevity wasn’t just the initial cut, but the maintenance. Changing the water and recutting stems every 5-7 days prevented bacterial sludge and kept the water pathways open. This simple habit doubled the display life.
Creative Display Ideas Beyond the Vase
Vases are classic, but don’t stop there. I also had success with:
- Floating Leaves: I snipped the stem off a medium-sized leaf and let it float in a shallow bowl of water with a few pebbles. It created a beautiful, Zen-like centerpiece.
- Under Glass Cloches: A single leaf laid on a wood slice or slate under a cloche became a living sculpture, requiring no water at all and lasting about a week as a dried specimen.
- Taped Accents: Using delicate washi tape, I taped a single, small leaf to a mirror frame. It dried in place beautifully over a few days, creating a unique, semi-permanent botanical accent.
Troubleshooting Common Problems
Even with care, issues can pop up. Here’s what I encountered:
- Wilting Within Hours: This was my air embolism issue. The fix is the underwater recut. Always.
- Yellowing Edges: This can be natural aging or a sign of chlorine sensitivity. Using filtered water or letting tap water sit out for 24 hours before use solved it.
- Slimy Stems: Bacterial growth from infrequent water changes. Immediately remove the leaf, wash the stem, recut it, and place it in fresh solution with a clean vase.
How long do caladium leaves last when cut? With the proper preparation and weekly maintenance I’ve outlined, you can expect your caladium leaf displays to remain fresh and beautiful for 10 to 14 days, sometimes longer. The key is the floral preservative and regular water changes.
Can I propagate a new plant from a cut caladium leaf? No, unfortunately. Caladiums are grown from tubers (bulbs). A leaf cutting, even with a piece of stem, will not develop roots or a new tuber. For propagation, you need to divide the tuber itself.
Are caladium leaves toxic to pets? Yes. Like many plants in the Araceae family, caladiums contain calcium oxalate crystals, which can cause oral irritation, drooling, and vomiting if ingested by cats or dogs. It’s best to place your stunning displays out of reach of curious pets.
Displaying caladium cut leaves is more than just putting a leaf in water; it’s a practice in mindful plant care and creative expression. By selecting the right leaf, prioritizing its hydration from the very first cut, and committing to simple weekly upkeep, you transform a temporary moment into a lasting piece of natural art. My two-week experiment taught me that the beauty of these leaves is not as fleeting as I once thought. So, grab your pruners, mix up some preservative, and bring the breathtaking, painterly beauty of caladiums into your home. The impact is immediate, and the satisfaction of keeping them thriving is deeply rewarding.





