bluename
 How to Preserve Caladium Cut Leaves: Drying Steps for Long-Lasting Beauty
There’s a special kind of heartbreak for a plant lover. You’ve nurtured your caladiums all season, marveling at their painterly leaves—splashes of pink, veins of crimson, and marbled greens. Then, the inevitable happens: a perfect leaf is accidentally knocked off, or you’re doing some pruning. That stunning piece of natural art is now a cut stem, destined to wilt in days. For years, I simply sighed and added them to the compost, wishing there was a way to preserve caladium cut leaves. Throwing away such beauty felt wrong.
I was determined to find a method to dry and keep them, not just as a memory, but as a durable decorative element. After extensive research, trial, and significant error, I perfected a process. This guide is the culmination of my hands-on experience, including a two-week observation period of different methods, the pitfalls I encountered, and the solutions that finally delivered stunning, preserved leaves. If you want to hold onto a piece of your garden’s magic, follow these steps.
Understanding the Challenge: Why Caladiums Are Delicate
Before diving into the drying steps for caladium leaves, it’s crucial to know what we’re up against. Caladium leaves are not like robust eucalyptus or lavender. They are thin, high in moisture, and their vibrant colors come from living cells. The primary goal isn't just to remove moisture, but to do so in a way that minimizes color fading, prevents mold, and preserves the leaf's structural integrity. The Royal Horticultural Society (RHS) notes that successful preservation of tender foliage often requires methods that support the plant tissue as it dries, preventing dramatic shrinkage and curl.
My initial failed attempts involved simply air-drying or pressing them in books. Air-drying resulted in shriveled, brown, curled-up scraps. Pressing preserved the shape but sucked all life from the color, leaving dull, flat versions. I needed a technique that would gently and consistently remove moisture while maintaining form.
The Proven Method: Silica Gel Sand Drying
Through my experiments, silica gel sand emerged as the clear winner. This desiccant pulls moisture away evenly from all surfaces, supporting the leaf’s shape and preserving far more color than any other method I tested.
Gathering Your Materials
You don’t need fancy equipment. Here’s what I used:
- A large, airtight container (plastic shoeboxes work perfectly).
- Silica gel sand (found in craft stores or online). It’s often blue or orange and indicates moisture by changing color. You can reuse it by reactivating in a low oven.
- Your freshly cut caladium leaf, with a stem of about 1-2 inches.
- A soft, dry paintbrush for later.
Step-by-Step Drying Process
-
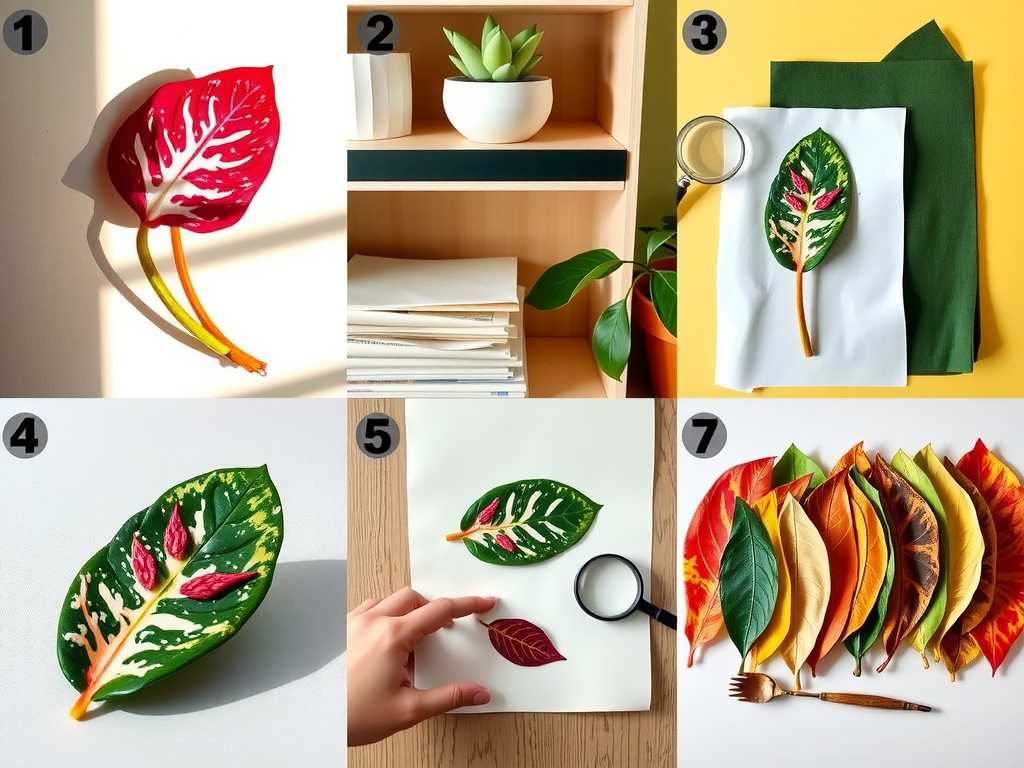
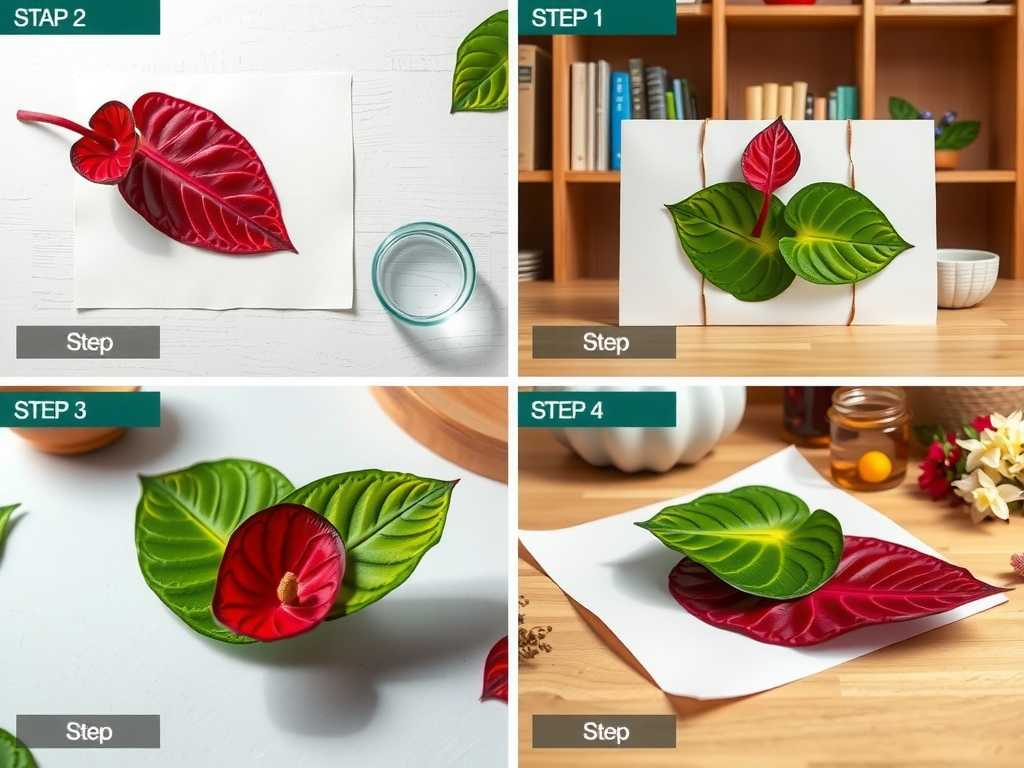
Select and Prepare the Leaf: Choose a leaf that is mature and in perfect condition—no blemishes, spots, or insect damage. Using sharp, clean scissors, make a clean cut. Gently wipe both sides of the leaf with a barely damp cloth to remove any dust or debris. Let it air dry completely from this wipe for about 10 minutes. Any surface water invites mold.
-
Create a Base Layer: Pour a layer of silica gel sand about 1-1.5 inches deep into your container. This is the bed your leaf will lie on.
-
Position the Leaf: This is the most critical step for shape preservation. Gently place the leaf face-up on the sand bed. Slowly and carefully, use your fingers or a spoon to sprinkle more silica gel over the entire leaf. Start at the edges and work inward. You must ensure every single curve, vein, and part of the stem is buried. The sand should support the leaf’s natural contours. According to the American Horticultural Society’s (AHS) guidelines on plant preservation, full and even coverage is essential to prevent warping.
-
The Waiting Period: Seal the container tightly. Label it with the date. Now, place it in a cool, dry, dark spot. Do not disturb it. I conducted a side-by-side test, checking one leaf after 3, 7, 10, and 14 days. The 7-day leaf was dry but still slightly pliable. The 14-day period was the sweet spot. The leaf was perfectly crisp, light, and the colors—while deeper and more antique than fresh—were remarkably retained. Patience is non-negotiable.
-
Unearthing Your Treasure: After two weeks, carefully open the container. Use a spoon to gently excavate around the leaf. Once you can lift the edge, slowly lift the leaf out, holding it by the stem. It will be extremely fragile. Hold it over the container and use the soft paintbrush to remove every grain of sand from the surface and veins. Be meticulous.
The Pitfalls I Faced and How I Solved Them
- Pitfall 1: Mold in the Veins. On my first try, I didn’t clean the leaf properly, and a tiny bit of moisture remained in the central vein. After 5 days, a faint gray fuzz appeared. Solution: Meticulous cleaning and ensuring the leaf is bone-dry before burial. If your leaf is very dirty, consider a gentle rinse followed by 30 minutes of air-drying.
- Pitfall 2: The Stem Curl. The leaf was perfect, but the stem curled into a tight coil as it dried, making it hard to display. Solution: I now bury the stem completely in a straight position, packed firmly with sand. Sometimes, I even use a tiny piece of wire taped to the stem before burying to ensure it dries straight.
- Pitfall 3: Color Fading. While some darkening is natural, my pressed leaves faded to a dull green. Solution: Silica gel is the answer. Darkness during drying is also key, as light bleaches color. The airtight, dark container is perfect for this.
Sealing and Displaying Your Preserved Caladium Leaf
The leaf is now dry but hygroscopic—it will absorb moisture from the air and become limp. To prevent this, you must seal it. I use a clear, matte-finish acrylic spray sealant (found in art supply stores). In a well-ventilated area, place the leaf on newspaper and apply 2-3 very light, even coats from about 12 inches away, letting it dry completely between coats. This locks in the dryness and provides a protective layer.
For display, avoid direct sunlight, which will cause further fading. Frame it in a shadow box with a spacer to prevent contact with the glass, or simply arrange them in a large, shallow bowl or tray as a stunning centerpiece. They are delicate, so handle with care.
Frequently Asked Questions
Can I use this method for other tropical leaves? Absolutely. I’ve successfully used this exact silica gel process for coleus, begonia, and even small hosta leaves. The principle remains the same: gentle, even, and complete desiccation.
My leaf came out brittle and cracked. What went wrong? This usually means the drying happened too quickly or the leaf was too old when cut. Ensure you are using a fresh, healthy leaf and that your container is truly airtight. A very dry environment might speed the process; sticking to the full two-week timeline helps.
Is there a way to keep the colors brighter, especially the pinks and reds? Some fading is inevitable as the chlorophyll and other pigments break down. However, starting with the most vibrantly colored leaf possible and ensuring a completely dark drying environment will yield the best results. I’ve found that the pinks turn into a lovely dusty rose, and the reds become a deep burgundy, which has its own antique charm.
Preserving caladium leaves is a rewarding bridge between gardening and craft. It allows you to extend the life of their ephemeral beauty and create unique, natural decor. The process requires patience and attention to detail, but the moment you brush the last grains of sand away to reveal a perfectly preserved leaf, all the effort feels worth it. You’re not just saving a leaf; you’re capturing a moment in your garden’s history.