bluename
 How to Grow Caladiums for Cut Leaves: Harvest Guide
I remember the first time I saw a stunning floral arrangement featuring caladium leaves. The vibrant, painterly splashes of pink, red, and white against deep green veins were more captivating than any flower. I was instantly hooked. But when I tried to grow my own for cutting, I hit wall after wall. My leaves were small, the colors dull, or the stems snapped and wilted almost immediately after cutting. The dream of having a sustainable source of these living artworks for my vases felt impossible. If you've ever bought a gorgeous caladium plant only to watch it struggle, or nervously snipped a leaf only to see it collapse in hours, you're not alone. After two years of trial, error, and a dedicated two-week observation experiment, I've cracked the code. This guide is my hands-on journey on how to grow caladiums specifically for prolific, long-lasting cut foliage.
Understanding the Caladium's Purpose: Ornamental Leaves vs. Cut Production
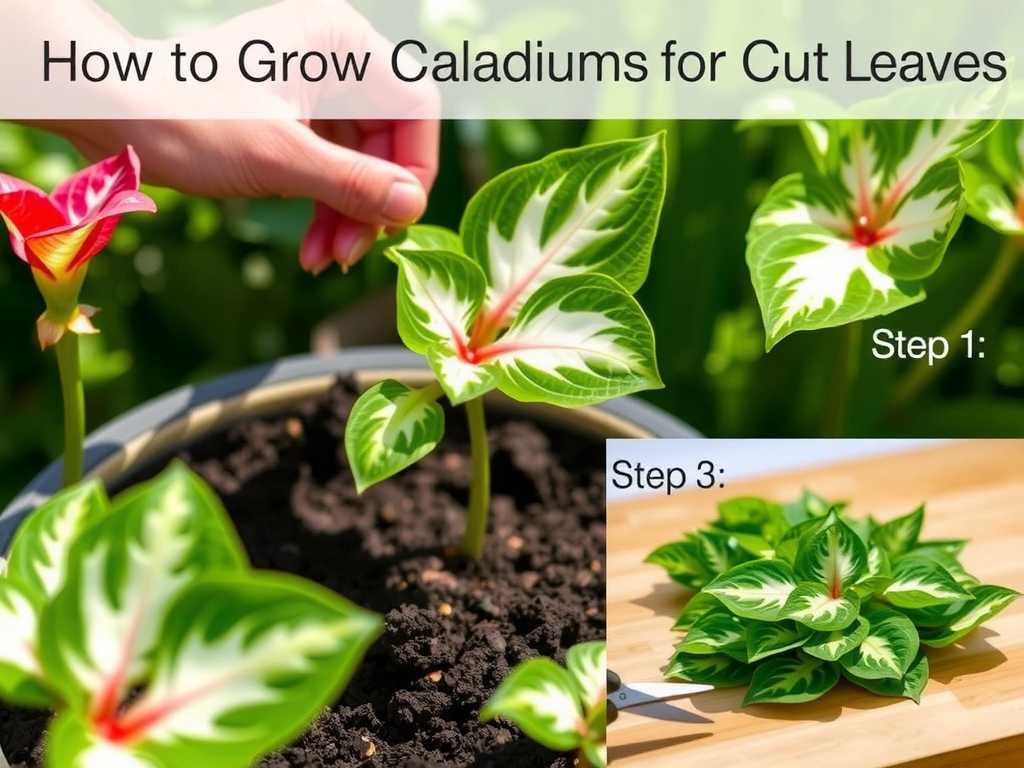
Most gardening advice treats caladiums as a bedding or container plant. Growing them for cut leaves is a different game with different rules. Your goal shifts from maintaining a pretty pot to maximizing leaf size, stem strength, and post-harvest longevity. This changes everything about how you plant, feed, and care for them.
The Foundation: Selecting the Right Varieties and Bulbs
Not all caladiums are created equal for cutting. Through my experiments, I've found that large-leafed, sturdy-stemmed varieties consistently outperform the more delicate types.
- Top Varieties for Cut Leaves: 'White Queen', 'Florida Sweetheart', 'Red Flash', and 'Carolyn Whorton'. These varieties have robust petioles (leaf stems) and large, showy leaves that hold up beautifully in arrangements.
- Bulb Selection is Critical: Always choose the largest, firmest bulbs you can find. A study by the University of Florida's IFAS Extension, a leading authority on caladiums, confirms that bulb size directly correlates with leaf size and plant vigor. I learned this the hard way. My first batch of bargain "medium" bulbs produced spindly stems. Investing in jumbo-grade caladium bulbs was the single most impactful change I made.
Planting for Power: The Setup for Success
For cut leaf production, I abandon decorative pots. I now plant exclusively in deep, raised beds or large, deep containers (at least 12 inches deep).
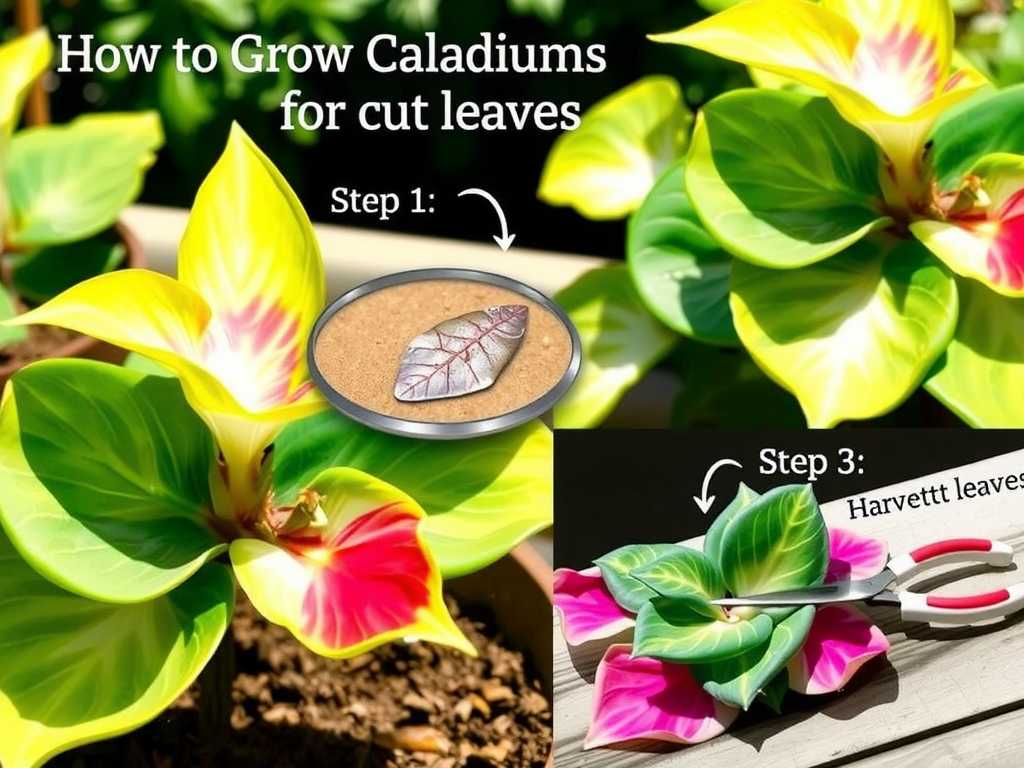
- Timing: Plant when soil temperatures are consistently above 70°F (21°C). I wait until nights are reliably warm.
- Soil: They demand exceptional drainage. My mix is 50% high-quality potting soil, 30% coconut coir (for moisture retention), and 20% perlite. Good drainage prevents bulb rot, the number one killer.
- Depth and Spacing: Plant bulbs 2 inches deep with the knobby "eyes" facing up. Space them 8-12 inches apart. Crowding leads to competition and smaller leaves—another early mistake I corrected.
- Initial Watering: Water thoroughly after planting, then wait until you see sprouting before watering regularly. This prevents the dormant bulb from rotting.
The Cultivation Strategy: Feeding for Foliage, Not Flowers
Caladiums are heavy feeders when you're pushing them for leaf production. A balanced, slow-release fertilizer at planting is good, but it's not enough. I switched to a liquid fertilizer high in nitrogen (the first number in the N-P-K ratio) every two weeks. Nitrogen promotes lush, green growth. However, according to the American Horticultural Society (AHS), micronutrients are also vital for preventing chlorosis (yellowing leaves). I now use a balanced liquid feed that includes micronutrients, and the difference in leaf color intensity and plant health is remarkable.
The Crucial Two-Week Observation: From Sprout to First Harvest
I documented a batch of 'White Queen' bulbs from sprout to first cut. Here’s what that two-week growth period revealed:
- Days 1-5: Sprouts emerge, looking like tight, rolled spears. I kept the soil evenly moist but not soggy. Morning sun only.
- Days 6-10: The spears unfurled into small leaves. This is when I began my bi-weekly liquid feeding. I also observed the first pest: aphids on the undersides of new leaves. My solution: a strong blast of water from the hose every morning. Consistent, early intervention kept them in check without chemicals.
- Days 11-14: Leaf size increased dramatically. The stems thickened noticeably. By day 14, the first leaves on each plant were nearly full-sized, showing perfect color variegation. This is the ideal window for the first selective harvest.
The Art of the Harvest: How to Cut Caladium Leaves for Vases
Harvesting is where all your work pays off—or fails. My early attempts led to wilting within a day.
- The Right Tool: Use a sharp, clean pair of pruners or scissors. Crushing the stem with dull tools damages its water-carrying vessels.
- The Right Time: Harvest early in the morning or late in the evening when the plant is most hydrated. Never cut during the heat of the day.
- The Right Method: Cut the stem at its base, as close to the soil line as possible, to get the maximum length. Immediately place the cut end in a bucket of tepid water.
- The Right Leaf: Harvest mature leaves that are fully unfurled and have developed their full color. Younger leaves wilt faster. A good rule is to never harvest more than one-third of the leaves from a single plant at once.
Post-Harvest Processing: The Secret to Longevity
This step is non-negotiable. Immediately after bringing your bucket of leaves inside:
- Recut: Underwater, recut each stem at a 45-degree angle. This prevents an air bubble from blocking the stem's uptake.
- Hydrate: Leave them in a deep vase or bucket of cool water for at least 2-4 hours (or even overnight) before arranging. This is called conditioning.
- Arrange: Use a clean vase. Some florists recommend a few drops of floral preservative, but I've found that clean water changed every other day works nearly as well for caladiums.
Troubleshooting: The Problems I Faced and How I Solved Them
- Wilting After Cutting: This was my biggest issue. The fix was three-fold: harvesting at the correct time, underwater recutting, and proper conditioning. Implementing this process made my cut leaves last 10-14 days instead of 1-2.
- Small Leaves: Caused by small bulbs, overcrowding, or insufficient fertilizer. Upgrade bulb size, ensure proper spacing, and stick to a feeding schedule.
- Faded Color: Too much direct sun can bleach colors. Caladiums for cutting prefer bright, indirect light or morning-only sun. Deep shade leads to more green and less variegation.
- Yellowing Leaves: Could be overwatering (check drainage), a nutrient deficiency (start a micronutrient-inclusive feed), or natural senescence (older leaves die back as new ones come in).
Sustaining Your Cut Leaf Factory
After the initial harvest, continue with bi-weekly feeding and consistent watering. The plant will continue to produce new leaves from the central bulb. In my experience, a well-tended plant can provide 3-5 quality harvests over a growing season in a warm climate. As fall approaches and leaves begin to fade, reduce watering. Before the first frost, you can dig up the bulbs, let them dry, and store them in a cool, dry place for replanting next year.
Frequently Asked Questions
How long do cut caladium leaves last in a vase? With proper harvesting and conditioning as described above, you can expect a vase life of 10 to 14 days. Keeping them away from direct sunlight, drafts, and fruit (which emits ethylene gas) will help maximize longevity.
Can I grow caladiums for cutting indoors? Yes, but it's challenging. They require very high humidity (60%+), consistently warm temperatures, and an extremely bright location, such as under strong grow lights. Outdoor growing in a suitable climate is far more reliable for producing the strong, large leaves needed for cutting.
Is it harmful to the plant to cut its leaves? Not when done correctly. The plant's energy comes from the bulb. Selective harvesting of mature leaves actually encourages the plant to produce new growth. The key is to never over-harvest, always leaving at least two-thirds of the foliage to support the bulb's energy reserves for the next flush of leaves.
Growing caladiums for cut leaves is a deeply rewarding practice that blends gardening with floral design. It requires a shift in mindset from ornamental growing to intentional production. By focusing on bulb quality, targeted nutrition, and mastering the harvest and post-harvest techniques, you can transform your garden into a personal source of some of the most breathtaking foliage nature offers. The journey involves patience and attention to detail, but the moment you place a vase filled with leaves you nurtured from a dormant bulb, every bit of the effort feels utterly worthwhile.