 bluename
 How to Care for Caladiums After Vacation: A Complete Recovery Guide
You’ve just returned from a blissful, well-deserved vacation, only to be greeted by a heartbreaking sight: your once-vibrant caladiums look limp, droopy, and possibly on their last leg. The guilt is real. I’ve been there, staring at my prized ‘White Queen’ and ‘Red Flash’ varieties, feeling like I’d failed them. The good news? More often than not, vacation-stressed caladiums are not dead—they’re just crying out for a specific recovery plan. Over the years, I’ve perfected a post-vacation rescue routine that has brought even the saddest-looking plants back from the brink. This guide will walk you through my exact, step-by-step process, including the mistakes I’ve made and how to avoid them, so you can confidently nurse your caladiums back to health.
First 24 Hours: The Critical Assessment and Initial Triage
Don’t panic and don’t overreact. Your first actions are crucial and should be gentle. Rushing to drown them in water or fertilizer is the fastest way to finish them off.
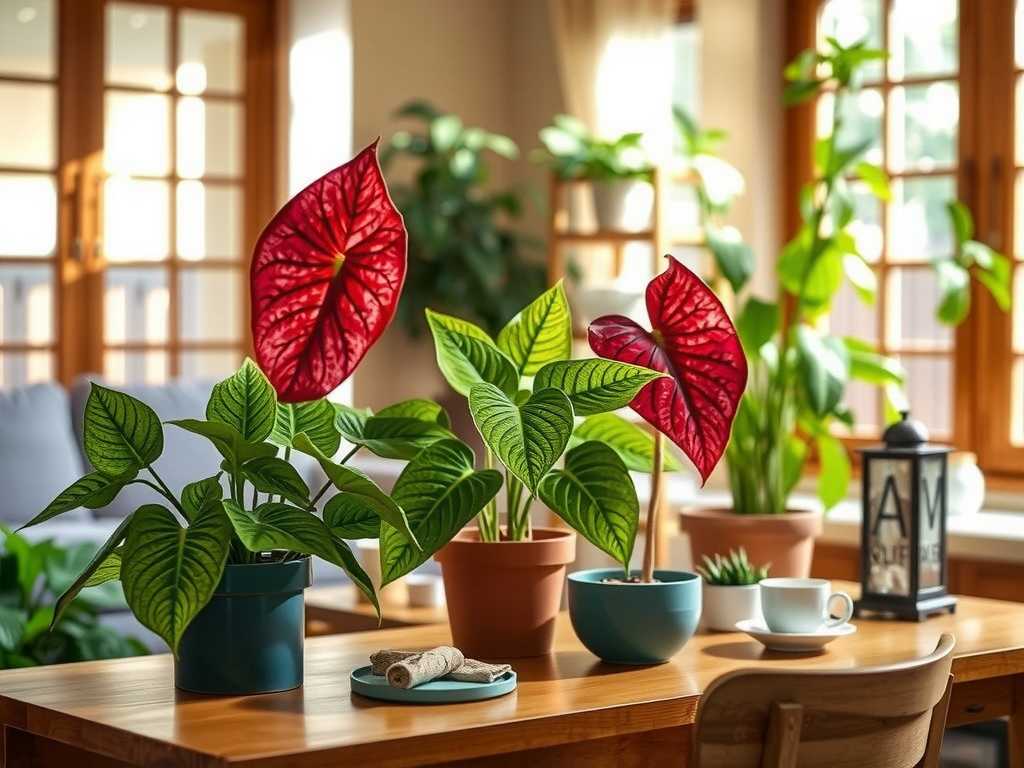
Step 1: The Gentle Visual and Physical Check I start by placing my caladiums in bright, indirect light—never direct sun, which is too harsh for their stressed state. I then perform a thorough check:
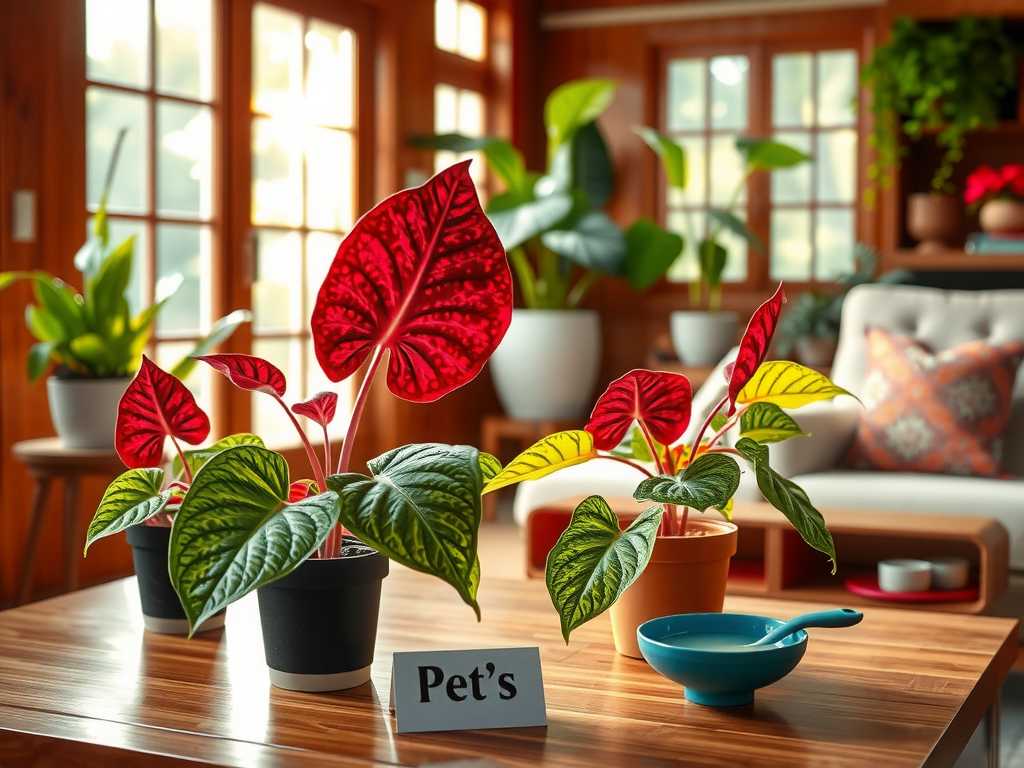
- Leaves: Are they yellow, brown, or just wilted? Crispy brown edges often signal underwatering, while widespread yellowing and mushiness point to overwatering or root rot.
- Stems: Are they firm or mushy? Gently feel the stems near the soil.
- Soil: This is the most telling sign. I stick my finger about 2 inches into the potting mix. Is it dust-bone dry? Is it soggy and clumpy? Or is it strangely hard and pulling away from the pot’s edges?
Step 2: The Hydration Strategy – It’s Not Just Watering Based on my soil check, I take one of three paths:
- For Bone-Dry Soil: This was my most common scenario. The soil can become hydrophobic. My big mistake was pouring water and watching it run straight through without being absorbed. The fix? Bottom-watering. I place the pot in a sink or tray filled with 2-3 inches of lukewarm water and let it soak for 30-45 minutes. This allows the soil to slowly rehydrate from the bottom up. Then, I let it drain completely.
- For Soggy Soil: This is a red flag. Overwatering by a well-meaning plant sitter is common. I immediately stop all watering. I gently tip the pot to drain excess water from the saucer. For severe cases, I might carefully remove the plant and its root ball to inspect for rot (more on that later) and place it on a bed of dry newspaper to wick away moisture.
- For Hard, Shrunken Soil: This is a combination issue. I use a chopstick to gently aerate the soil surface, then proceed with the bottom-watering method described above.
My Personal Mistake & Fix: Once, I assumed all my droopy caladiums needed water. One pot had secretly been overwatered, and my “rescue” watering caused immediate stem collapse. Now, I always check the soil individually for every single plant before taking any action.
Week 1: The Recovery Environment Reset
The first week is about stability, not growth. Your goal is to stop the decline.
Creating the Ideal Microclimate Caladiums are tropical. After the trauma of neglect, they crave consistent humidity and stable temperatures. I group all my recovering caladiums together in a room with bright, filtered light. I then run a humidifier nearby, aiming for 60-70% humidity. If you don’t have a humidifier, a pebble tray with water under the pots works as a good alternative. I keep the room between 65-75°F (18-24°C), away from drafts, air conditioners, or heating vents.
The Delicate Art of Pruning This step hurts but is necessary. You must remove leaves that are draining energy the plant can’t spare. I use sterilized, sharp scissors.
- Cut: Any leaf that is more than 50% yellow or brown, or any stem that is mushy.
- Leave: Any leaf that is merely wilted but still has green color. These often perk up.
- Trim: Brown, crispy tips by following the natural leaf shape. As the Royal Horticultural Society (RHS) advises, “Removing dead or dying foliage helps prevent disease and allows the plant to direct energy to new growth.” I never remove more than 1/3 of the total foliage at once to avoid further shock.
To Feed or Not to Feed? Absolutely not. Fertilizing a stressed plant is like offering a heavy meal to someone with the flu. It forces the roots to work when they are weak, potentially causing “fertilizer burn” and more damage. I withhold all fertilizer for the entire recovery period.
Week 2 and Beyond: Monitoring Growth and Addressing Root Issues
By the second week, you should see signs of life—or uncover deeper problems.
Signs of Successful Recovery In my most recent 2-week observation period after a 10-day summer trip, here’s what I documented:
- Days 3-5: The remaining firm, green leaves began to perk up and regain turgor pressure.
- Days 7-10: I noticed tiny, new growth points (small nubs) emerging from the soil in 3 of my 5 plants. This was the ultimate sign of success!
- Day 14: Two plants had unfurled small, new leaves. They were paler than usual but healthy. The other two were stable, with no further leaf loss.
When to Suspect Root Rot: The Unpleasant but Vital Check If, after 7-10 days of proper care, your plant continues to decline (more yellowing, stems getting mushy), the issue is likely below the soil. With a heavy heart, I gently lift the plant from its pot. Healthy caladium tubers and roots are firm and white or tan. Rotten parts are soft, brown/black, and often smelly.
- The Fix: Using clean shears, I cut away all rotten material until only firm, healthy tissue remains. I dust the cuts with cinnamon (a natural antifungal) or a sulfur-based powder. I then repot in a fresh, well-draining potting mix (I use a blend of peat, perlite, and orchid bark). The American Horticultural Society (AHS) emphasizes that “proper drainage is non-negotiable for aroid health,” and repotting into the right medium can be a lifesaver.
Resuming Normal Care – Slowly Only when I see consistent new growth do I consider my plant “recovered.” At this point, I gradually reintroduce it to its former spot and resume a normal watering schedule (watering when the top inch of soil is dry). I wait a full month after seeing new growth before applying a half-strength dose of balanced, liquid fertilizer.
Common Post-Vacation Caladium Problems and Solutions
- “All the leaves died back. Is it dead?” Probably not. Caladiums grow from tubers. If the tuber is firm, there’s hope. Cut back all dead foliage, continue with modest watering, and place it in a warm spot. It may resprout next season.
- “The new leaves are small and pale. Why?” This is normal after stress. The plant is using its limited energy. Ensure it has enough bright, indirect light (low light causes small, pale leaves) and be patient. The next set of leaves will likely be larger and more colorful.
- “How can I prevent this next time?” For future vacations, I now use a reliable self-watering system. My favorite is simple: a large water reservoir with cotton ropes (wicking) leading to each pot’s soil. I test-run it for 2 weeks before I leave to calibrate the watering speed. Placing plants away from direct sun in a cool room also reduces their water consumption while you’re away.
Watching your caladiums struggle after a trip is discouraging, but with patience and this methodical approach, recovery is highly possible. The key is to diagnose correctly, act gently but decisively in the first 24 hours, and provide a stable, humid environment for healing. Resist the urge to over-care. More often than not, the tuber holds immense life, waiting for the right conditions to send up a stunning new leaf, reminding you that in plant care, as in life, resilience is often just beneath the surface.





