 bluename
 How to Prune Caladiums for Propagation: Cutting Tips
I remember staring at my overgrown, leggy caladiums last season, feeling a mix of love and frustration. Their vibrant leaves were stunning, but the plants looked tired and uneven. I wanted more of these beauties without buying new bulbs, but the thought of cutting into my prized plants was terrifying. What if I killed them? What if the cuttings just rotted? If you've ever felt that same hesitation, you're in the right place. After extensive trial, error, and a dedicated two-week observation period, I've perfected a method to prune and propagate caladiums successfully. This guide will walk you through every step, sharing the mistakes I made so you can avoid them, and show you exactly how to multiply your caladium collection through smart pruning and cutting.
Understanding the "Why" Before the "How"
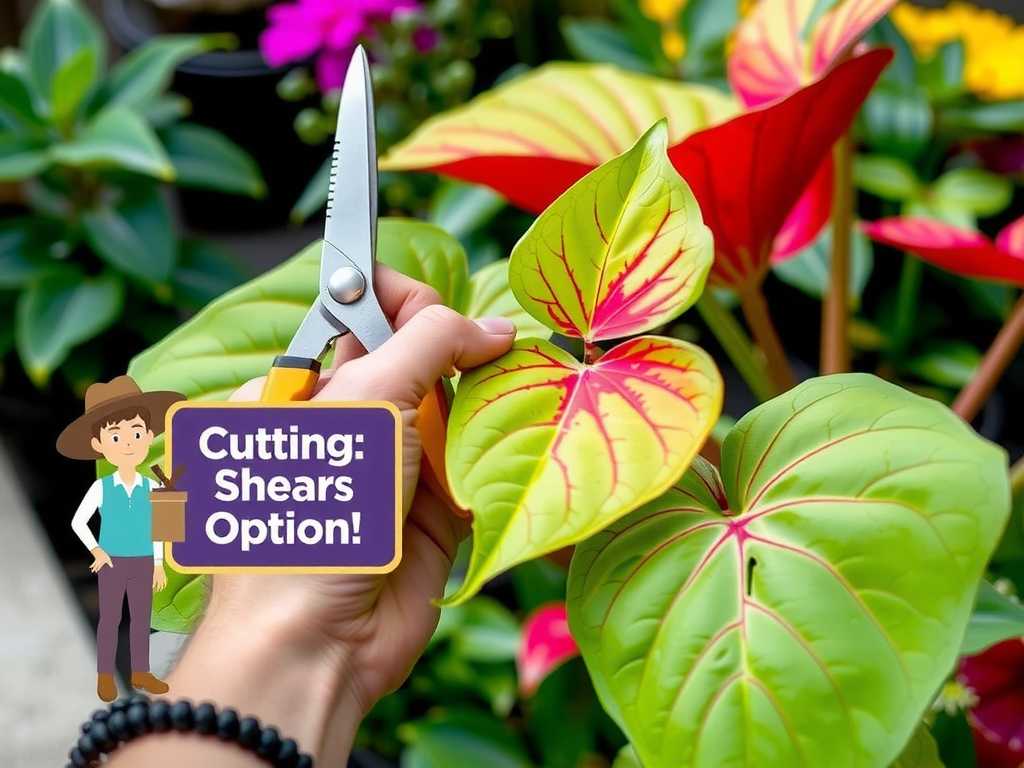
Pruning isn't just about hacking away at your plant. For caladiums, strategic pruning serves two main purposes: plant rejuvenation and propagation. When a caladium becomes leggy, with long stems and smaller leaves, it's directing energy inefficiently. Pruning encourages a bushier, more compact growth habit. More importantly, the stems and leaves you remove can become the start of entirely new plants. This process, known as stem cutting propagation, is a rewarding way to expand your indoor or shaded garden. According to principles often cited by horticultural authorities like the American Horticultural Society (AHS), successful propagation from cuttings relies on creating the ideal environment for root development from a severed plant part—a concept we'll apply directly to caladiums.
Gathering Your Tools: Setting Up for Success
My first attempt failed because I was unprepared. I used dull, household scissors. Don't make my mistake. You need clean, sharp tools to make precise cuts without crushing the plant's vascular tissues. Here's your checklist:
- Pruning Shears or Sharp Scissors: Sterilize them with rubbing alcohol or a bleach solution (1 part bleach to 9 parts water). This is non-negotiable to prevent disease transmission.
- A Clear Glass or Jar: For rooting your cuttings in water.
- Well-Draining Potting Mix: A peat-based mix with perlite is ideal for planting rooted cuttings.
- Small Pots with Drainage Holes:
- Rooting Hormone (Optional but Recommended): A powder or gel formulation can significantly speed up root development. I learned this the hard way after my first, hormone-free batch took much longer to show signs of life.
The Step-by-Step Guide to Pruning and Taking Cuttings
Identifying the Right Stems to Cut
Not every stem is a good candidate. Look for healthy, firm stems with at least one or two mature leaves. Avoid stems that are yellowing, overly soft, or damaged. The ideal cutting will be 4-6 inches long and include a node—that small, bumpy point on the stem where leaves emerge. This node is where new roots will form. I initially chose stems with only leaves and no visible node, and they simply wilted without ever rooting.
Making the Perfect Cut
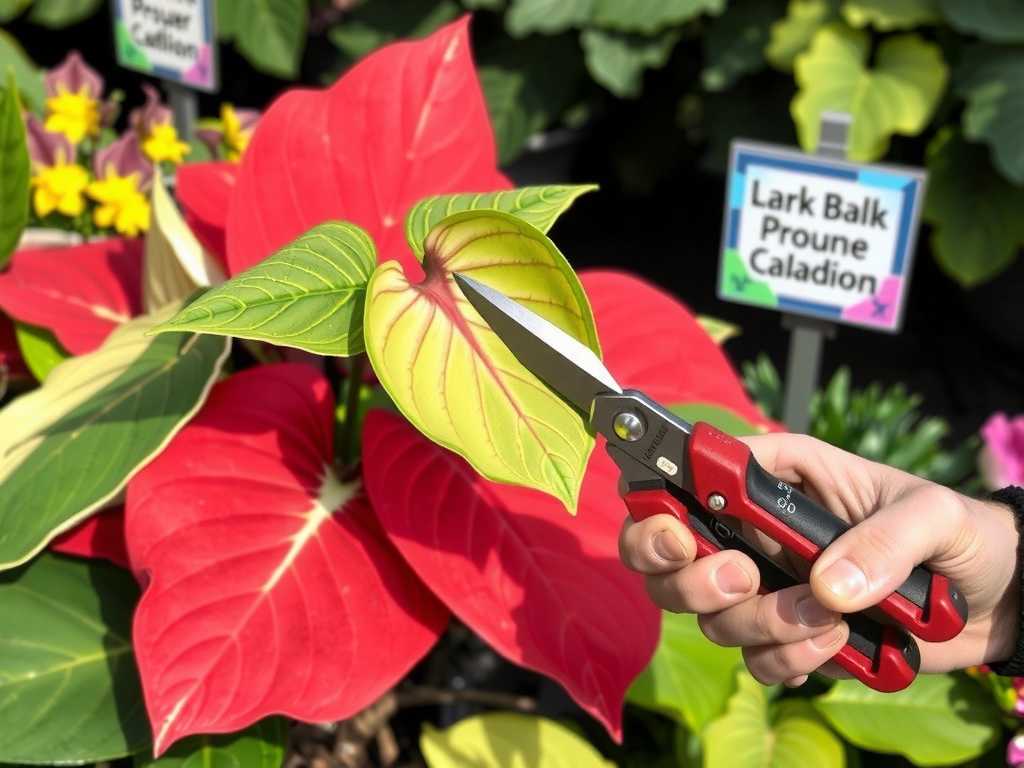
This is where precision matters. Using your sterilized shears, make a clean, angled cut about a quarter-inch below a leaf node. The angled cut increases the surface area for rooting and helps prevent the stem from sitting flat on the bottom of your glass, which can promote rot. Immediately after cutting, I dip the cut end into rooting hormone, tapping off the excess. In my comparative test, cuttings with hormone developed visible root nubs in about 7 days, while those without took nearly 12 days.
Preparing for Root Development
Remove any leaves that would be submerged in your water or planting medium. I leave one or two healthy leaves at the top to allow the cutting to continue photosynthesis. If the remaining leaves are very large, you can carefully trim them down by up to half to reduce moisture loss.
Two Methods for Rooting Your Caladium Cuttings
Method 1: Rooting in Water (The Observational Method)
This was my preferred method for my latest batch because it lets you watch the roots grow. Place your prepared cuttings in a glass of room-temperature water, ensuring no leaves are underwater. Place the glass in a spot with bright, indirect light. Avoid direct sun, which can cook the cuttings. Change the water every 3-4 days to keep it fresh and oxygenated. Here’s what I observed over two weeks:
- Days 1-3: The cuttings looked perky. No change.
- Days 4-7: I noticed small, white bumps forming at the nodes below the water line—the first sign of root initials.
- Days 8-14: The bumps elongated into definite white roots, reaching about an inch long by the end of the second week. One cutting in murky water (I forgot to change it) developed a slimy film; I rescued it by rinsing it under clean water, trimming a tiny bit off the stem, and placing it in fresh water with a drop of hydrogen peroxide.
Method 2: Rooting Directly in Soil
For a more seamless transition, you can plant cuttings directly into a moist, well-draining potting mix. Make a hole with a pencil, insert the hormone-dipped cutting, and gently firm the soil around it. Cover the pot with a clear plastic bag to create a humid mini-greenhouse. The key here is to keep the soil consistently lightly moist, not soggy. My early mistake was keeping the soil too wet, which led to stem rot before roots could form. The plastic bag helps retain moisture, so you often need to water less than you think.
Post-Propagation Care and Transition
Once your water-rooted cuttings have roots about 1-2 inches long, they are ready to be potted. Gently plant them in small pots with drainage holes, using a light potting mix. Keep the soil evenly moist for the first week as the roots adapt to their new environment. For soil-rooted cuttings, you can slowly acclimate them to less humidity by opening the plastic bag for longer periods each day over a week before removing it entirely. Place all new plants in that same bright, indirect light. I fertilized mine too early and caused leaf burn; wait at least 4-6 weeks, or until you see significant new leaf growth, before applying a diluted, balanced liquid fertilizer.
Troubleshooting Common Problems
- Yellowing Leaves: This often signals overwatering. Let the soil dry out slightly between waterings.
- Rotting Stems: This was my biggest pitfall. It's caused by excessive moisture and poor air circulation. If rooting in soil, ensure it's well-draining. If in water, change it regularly. At the first sign of mushiness, cut above the rot, re-sterilize your tool, and start again.
- Wilting Cuttings: This is usually due to transplant shock or insufficient humidity. For newly potted cuttings, ensure consistent moisture and consider a temporary plastic bag cover to boost humidity.
- No Root Growth: Be patient. It can take time. Ensure your cutting has a node and is receiving adequate warmth and indirect light. Using rooting hormone is the most effective way to jumpstart this process.
How long does it take for caladium cuttings to root? In my experience under ideal conditions—using rooting hormone and maintaining warm temperatures (70-75°F)—you can see the first root bumps in about a week. For a solid root system suitable for potting, plan on two to three weeks. Without hormone, it may take a week or two longer.
Can you propagate a caladium from just a leaf? No, and this was a disappointing early lesson. A leaf alone, without a piece of the stem containing a node, will not develop roots. It may stay alive in water for a while but will eventually die. You must include a section of stem with a node for successful propagation.
When is the best time of year to prune caladiums for propagation? The optimal time is during the plant's active growing season, which is late spring through summer. The plant's natural growth hormones are highest then, leading to faster root development. I attempted propagation in early fall, and the process was significantly slower as the plant was beginning to sense the shorter days.
Watching those tiny white roots emerge from a stem I had carefully cut was incredibly rewarding. It transformed my approach from hesitant to confident. By selecting the right stem, making a clean cut, and providing consistent care—whether in water or soil—you can turn one lush caladium into many. Remember, the keys are cleanliness, patience, and avoiding the sogginess that leads to rot. Now, take a deep breath, sterilize those shears, and give it a try. Your future, fuller collection of vibrant caladiums will thank you.





