 bluename
 How to Root Caladium Cuttings: Water Propagation Steps
I’ve always been mesmerized by the stunning, heart-shaped leaves of caladiums. Their vibrant veining and painterly splashes of color can transform any shady corner into a tropical paradise. But here’s the common frustration I, and many fellow plant lovers, have faced: these beauties can be pricey to buy as mature plants, and starting from tubers requires patience through a dormant period. What if you want more of that exact, gorgeous variety sitting on your shelf? That’s where the magic of how to root caladium cuttings comes in. Specifically, water propagation offers a visually rewarding and surprisingly simple method to clone your favorite plant. In this guide, I’ll walk you through my own hands-on, successful journey of rooting caladium cuttings in water, sharing every step, my two-week observation diary, the mistakes I made, and exactly how I fixed them.
Why Choose Water Propagation for Caladiums?
Before we get our hands wet, let’s talk about why water propagation is my go-to method for caladiums. Unlike propagating from tubers, which you do while the plant is dormant, stem or leaf cuttings allow you to multiply your plant during its active growing season. Water propagation is fantastic for beginners because it’s low-cost, requires minimal supplies, and lets you witness the entire root development process. There’s nothing quite like the excitement of seeing those first tiny, white roots emerge from a stem.
According to principles often cited by horticultural authorities like the American Horticultural Society (AHS), successful propagation hinges on creating an optimal environment for cell regeneration. Water provides constant hydration and allows for excellent observation, key factors when you’re learning. It removes the guesswork involved in soil moisture levels that can sometimes lead to rot in traditional methods.
What You'll Need: Gathering Your Propagation Toolkit
You don’t need fancy equipment. Here’s exactly what I gathered from around my house:
- A healthy, mature caladium plant (I used my ‘White Queen’).
- Sharp, sterilized scissors or pruning shears. I wipe mine with isopropyl alcohol.
- A clear glass jar or vase. Transparency is non-negotiable for observation.
- Fresh, room-temperature water. I use filtered or tap water left out for 24 hours to dissipate chlorine.
- Optional: A rooting hormone (gel or powder). I experimented both with and without it.
My Step-by-Step Process: From Cutting to Rooting
This isn’t just theoretical. I followed these exact steps, and I’ll tell you what worked and what didn’t.
Selecting and Taking the Perfect Cutting
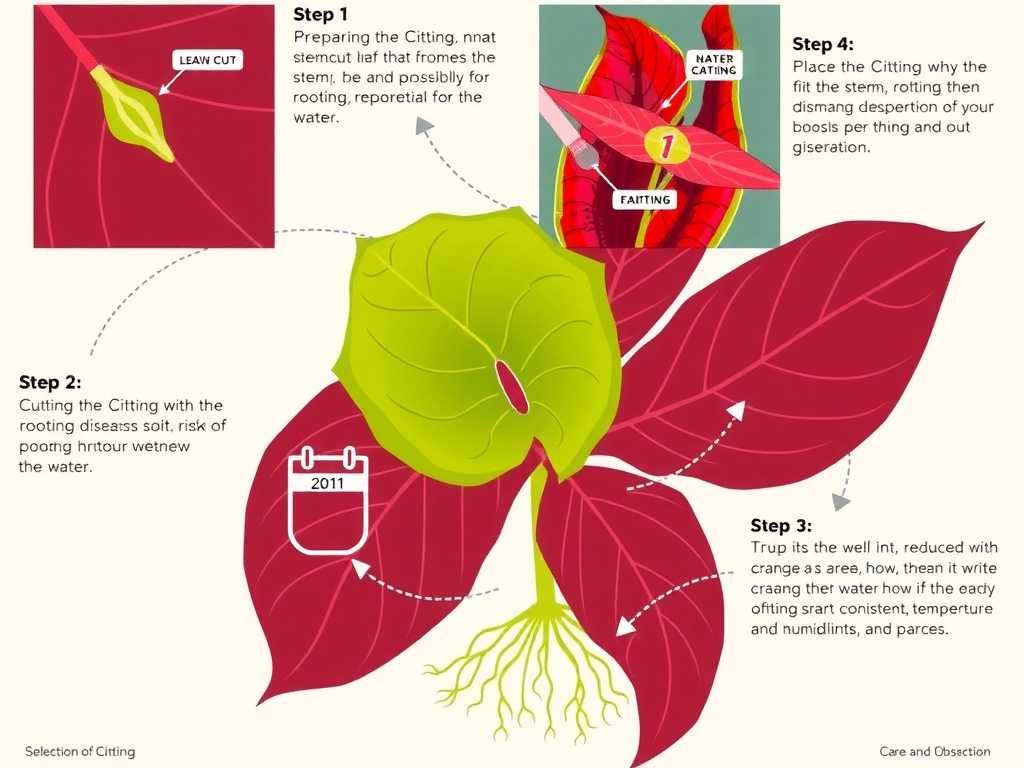
The first step is critical. You must choose a stem with at least one leaf and, crucially, a visible node. The node is that slightly swollen bump on the stem where leaves emerge and, most importantly, where roots will form. I looked for a sturdy, healthy stem without any signs of damage or yellowing.
I made my cut about a quarter-inch below a node, using my sterilized scissors at a 45-degree angle. The angled cut increases the surface area for potential rooting. Immediately, I had my first “aha” moment. Caladiums have a milky sap. Some resources, like the Royal Horticultural Society (RHS), note that sap from some plants can inhibit rooting or cause irritation. I simply rinsed the cut end under lukewarm water to stop the flow and patted it dry gently before moving on.
The Setup: Water and Environment
I filled my clear jar with about two inches of prepared water. Then, I placed the cutting in the jar, ensuring the node was fully submerged while the leaf remained proudly above the waterline. If the leaf sits in water, it will rot quickly and spoil your efforts.
I placed the jar on a bright windowsill but out of direct, harsh afternoon sun. Caladiums love bright, indirect light, and their cuttings are no different. Direct sun can heat the water and stress the cutting. The ideal spot offered consistent, gentle light and a warm room temperature—around 70-75°F (21-24°C).
The Waiting Game: My 2-Week Observation Log
This is where patience meets excitement. I committed to checking my cutting every single day, and I kept a simple log. Here’s what happened:
- Days 1-3: The leaf remained perky. The water was clear. No visible changes.
- Days 4-7: I noticed the very tip of the stem where I made the cut looked slightly translucent or soft. Panic set in—was this rot? This was my first real “pitfall.” Instead of discarding it, I acted. I took the cutting out, trimmed about a centimeter off the stem (cutting above the soft part back to firm, green tissue), rinsed it, and refreshed the water entirely. I learned that changing the water every 3-4 days is essential to prevent bacterial growth, not just a suggestion.
- Days 8-10: After the water-change routine, the stem looked healthy. Then, on Day 10, I saw it! A tiny, white, almost pimple-like bump forming right at the node. This was the root primordia. Success was in sight.
- Days 11-14: The bump elongated into a definite, white root tendril. By the end of the second week, I had three distinct roots, each about half an inch long. The leaf was still perfectly healthy, confirming the plant was actively sustaining itself and investing energy in root growth.
Common Pitfalls and How I Solved Them
My journey wasn’t flawless. Here are the problems I encountered and the solutions that saved my propagation project:
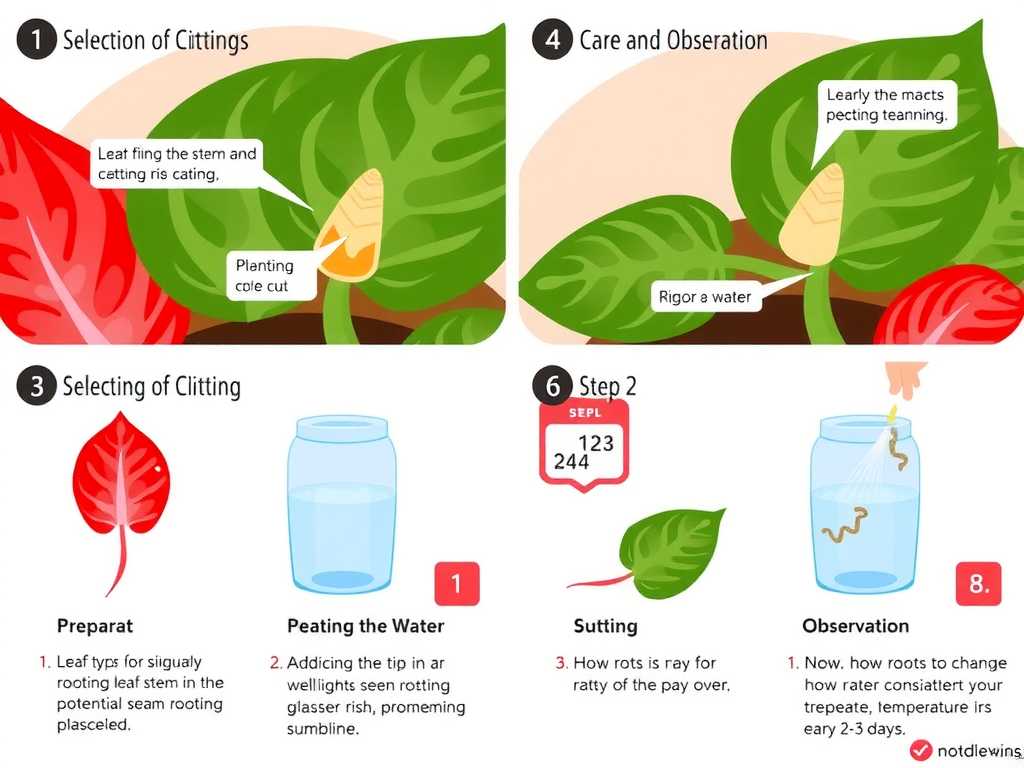
- Stem Rot (The Soggy Stem): As mentioned, the stem tip started to rot. Solution: Immediate action. Trim above the rot, refresh the water, and ensure only the node is submerged, not a long section of stem. Consistent water changes are your best defense.
- Leaf Droop or Yellowing: One of my earlier attempts (before this successful one) saw a leaf yellowing after a week. Solution: This often means the cutting is expending more energy than it can support. Ensure your original cutting has a robust leaf. You can also try tenting a clear plastic bag over the jar to increase humidity, reducing water loss from the leaf. I found simply choosing the healthiest starter material prevented this.
- Slow or No Root Development: After two weeks in my first try, nothing happened. Solution: I reassessed the location. It was too dark. Moving it to a brighter spot (still indirect light) and ensuring ambient warmth made all the difference. Patience is key, but environment is everything.
Transitioning to Soil: The Final Step
Once your roots are about 1-2 inches long—which for me took about 3 weeks total—it’s time to pot up. Water roots are fragile and differ from soil roots. I prepared a small pot with a well-draining, peat-based potting mix, moistened it lightly, and made a small hole. Gently, I placed the rooted cutting in, careful not to break the tender roots, and firmed the soil around it.
I kept the soil consistently moist (but not soggy) for the first two weeks in soil to help the roots acclimate from their aquatic life. After that, I transitioned to a regular caladium watering routine, allowing the top inch of soil to dry out between waterings.
How long does it take for caladium cuttings to root in water? In my experience, with ideal conditions (warmth, bright light, clean water), you can see the first root bumps in 10-14 days. For roots to reach a plantable length of 1-2 inches, plan on 3-4 weeks of patience.
Can you propagate a caladium from just a leaf? No, a leaf alone will not work. You must have a piece of the stem that includes a node. The leaf can photosynthesize and provide energy, but the node is the only tissue capable of producing new roots. This was a crucial lesson in my early attempts.
Why are my caladium cuttings rotting in water? Rot is usually caused by bacterial growth in stagnant water or submerging too much of the stem. The fix is simple: change the water every few days, use a clean vessel, and only submerge the node. If rot appears, trim the stem back to healthy tissue immediately and start fresh with clean water.
Watching a caladium cutting slowly push out its first roots in a simple jar of water is one of the most rewarding experiences in plant care. It demystifies propagation and empowers you to create new plants from your existing favorites. The key takeaways from my hands-on experiment are clear: start with a healthy cutting that includes a node, be religious about changing the water to prevent rot, and provide plenty of warm, indirect light. Don’t be discouraged by small setbacks like a soft stem tip—often, a quick trim and fresh water will solve the problem. Give it a try with your most vibrant caladium. With a little observation and these water propagation steps, you’ll be sharing your own rooted cuttings with friends in no time.





