 bluename
 How to Root Caladium Cuttings: Soil Propagation Steps
I’ve always been mesmerized by the vibrant, heart-shaped leaves of caladiums. Their stunning foliage can transform any shady corner into a tropical paradise. But let’s be honest—buying multiple mature plants can get expensive. That’s why I turned to propagation. If you’ve ever wondered how to multiply your favorite varieties, you’ve likely searched for how to root caladium cuttings. The good news? It’s entirely possible, and soil propagation is a wonderfully direct method. However, the process isn’t always straightforward. Many guides make it sound simple, but without the right steps, you might end up with rotten tubers instead of new plants. I learned this the hard way. After several attempts, careful observation, and adjusting my technique, I’ve perfected a reliable method. In this guide, I’ll walk you through my exact soil propagation steps for caladium cuttings, sharing the pitfalls I encountered and how I overcame them to successfully grow new, healthy plants.
Understanding Caladium Propagation Basics
Before we dive into the soil, it’s crucial to understand what we’re working with. Caladiums grow from tubers, which are underground storage organs. When we talk about taking “cuttings,” we’re often referring to dividing these tubers or, less commonly, taking stem cuttings with a piece of the tuber attached. True leaf-only cuttings, like you’d do with a pothos, won’t root for caladiums. The growth point, or “eye,” on the tuber is essential. According to the American Horticultural Society (AHS), successful propagation of tuberous plants like caladiums depends entirely on preserving these viable eyes during division. Each eye is a potential new plant. So, our goal is to create sections that each contain at least one healthy eye.
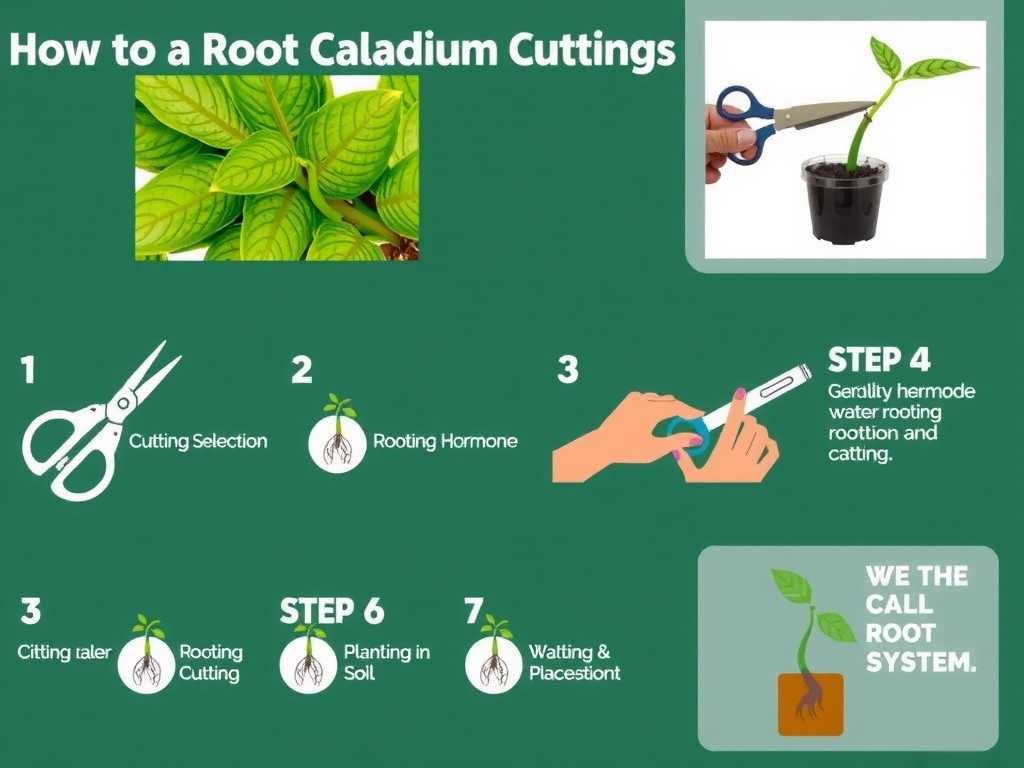
My Toolkit: Gathering the Right Supplies
Having the right tools on hand makes the process smoother and more hygienic. Here’s what I gathered:
- A Healthy Mother Plant: I started with a robust, dormant caladium tuber I had saved from last season. You can also use a potted plant.
- Sharp, Sterile Knife or Pruners: I used a utility blade sterilized with rubbing alcohol. This is non-negotiable to prevent disease.
- Well-Draining Potting Mix: I created my own blend of 60% peat moss or coco coir and 40% perlite. A commercial African violet mix also works well.
- Small Pots or Propagation Trays: With drainage holes, always.
- Rooting Hormone (Optional but Recommended): I used a powder containing fungicide. It encourages root growth and helps prevent rot.
- A Warm, Bright Space: Caladiums need warmth to wake up. I used a heat mat set to about 70°F (21°C) and placed the pots in bright, indirect light.
Step-by-Step: My Soil Propagation Process
This is the exact sequence I followed, which yielded my best results.
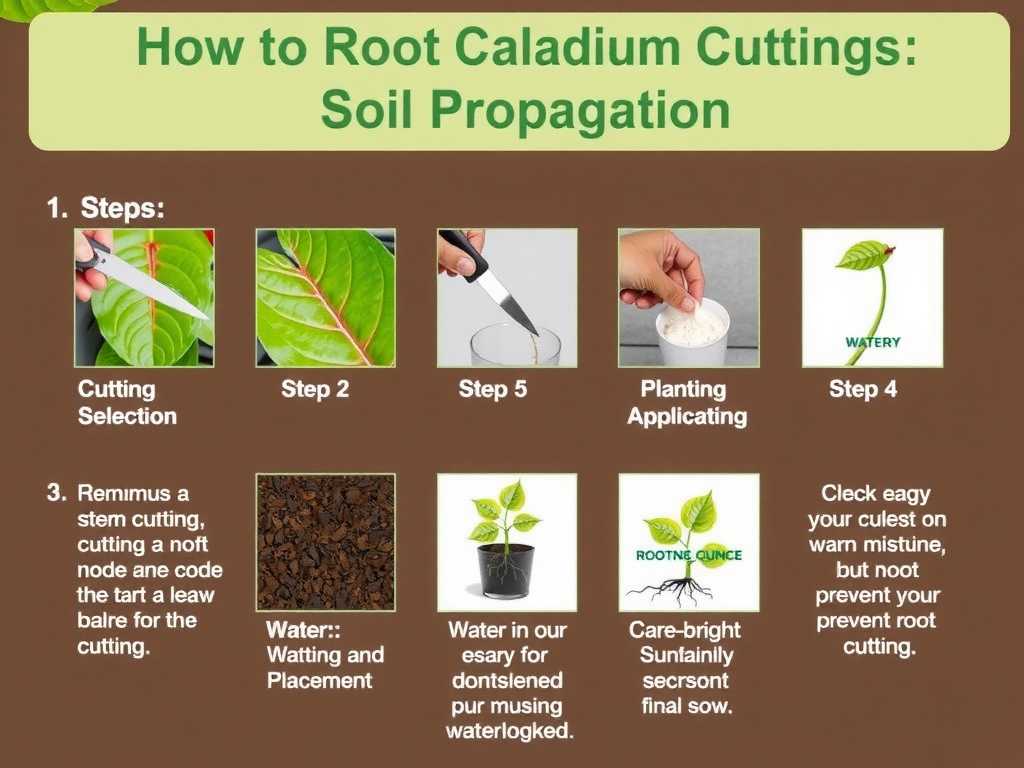
Preparing the Caladium Tuber for Division
First, I inspected my dormant tuber. I looked for the knobby bumps—these are the eyes. Using my sterile knife, I carefully cut the tuber into sections. I made sure each piece was about 1-2 inches in size and had at least one prominent, healthy-looking eye. It felt a bit like performing surgery! I then dusted the fresh cuts liberally with the rooting hormone powder. This forms a protective layer. A critical step here is to let the cut surfaces callus over. I left the pieces in a dry, airy spot for 24-48 hours. I skipped this once, and that piece rotted within a week—a classic mistake.
Planting the Tuber Sections Correctly
Once the cuts had callused, I filled my small pots with the pre-moistened potting mix. I planted each section with the eye facing upward, burying it only about 1-2 inches deep. A common error is planting too deep, which can suffocate the emerging shoot. I gently firmed the soil around it, labeled each pot with the variety and date, and gave them a very light watering just to settle the soil. The key at this stage is to keep the soil barely moist, not wet.
Creating the Ideal Rooting Environment
This is where patience comes in. I placed the pots on the heat mat in a location with bright, filtered light—no direct sun. I covered the pots loosely with a clear plastic dome (a repurposed bakery container works) to maintain high humidity around the tuber, which mimics their natural tropical environment. Every other day, I removed the dome for an hour to allow fresh air circulation and prevent mold. I resisted the urge to overwater. I only added a small amount of water when the top inch of soil felt dry to the touch.
My 2-Week Observation Diary: What Actually Happened
I monitored my cuttings daily. Here’s my real-world log:
- Days 1-3: No visible change. My job was to maintain stable warmth and humidity.
- Days 4-7: I noticed one piece starting to show a small, pinkish nub where the eye was. Success! The others still looked dormant.
- Days 8-10: The first nub grew into a clearly recognizable shoot, about a quarter-inch tall. A second piece finally showed signs of life. However, one piece felt soft when I gently probed the soil surface. I carefully excavated it and found the dreaded rot. I had planted this piece a little too deep and the soil was slightly too damp. I removed it immediately to protect the others.
- Days 11-14: By the end of the second week, three of my four original cuttings had healthy sprouts. The first one had a shoot nearly an inch tall with a tiny leaf starting to unfurl. The soil was developing a fine web of white roots visible at the drainage holes of the most advanced pot. The environment was clearly working.
Troubleshooting: The Problems I Faced and How I Fixed Them
My journey wasn’t perfect. Here are the hurdles I hit:
- Tuber Rot: As mentioned, one piece rotted. Solution: I learned that callusing is mandatory. After that, I ensured my soil mix was airier (added more perlite) and was even more conservative with water. The AHS emphasizes that “excess moisture is the primary cause of failure in tuber propagation.”
- Slow or No Growth: One piece took over 10 days to show anything. Solution: I checked the heat mat temperature and realized it was in a slightly drafty spot. I moved it, and growth commenced shortly after. Consistent warmth is a bigger trigger than I initially thought.
- Fungus Gnats: The moist environment attracted a few gnats. Solution: I placed yellow sticky traps in the pots and allowed the soil surface to dry out a bit more between airings. This controlled the population without harming the developing tubers.
Aftercare: Nurturing Your New Caladium Plants
Once your cuttings have solid shoots and leaves, the care shifts. I gradually removed the humidity dome over a week to acclimate them to normal room humidity. I began watering more regularly as the plants grew, always checking soil moisture first. When I saw roots peeking from the drainage holes (around week 4), I knew it was time to pot them up into slightly larger containers with a standard, rich potting mix. I held off on fertilizing until they had at least two full-sized leaves, then used a diluted, balanced liquid fertilizer every 4-6 weeks.
How long does it take for caladium cuttings to root in soil? In my experience, with optimal warmth (70-75°F), you should see the first signs of a shoot within 7-14 days. A robust root system develops alongside and after the shoot, usually becoming well-established within 4-6 weeks.
Can you root a caladium leaf in water? No, you cannot root a caladium leaf alone. A leaf without a piece of the tuber lacks the necessary growth cells (meristematic tissue). Propagation requires a section of the tuber containing an “eye” or bud. While you can place a tuber section in water to encourage growth, soil propagation is generally preferred as it avoids the delicate transition from water roots to soil roots and reduces rot risk.
Why are my caladium tuber cuttings not sprouting? The most common reasons are insufficient warmth, planting the tuber piece upside down, using a diseased or non-viable tuber section, or soil that is either too dry or, more likely, too wet and cold. Double-check your temperature, ensure the eye is facing up, and review your soil moisture strategy. Patience is also key—some varieties or eyes simply take longer.
Propagating caladiums in soil is a rewarding project that deepens your connection to these beautiful plants. By starting with a healthy tuber, making clean cuts, allowing for callusing, and providing consistent warmth and careful moisture, you can successfully multiply your collection. Remember, the two-week period is critical—observe closely, adjust your environment as needed, and don’t be discouraged by a single setback. The moment you see that first colorful spear push through the soil, all the careful attention will feel utterly worthwhile. Happy propagating





