 bluename
 How to Grow Caladiums in a Greenhouse: Controlled Care for Stunning Foliage
I’ve always been mesmerized by the electric colors and intricate patterns of caladiums. But for years, my attempts to grow them outdoors were a rollercoaster—some seasons they thrived, others they faltered with leggy growth or tuber rot. The variables of weather were just too unpredictable. That’s when I decided to take full control. I moved my caladium collection into the greenhouse, and it transformed everything. If you’re struggling with inconsistent results, pests, or simply want to maximize the vibrancy and size of those spectacular leaves, mastering controlled care in a greenhouse is the ultimate solution. This guide is the detailed roadmap I wish I’d had, compiled from my own hands-on experience, including the mistakes and the breakthroughs.
Why a Greenhouse is a Game-Changer for Caladiums
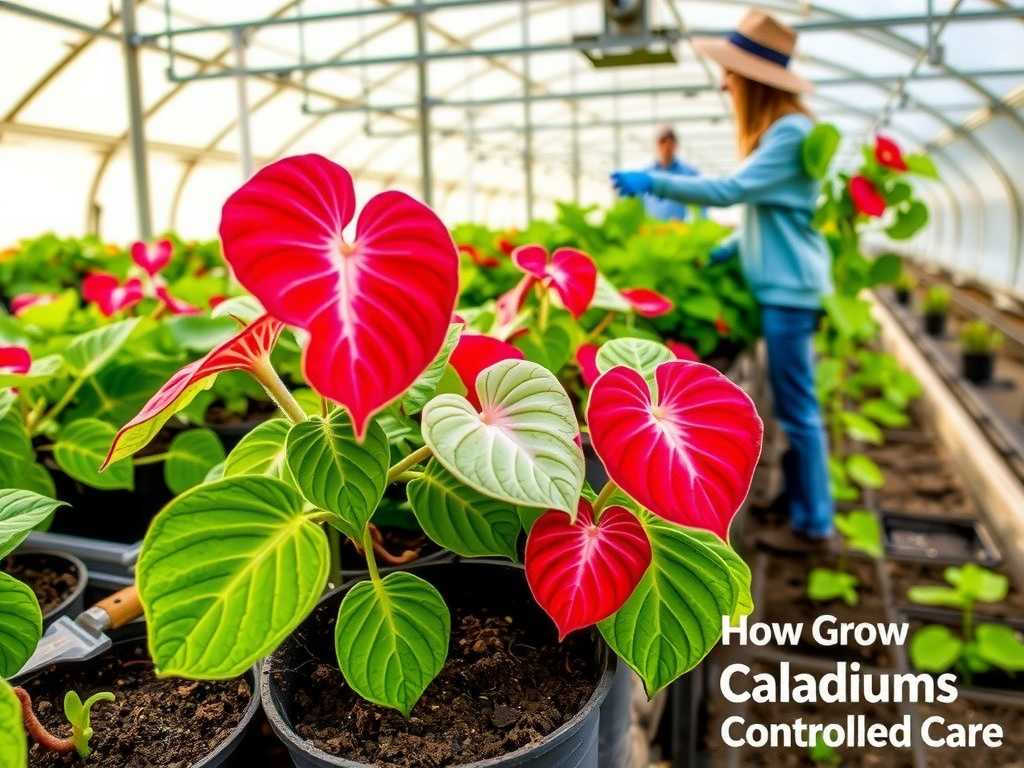
Caladiums are tropical understory plants. In their natural habitat, they enjoy consistent warmth, high humidity, dappled light, and protection from harsh elements. A greenhouse allows us to replicate these conditions with precision, turning guesswork into a science.
My primary goal with growing caladiums in a greenhouse was to extend their season, produce larger, more robust leaves, and protect the valuable tubers. The controlled environment lets me manage the three most critical factors: temperature, humidity, and light intensity. According to the American Horticultural Society (AHS), most fancy-leaf caladiums perform best when night temperatures don’t drop below 65°F (18°C) and daytime temperatures range between 70-85°F (21-29°C). In a greenhouse, maintaining this range is straightforward, even when spring nights are still chilly.
Getting Started: Essential Greenhouse Setup
Before you plant a single tuber, your environment needs to be dialed in. Here’s what I focused on.
Creating the Perfect Microclimate The first step is ensuring your greenhouse can hold and regulate heat and humidity. I use a combination of a thermostatically controlled heater for cooler nights and exhaust fans with automatic vent openers for hot days. A consistent environment prevents stress, which is key to greenhouse caladium care.
For humidity, which should ideally be 60-80%, I employ a simple misting system on a timer. During my initial setup, I made a crucial mistake: I placed the misters directly above the plants, which sometimes led to water spots on the leaves. I solved this by repositioning the misters to create a fine fog that settles gently around the plants, not directly on them. A simple hygrometer is your best friend here for monitoring.
Selecting the Right Growing Medium Drainage is non-negotiable. Caladium tubers are prone to rot in soggy soil. I use a lightweight, peat-based potting mix amended with plenty of perlite and a handful of orchid bark for aeration. The Royal Horticultural Society (RHS) emphasizes the importance of a free-draining medium for potted tuberous plants to prevent fungal diseases. I fill deep pots or trays, as caladiums appreciate room for their roots to develop.
The Step-by-Step Process: From Dormant Tuber to Lush Canopy
This is where the magic happens. I’ll walk you through my proven process, including my two-week observation journal.
Planting and Initial Sprouting I start my tubers about 4-6 weeks before the last frost date. I look for tubers with multiple “eyes” or growth points. Planting them eye-side up, about 1.5 to 2 inches deep, is standard practice. After planting, I water them thoroughly once and then… I wait. The soil is kept barely moist, not wet.
Here’s my observation from the first critical two weeks:
- Days 1-7: No visible activity. The greenhouse is maintained at a steady 75°F (24°C). I resist the urge to overwater.
- Days 8-14: Small, knobby pink or green shoots begin to push through the soil surface. Growth is slow but visible. I increase watering slightly as the shoots emerge, ensuring the top inch of soil dries out between waterings. This is a vulnerable stage—consistent warmth is crucial.
Mastering Light and Water for Optimal Color Once leaves emerge, light management becomes paramount. Too much direct sun, especially through greenhouse glass, can scorch the delicate leaves and wash out their colors. Too little light leads to weak, elongated stems and smaller leaves.
I use a 40-50% shade cloth year-round. My plants receive bright, indirect light for most of the day. I learned this lesson the hard way when I placed a prized ‘White Queen’ caladium in a spot that got two hours of direct midday sun. Within days, the beautiful white and green leaves developed brown, crispy edges. I immediately moved it to a shadier spot, and new growth came in perfectly.
Watering is a rhythm. I water deeply when the top inch of soil is dry, allowing excess to drain freely. I always water at the base, in the morning, so foliage has time to dry, reducing the risk of fungal issues.
Nutrition and Ongoing Maintenance Caladiums are not heavy feeders, but they do benefit from steady nutrition to support their rapid leaf production. I begin fertilizing about a month after sprouting with a balanced, water-soluble fertilizer (like a 10-10-10) diluted to half strength. I apply it every 4-6 weeks during the active growing season. Over-fertilizing, particularly with high-nitrogen formulas, can lead to excessive green at the expense of those stunning reds, pinks, and whites.
Common Problems and Proactive Solutions in a Controlled Environment
Even in a greenhouse, challenges arise. Vigilance is key.
Preventing Pests and Diseases The warm, humid conditions we create for caladiums are also appealing to pests like spider mites, aphids, and fungus gnats. My first line of defense is prevention through good air circulation. My exhaust fans run periodically to keep air moving.
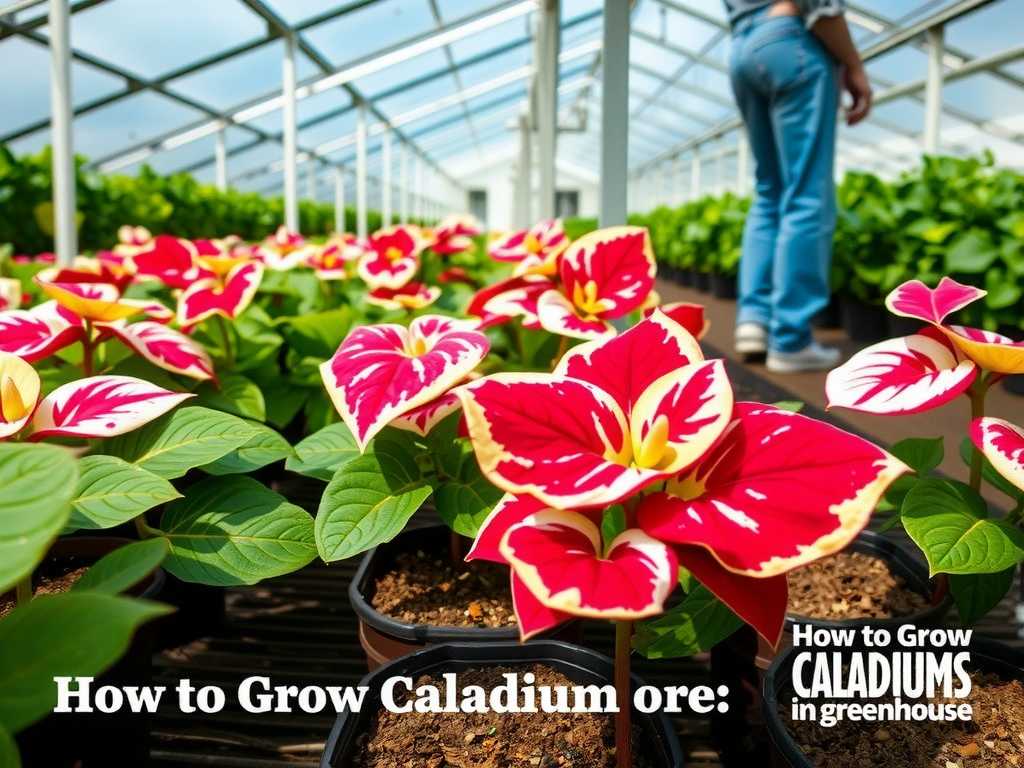
I encountered a spider mite infestation on one plant I brought in from outside. I isolated it immediately. Instead of harsh chemicals, I used a strong jet of water to dislodge the mites, followed by applications of insecticidal soap every 5 days for two weeks. This solved the problem without harming the plant or the greenhouse ecosystem.
For fungal concerns like root rot, the mantra is always: “When in doubt, dry it out.” Ensuring your pots have drainage holes and you’re not letting plants sit in water is 90% of the battle.
Encouraging Dormancy and Storing Tubers As autumn approaches and daylight wanes, caladiums will naturally begin to go dormant. I gradually reduce watering. The leaves will yellow and die back. This is normal! I stop watering entirely, let the soil dry, and carefully dig up the tubers. I brush off the soil, let them cure in a warm, dry spot for a week, and then store them in a box of dry peat moss or vermiculite in a cool (60°F/15°C), dark place until next spring. This controlled care cycle ensures I can enjoy my favorite varieties year after year.
Frequently Asked Questions
Can I grow caladiums in a greenhouse year-round? Technically, yes, but it’s not ideal for the plant’s health. Caladiums benefit from a dormant period. Forcing them to grow continuously under artificial conditions often leads to diminished leaf size and vigor over time. I follow their natural cycle for the best results.
What is the biggest mistake beginners make with greenhouse caladiums? Overwatering, especially during the dormant tuber stage and in cooler temperatures. It’s the fastest way to lose your tubers to rot. Err on the side of dryness until you see active growth.
Do I need a high-tech, expensive greenhouse to succeed? Not at all. My first season was in a simple, unheated poly tunnel with a small space heater and manual venting. The principles are the same: protect from cold, manage light, and control moisture. You can achieve excellent results with basic equipment by being attentive and responsive to your plants’ needs.
Moving my caladiums into the greenhouse was a revelation. It shifted my gardening from reactive to proactive. The ability to fine-tune temperature, humidity, and light has resulted in caladiums with larger, more intensely colored leaves than I ever achieved outdoors. The process requires attention to detail—monitoring for pests, mastering the watering schedule, and respecting their dormancy cycle. But the reward is a breathtaking, tropical display that thrives from spring through fall. By taking control of their environment, you’re not just keeping these plants alive; you’re allowing them to express their full, spectacular potential. Start with a few tubers this season, apply these principles of controlled care, and watch your greenhouse transform.





