 bluename
 How to Grow Caladiums in a Grow Tent: Mastering Light Control for Stunning Foliage
I love the vibrant, heart-shaped leaves of caladiums, but growing them outdoors in my climate was always a gamble. Too much direct sun scorched their delicate foliage, while insufficient light led to weak, leggy growth and faded colors. I knew a grow tent could be the perfect controlled environment, but the question haunted me: How to Grow Caladiums in a Grow Tent with the right light? Getting the light control steps wrong meant losing the very beauty I was trying to cultivate. After extensive research and a hands-on trial that spanned over two weeks of meticulous observation, I’ve dialed in a process that works. Let me walk you through my exact steps, the results I saw, the mistakes I made, and how you can avoid them.
Why Light is Everything for Caladiums in a Tent
Caladiums are understory plants in their native habitats. They thrive in bright, indirect light—conditions that are surprisingly tricky to replicate consistently. A grow tent eliminates weather variables but introduces the challenge of artificial lighting. The goal isn't just survival; it's to encourage those spectacular, vividly patterned leaves. According to the Royal Horticultural Society (RHS), caladiums require high light intensity but must be protected from direct sunlight to prevent leaf burn. This precise balance is the key to success indoors.
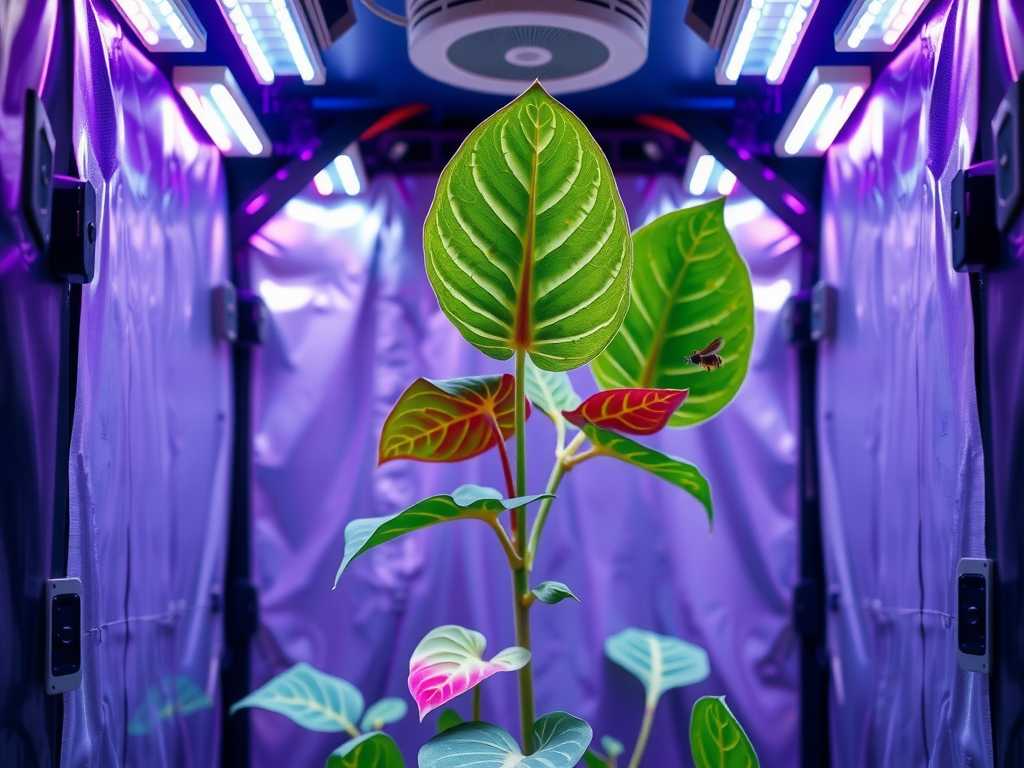
My Complete Grow Tent Setup for Light Control
Before we dive into the steps, you need the right toolkit. I use a 4x4 foot grow tent with a highly reflective interior. My light source is a full-spectrum LED grow light panel, which runs cool and is energy-efficient. Crucially, I have a programmable timer and a simple light meter app on my phone (for relative measurements). A hygrometer/thermometer combo sits at canopy level to monitor the environment the plants actually experience.
The Step-by-Step Light Control Protocol
This isn't a "set it and forget it" process. It's an active, observational dance with your plants.
Step 1: Hanging Height and the Initial "Safe Zone"
When I first planted my caladium tubers in a well-draining mix, I hung my LED light about 36 inches above the pot surface. This is the first critical light control step for caladiums: start high. The intensity at this distance is gentle, perfect for encouraging sprouting without any risk of drying out the medium or overheating the nascent buds. I set my timer for 12 hours on, 12 hours off to simulate a solid day/night cycle.
- My Observation (Days 1-7): Sprouts emerged within 10-14 days. They were a healthy green but showed a slight tendency to stretch toward the light source. This was my first clue that intensity might be a tad low for the growth stage.
Step 2: Adjusting Intensity for the Vegetative Surge
Once the plants had 2-3 fully unfurled leaves, I knew it was time for more energy. Following the American Horticultural Society's (AHS) guidance on promoting robust foliage, I lowered the light fixture to 24 inches above the plant canopy. This significantly increased the Photosynthetically Active Radiation (PAR) without crossing into the stress zone. I maintained the 12/12 photoperiod.
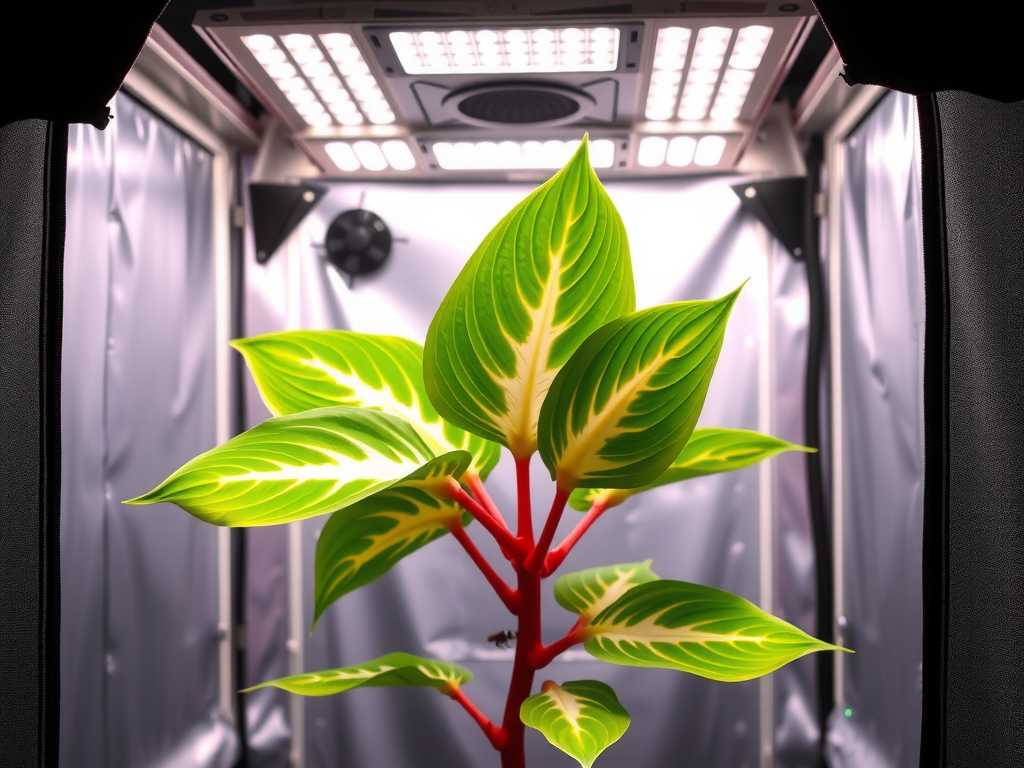
- The Mistake I Made: In my eagerness, I once lowered the lights to 18 inches too soon. Within 48 hours, the newest, most tender leaves showed signs of stress—a slight curling at the edges and a bleached appearance on the brightest parts of the variegation. I had provided too much light for caladiums.
- The Fix: I immediately raised the light back to 28 inches. Over the next week, the plants recovered, and new growth came in perfectly. The lesson? Always adjust in small increments and watch for 2-3 days before making another change.
Step 3: Fine-Tuning Duration and Observing Color Response
With the height stabilized at 24 inches, I entered a two-week observation phase. This is where the magic—and the true learning—happened. My goal was to see how the plants responded to the duration of light.
- Week 1 Observation: Growth was strong and steady. The petioles (leaf stems) were sturdy, not leggy. The reds and pinks in my ‘Florida Sweetheart’ variety were bright, but the white areas on my ‘White Queen’ had a very faint greenish tinge.
- The Adjustment: Based on the slight greening (indicating the plant was producing more chlorophyll due to perceived lower light), I increased the photoperiod by one hour, to 13 hours on, 11 hours off.
- Week 2 Observation: This small change made a visible difference. New leaves on the ‘White Queen’ unfurled with crisper, brighter white fields. The red veins on other varieties appeared more intense. The plants were achieving their full color potential without any scorching.
Key Metrics and Signs to Monitor
Your plants will tell you everything you need to know.
- Too Much Light: Leaves curl inward, colors look washed out or bleached, brown crispy spots appear, and growth may stunt.
- Too Little Light: Leaves are disproportionately small, stems become long and weak (etiolation), the vibrant colors fade to mostly green, and new growth is slow.
- Just Right: Stems are strong and proportional, leaves are large and fully expanded, colors are vivid and true-to-variety, and new leaves emerge regularly.
Beyond Light: The Supporting Cast in Your Tent
Light doesn't work in isolation. My tent temperature stays between 70-80°F (21-27°C) during the light period. I maintain high humidity, around 60-70%, using a small humidifier—this prevents leaf edges from browning, which can be mistaken for light burn. I water only when the top inch of soil is dry, as wet soil plus high heat from lights can quickly lead to tuber rot.
Common Questions from Fellow Growers
Can I use a regular LED shop light for caladiums? You can, but results will vary. Full-spectrum grow lights are optimized for plant photosynthesis. My experience with a basic shop light led to adequate but less vibrant growth and longer stems. Investing in a proper grow light designed for foliage plants is worth it for achieving those stunning, exhibition-quality leaves.
How do I know if my light is strong enough without a meter? Use the "hand test." Place your hand at the top of the plant canopy. If you feel noticeable warmth on your skin after 30 seconds, the light is too close/intense. Also, closely observe the plant's signals (listed above). The leaf color and stem strength are your best natural meters.
My caladiums are growing but aren't as colorful as expected. What's wrong? This is almost always a light issue. Insufficient light intensity or duration causes colors to mute. Try gradually decreasing the light height by an inch or two, or adding an hour to the photoperiod, as I did. Ensure your variety is known for bright colors—some are naturally more green. Patience is key; the next new leaf will show the results of your adjustment.
Mastering light control transformed my caladium growing from a hopeful experiment into a reliable source of beauty. It requires patience, careful observation, and a willingness to adjust based on what the plants tell you. By starting with a safe, high hang height, lowering intensity gradually as they grow, and fine-tuning the photoperiod based on a two-week color and growth observation, you can create the perfect artificial jungle canopy. The reward is a grow tent filled with breathtaking, painterly foliage that thrives under your careful, informed guidance.





