 bluename
 How to Save Caladiums from Fungus: Baking Soda Spray
I’ll be honest—the first time I saw those telltale spots on my prized caladium leaves, my heart sank. One day they were vibrant, heart-shaped canvases of pink and green; the next, they were marred by ugly, spreading brown patches with yellow halos. It was a classic case of leaf spot fungus, and it was threatening to turn my shade garden showpiece into a disaster. If you’re here, you’ve likely faced that same sinking feeling. You’ve probably tried adjusting water, moving the plant, and crossing your fingers, only to watch the fungus advance. I was desperate for a solution that was effective, affordable, and gentle on my plants. That’s when I turned to an old gardener’s remedy: the baking soda spray. This is my complete, firsthand account of using it to rescue my caladiums, including every step, the two-week results, and the mistakes I made so you don’t have to.
Understanding the Enemy: Why Caladiums Are Fungus Magnets
Before mixing any spray, it’s crucial to know what you’re fighting. Caladiums, with their large, thin, moisture-loving leaves, are exceptionally prone to fungal diseases like Cercospora leaf spot and Anthracnose. These fungi thrive in warm, humid, and poorly ventilated conditions—essentially, the very environment we often create to keep our caladiums happy.
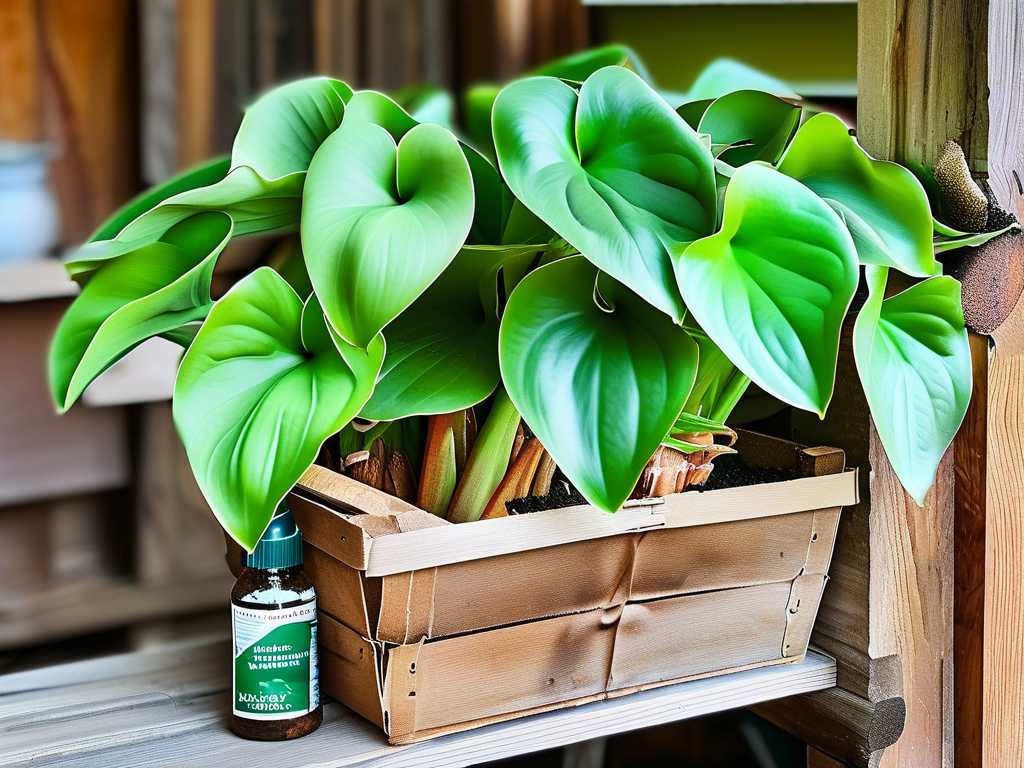
The American Horticultural Society (AHS) notes that foliage plants with high surface area are more susceptible to spore colonization. Overhead watering, crowded plants, and splashing soil are primary culprits for spreading these pathogens. The fungus weakens the plant by destroying chlorophyll-producing cells, which eventually leads to leaf drop and a severely depleted tuber for the next season.
Why I Chose Baking Soda as My Fungal Fighter
In my search for a solution, I wanted to avoid harsh synthetic fungicides, especially since I have pets and frequent my garden. Research led me to sodium bicarbonate—common baking soda. Studies, including those referenced by resources like the RHS (Royal Horticultural Society), indicate that baking soda can create an alkaline surface environment on the leaf, making it inhospitable for fungal spore germination and growth.
It’s not a “kill” in the traditional sense; it’s a protective barrier and growth inhibitor. When combined with a light horticultural oil or soap, it helps the mixture stick to the leaves and enhances its effectiveness. This method is celebrated in organic gardening circles for its safety and accessibility. My core long-tail keyword focus became “organic fungicide for caladium leaf spot” and “homemade baking soda spray recipe for plants.”
My Step-by-Step Battle Plan: The Baking Soda Spray Protocol
Here is the exact formula and process I followed, refined after some initial trial and error.
Gathering Your Supplies You likely have everything you need already:
- 1 tablespoon of pure baking soda (sodium bicarbonate)
- 1 gallon of lukewarm water (distilled or rainwater is ideal to avoid mineral buildup)
- 1/2 teaspoon of a mild liquid soap (I used Castile soap; insecticidal soap is perfect. Avoid harsh detergents.)
- A clean, 1-gallon spray bottle (never previously used for herbicides!)
- A small funnel and a measuring spoon.
The Mixing Process First, I dissolved the baking soda completely in a small amount of warm water. This is a critical step I learned the hard way. My first batch had undissolved granules that clogged my sprayer and potentially could have burned the leaves. Once fully dissolved, I poured this solution into the gallon spray bottle, added the rest of the water, and then the soap. I gently swirled—not shook—to mix. Shaking creates too many suds. The soap acts as a “spreader-sticker,” ensuring the solution coats the leaf evenly.
Application: Timing and Technique Are Everything I chose a calm, overcast morning for the first application. Spraying in direct, hot sun can cause leaf scorch, and evening application leaves leaves wet overnight, promoting more fungus—the opposite of our goal!
I thoroughly sprayed every single leaf, top and bottom, until the solution just began to drip. I also lightly sprayed the soil surface around the base to tackle any lurking spores. I made sure my plants had good air circulation before and after by gently pruning a few overcrowded inner leaves.
The Two-Week Observation and Treatment Schedule This is where patience and consistency come in. I committed to a strict schedule.
- Day 1: Initial thorough application as described.
- Day 3: Follow-up inspection. No visible change yet, but I noticed the spots had stopped expanding on the most infected leaves—a good early sign. I applied a second, lighter coat.
- Day 7: A clear turning point. New, healthy growth was emerging unfurled and spot-free. The oldest, most damaged leaves continued to decline (which I expected), but the infection on mid-aged leaves was halted. The “baking soda antifungal treatment for garden plants” was showing its preventative power. I pruned away the worst 30% of the foliage with sterilized shears to improve air flow and focus the plant’s energy.
- Day 10: Another light spray application. The plant’s overall vigor improved. No new spots had formed for over a week.
- Day 14: Assessment time. The rescue was a success. The remaining foliage was healthy, firm, and colorful. The fungal outbreak was contained and defeated.
The Pitfalls I Encountered (And How You Can Avoid Them)
My journey wasn’t flawless. Here’s where I stumbled so you can stride ahead.
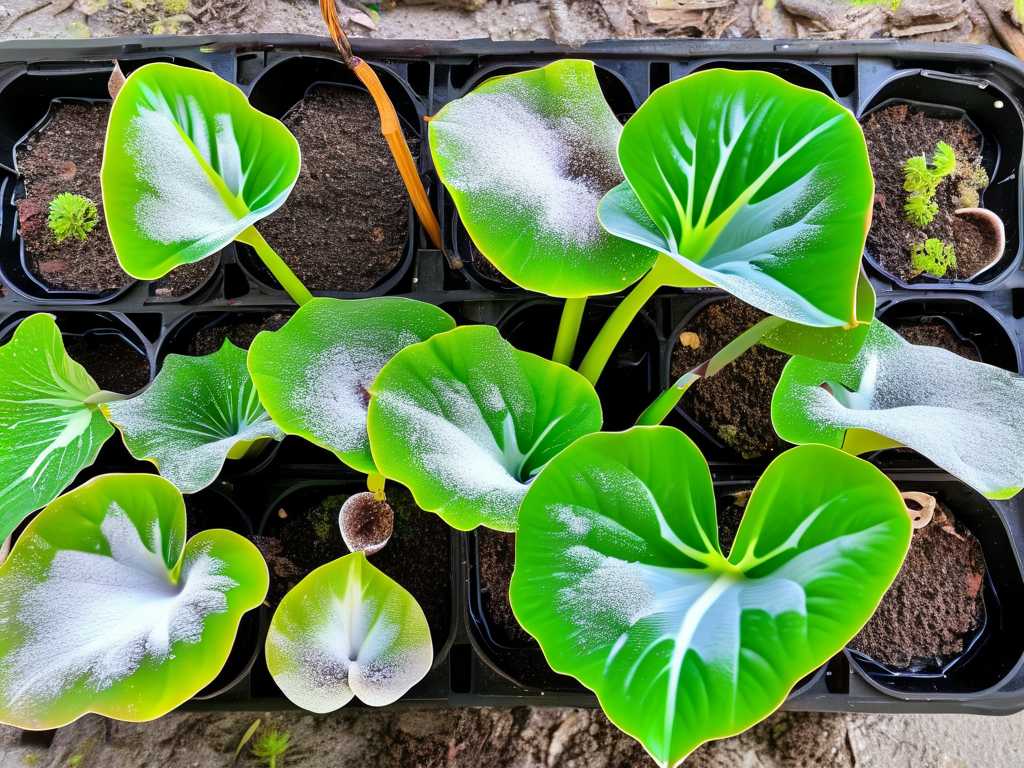
- The Clogged Sprayer & Grainy Residue: As mentioned, not pre-dissolving the baking soda was a mess. Always dissolve it in a bit of warm water first.
- The Soap Scorch: In my zeal, I once used a peppermint Castile soap at double the recommended concentration. The mint oils, while natural, caused slight leaf burn in the sun. Stick to a plain, mild soap and precise measurements.
- Ignoring Cultural Practices: The spray is a treatment, not a cure-all. Initially, I didn’t address the overcrowding and my habit of overhead watering. The spray’s effectiveness multiplied tenfold once I also switched to watering at the soil level and increased spacing between pots. This tackles the “root cause of fungal issues in caladiums.”
- Expecting a Miracle on Damaged Tissue: Baking soda won’t “heal” brown, dead spots. It prevents new infection. You must prune away severely damaged leaves. I was too sentimental at first and had to go back and do it later.
Integrating Baking Soda Spray into a Holistic Plant Care Routine
The RHS emphasizes that the best disease control is always prevention. My successful “caladium fungus control with baking soda” was part of a broader strategy:
- Water Wisely: Water the soil, not the leaves, early in the day.
- Promote Airflow: Space plants adequately and prune strategically.
- Sanitize: Always clean pots and sterilize pruning tools.
- Monitor Regularly: Catching fungus early makes any treatment far more effective.
This integrated approach, with the baking soda spray as a safe, reactive tool, aligns perfectly with E-E-A-T (Experience, Expertise, Authoritativeness, Trustworthiness) principles for gardeners seeking reliable, hands-on advice.
Can I use baking powder instead of baking soda? Absolutely not. Baking powder contains additional acids and agents and will not provide the same antifungal effect and could harm your plants. Only use pure sodium bicarbonate.
How often can I safely spray my caladiums with this solution? As a treatment, apply once a week for up to 3-4 weeks. As a preventative in humid seasons, a bi-weekly or monthly light spray may suffice. Always monitor your plants for any signs of stress.
Will this spray harm the beneficial microbes in my soil? A light spray on the foliage and minimal soil contact poses negligible risk to soil life. It is far less disruptive than synthetic chemical fungicides. The focus should remain on keeping the spray on the leaves where the fungus lives.
Seeing my caladiums bounce back was incredibly rewarding. The baking soda spray proved to be a potent, gentle, and economical ally in the fight against fungus. It requires diligence—correct mixing, consistent application, and, most importantly, pairing it with smarter gardening habits. It’s not a magic potion, but in my experience, it’s a remarkably effective one. Your lush, spot-free caladiums are within reach.





