 bluename
 How to Encourage Caladiums to Multiply: A Gardener’s Guide to Corm Division
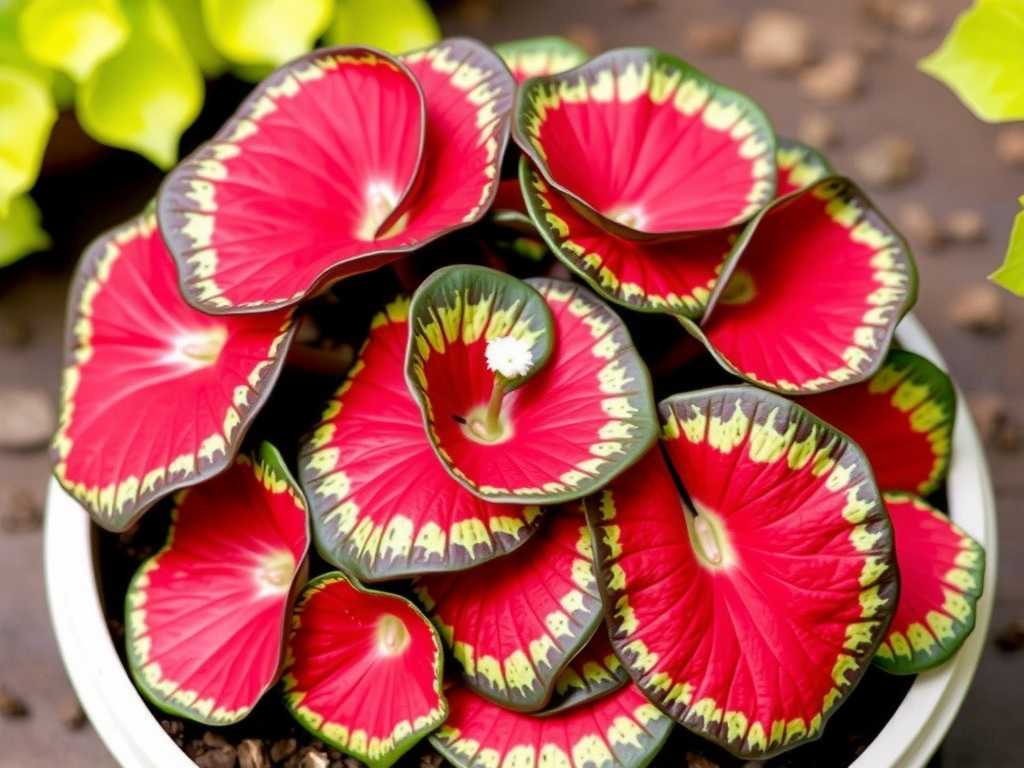
I’ve always been mesmerized by the vibrant, heart-shaped leaves of caladiums. They’re like living stained glass in my shade garden. But buying enough of these tropical beauties to create a lush display can get expensive. That was my core frustration: I wanted more of these stunning plants without constantly reaching for my wallet. The solution, I discovered, lies not in a store, but beneath the soil. Learning how to encourage caladiums to multiply through corm division transformed my garden and became a deeply rewarding part of my gardening journey. It’s a simple, cost-effective process that any plant enthusiast can master.
In this guide, I’ll walk you through my exact, hands-on method for propagating caladiums by dividing their corms. I’ll share the detailed steps I followed, the crucial two-week observation period that makes all the difference, and the very real mistakes I made along the way—and how you can avoid them. Let’s turn one caladium into many.
Understanding Your Caladium’s Underground Treasure: The Corm
Before we dig in, it’s essential to know what you’re working with. Caladiums grow from corms, which are often confused with bulbs or tubers. Think of a corm as a solid, starchy storage unit. It’s the plant’s lifeline, holding all the energy and nutrients needed to fuel those spectacular leaves. When you learn to divide these corms correctly, you’re essentially helping the plant do what it does naturally, just in a more controlled and productive way.
The Royal Horticultural Society (RHS) notes that plants growing from corms, like caladiums, naturally produce smaller offspring corms (called cormels) around the base of the parent. Our goal with division is to manually replicate and accelerate this process. It’s a sustainable practice that aligns perfectly with the plant’s own biology.
My Step-by-Step Process for Dividing Caladium Corms
I timed my project for early spring, just as the dormant corms were showing their first signs of life—tiny pink or green nubs (eyes). This is the perfect window of opportunity.
Gathering Your Tools and Preparing for Surgery
You don’t need fancy equipment. I used:
- A healthy, mature caladium plant that had been thriving for at least one season.
- A clean, sharp knife (I used a utility knife, sterilized with rubbing alcohol).
- A soft brush for cleaning soil.
- A fungicide powder or cinnamon (a great natural alternative).
- Pots with fresh, well-draining potting mix.
- Labels and a marker.
Step 1: The Gentle Unearthing
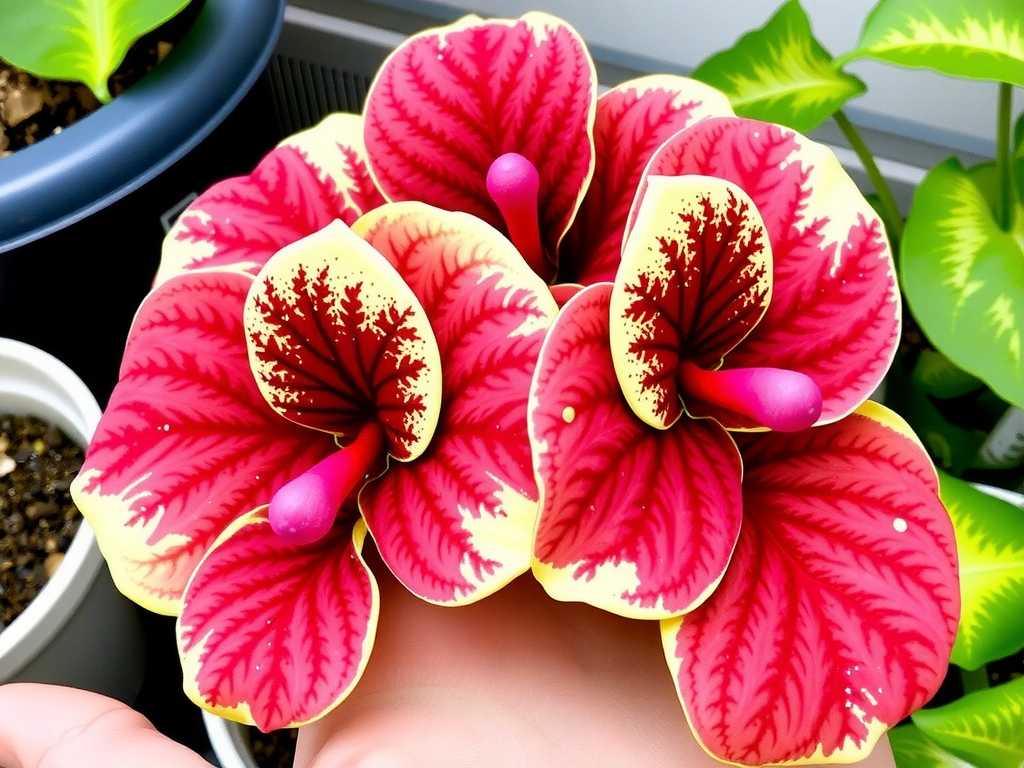
I carefully tipped the pot and eased the entire root ball out. With in-ground plants, I gently forked around the plant to lift it without damage. I then brushed away the soil to reveal the corm cluster. It was fascinating to see—one large central corm surrounded by several smaller ones, all connected.
Step 2: Inspection and Cleaning
I gave the corms a gentle wash to see the structure clearly. I was looking for firm, healthy corms. Any soft, mushy, or shriveled pieces were discarded. According to the American Horticultural Society (AHS), this initial inspection is critical for preventing disease from spreading to your new divisions.
Step 3: The Division Moment
This felt like the point of no return. My goal was to separate caladium corms safely to ensure each new piece had at least one viable “eye” or growth point. I located these eyes—they look like small, dormant buds. Using my sterilized knife, I made clean cuts, dividing the larger corm and detaching the smaller cormels. I was meticulous, ensuring each division had a portion of the corm attached to an eye. A common mistake is to cut through an eye, which can ruin its growth potential.
Step 4: Treatment and Drying
This is the step I initially skipped, and I paid for it. After cutting, the fresh surfaces are vulnerable to rot. I learned this the hard way. Now, I immediately dust all cut surfaces with a light coating of fungicide or cinnamon. Then, I let the divisions dry in a warm, airy spot for 24-48 hours. This allows a callus to form over the wounds, sealing them against infection.
Step 5: Planting and the First Water
I filled my pots about two-thirds full with a lightweight, peat-based mix. Placing each division with the eye facing up, I covered them with just about an inch of soil. I gave them a thorough but gentle initial watering to settle the soil, then placed the pots in a warm location (around 70-75°F) with bright, indirect light. I resisted the urge to water again until I saw growth.
The Critical Two-Week Observation Period: What Really Happens
This is where patience becomes your most important tool. I monitored my pots daily. Here’s what I observed over 14 days:
- Days 1-5: Nothing. Absolutely nothing. This is normal. The corm is using its stored energy to develop roots first. I kept the soil barely moist, not wet. Overwatering here is the fastest way to cause rot.
- Days 6-10: I noticed the soil surface starting to crack slightly on a few pots—a sign of root activity pushing upward. Still no green shoots.
- Days 11-14: Success! The first pointed, colorful tips of the leaves began to spear through the soil. Not all divisions sprouted at the same time, which is also normal. The larger divisions with more energy reserves tended to emerge first. By the end of the second week, about 80% of my divisions had visible sprouts. The ones that didn’t show signs were likely duds or victims of my early learning curve with drying.
The Pitfalls I Encountered and How to Solve Them
My first attempt wasn’t a complete success. I lost a few divisions, and here’s why:
- The Rot Mistake: As mentioned, I didn’t let my first batch of cuts callus properly. I planted them right away, and within a week, two had turned to mush. Solution: Never skip the drying period. Cinnamon is an effective and easy-to-find antifungal.
- The “Eyes” Have It: On one corm, I misidentified a scar as an eye. That division never grew. Solution: Take your time. A true growth eye is usually a slightly raised, distinct bump, often with a pink or green hue.
- Drowning the Babies: In my eagerness, I kept the soil too moist during the first week. This stunted a couple of plants. Solution: Water only when the top inch of soil feels dry. A moisture meter can be a helpful beginner’s tool.
Caring for Your New Caladium Babies to Ensure Thriving Growth
Once your new plants are up and growing, treat them like any mature caladium, but with a little extra TLC. They need consistent moisture, high humidity, and protection from direct sun, which can scorch their tender leaves. A diluted, balanced liquid fertilizer every 4-6 weeks will support their rapid growth. By mid-summer, you’ll have full, beautiful plants that are indistinguishable from store-bought ones.
Frequently Asked Questions
When is the absolute best time to divide caladium corms? The ideal time is in late winter or early spring, just as they break dormancy and before they put significant energy into top growth. This gives them a full growing season to establish.
Can I divide caladiums while they are still actively growing in the summer? It’s not recommended. Dividing a plant in active growth puts immense stress on it, as it’s directing energy to its leaves. You risk losing both the original plant and the divisions. Always wait for dormancy or the very beginning of the growth cycle.
How many new plants can I expect from one large caladium corm? It varies, but a healthy, mature corm can often be divided into 2-4 viable sections, plus you may get several small cormels. From one potted plant, I successfully created five new plants. The key is to ensure each piece has at least one strong eye.
Propagating caladiums through corm division is more than just a gardening task; it’s a fulfilling cycle of growth and abundance. It connects you intimately with the life cycle of your plants. The initial patience required during those quiet two weeks is richly rewarded when you see a fleet of vibrant, new leaves unfurling—all from a single plant you nurtured. By following these steps, learning from my mistakes, and trusting the process, you’ll unlock the secret to a continuously expanding, cost-effective, and deeply personal caladium collection.





