 bluename
 How to Protect Caladiums from Snails: Barrier Methods That Actually Work
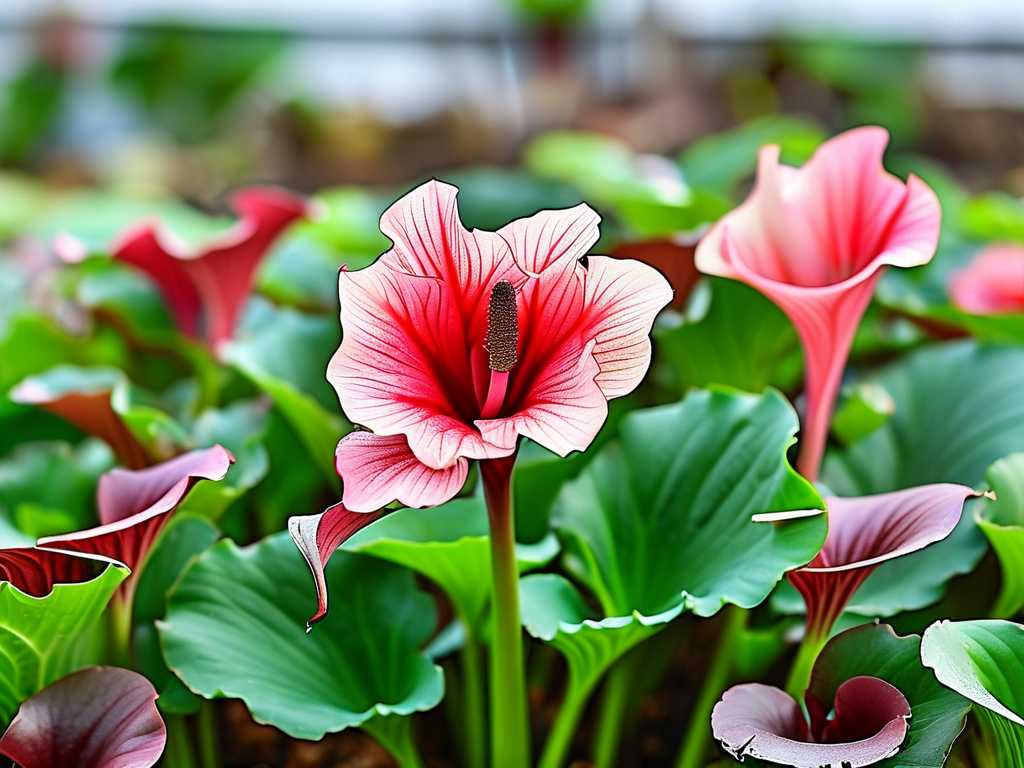
I love my caladiums. Their stunning, heart-shaped leaves in vibrant shades of pink, red, and white are the highlight of my shaded garden beds. But for years, my early summer excitement was routinely crushed. I’d wake up to find those beautiful, tender leaves transformed into lacework overnight, riddled with holes and slimy trails glistening in the morning sun. Snails were treating my prized plants like an all-you-can-eat buffet. I tried picking them off by hand, but it was a futile, endless battle. I knew I needed a smarter, more permanent solution focused on prevention. That’s when I dedicated myself to thoroughly testing various barrier methods to protect caladiums from snails. This is my hands-on account of what worked, what failed, and the practical steps you can take to defend your garden.
My mission was clear: create an impenetrable fortress around my caladiums using physical and natural barriers. I selected three distinct beds for a two-week trial, applying different methods to each and meticulously recording the results every morning and evening.
Creating a Copper Tape Fortress
The science behind copper is compelling. Experts, including those from the Royal Horticultural Society (RHS), note that copper reacts with snail slime, creating a mild electric shock or deterrent sensation that they avoid. I was optimistic.
My process started with a thorough cleanup. I removed all debris, spent leaves, and hiding spots near my caladiums. Then, I carefully cleaned the rims of my decorative pots and the edges of my raised wooden bed with a damp cloth to ensure good adhesion. I applied a high-quality, adhesive-backed copper tape, making sure it formed a continuous band with no gaps. For the raised bed, I even created a small inward-facing lip to prevent adventurous climbers from bridging over.
The first week was a resounding success. Not a single new snail trail appeared on the plants inside the copper boundary. I felt victorious. However, the pitfall I encountered emerged in the second week. A heavy rainstorm left the soil muddy, and a fallen leaf from a nearby tree created a perfect bridge from the ground to the inside of the bed. I found two snails that had used this natural ladder to bypass my copper wall entirely. Furthermore, on one pot, a section of the tape adhesive had begun to peel back in the humid weather, creating a tiny gap.
My solution was two-fold: First, I instituted a “no-bridge zone.” I now regularly trim back any overhanging foliage and ensure no plant debris, sticks, or weeds touch the inside and outside of the barrier. Second, I reinforced the tape’s edges with a few small copper tacks on the wooden bed and used a clear, waterproof sealant over the tape ends on the pots. This maintained the barrier’s integrity. The lesson? Copper is highly effective but requires maintenance and a clean, isolated environment.

Building a Sharp, Dry Moat with Diatomaceous Earth and Crushed Eggshells
This method appeals to the DIY spirit. The idea is to create a painful, desiccating zone that snails are reluctant to cross. Diatomaceous earth (DE) is a fine powder made from fossilized algae, with sharp microscopic edges that cut the snails’ soft bodies, causing them to dehydrate. Crushed eggshells provide a similar, physical scratchy barrier.
I created a mixture of food-grade diatomaceous earth and finely crushed, dried eggshells. In a dry bed around my in-ground caladiums, I cleared a 4-inch wide ring around each plant cluster. I then laid down a generous, continuous line of my barrier powder, about half an inch thick and an inch wide.
The initial observation was promising. Snails approaching the line would hesitate, wave their tentacles, and often turn away. For the first 4-5 days, damage was nearly zero. The major flaw in this plan revealed itself with a single evening dew. Diatomaceous earth loses its effectiveness completely when wet. A light morning dew or an evening sprinkle rendered the barrier useless until it dried out again. I was reapplying powder almost daily, which became tedious and potentially harmful to beneficial soil insects if overused.
To solve this, I had to get creative. I moved from a ground-level line to creating a protected “island.” I placed my potted caladiums on saucers, and then I applied the DE and eggshell mix in a ring on the saucer itself, surrounding the base of the pot. This kept it slightly more elevated and protected from damp soil. For in-ground plants, I now only use this method during prolonged dry spells, or I use it as a secondary inner ring inside another, more weather-resistant barrier. The AHSA (American Horticultural Society Alliance) suggests DE is best used in protected, dry areas like greenhouse benches, a point my experience strongly confirms.
The Ultimate Physical Blockade: Cloches and Copper Mesh
For my most vulnerable, newly planted caladium tubers and young leaves, I wanted absolute protection. I turned to physical cloches. I used both commercial plastic “bell” cloches and homemade ones from cut-up plastic bottles. More innovatively, I tested a roll of flexible copper mesh, often used for plumbing.
For the cloches, I simply placed them over individual young plants, pressing the edges firmly into the soil. For the copper mesh, I formed it into cylinders around groups of plants, burying the bottom edge an inch into the soil and ensuring the top edge was bent inward to form a slippery, overhanging lip.
The results over the two weeks were flawless. Nothing penetrated these barriers. The cloches acted as perfect mini-greenhouses and snail fortresses. The copper mesh barrier was equally effective, and unlike the tape, it was unaffected by weather and required no adhesive. The challenge here was practicality. The plastic cloches became unsightly and had to be removed once the plants grew larger to prevent overheating and allow for air circulation. The copper mesh was more permanent but represented a higher initial cost and effort to install.
My integrated solution became my long-term strategy. I now use copper mesh as a permanent, low-profile wall around my most prized caladium bed. For seasonal protection of new growth or particularly attractive varieties, I use cloches as a temporary shield during the most vulnerable early growth stage. This layered approach provides fail-safe protection.
What is the most effective snail barrier for caladiums in humid climates? Based on my trials, copper mesh is the winner for humid conditions. Unlike tape, it doesn’t peel. Unlike diatomaceous earth, it doesn’t wash away. It provides a permanent, weatherproof physical and deterrent barrier that, when installed correctly with a buried edge and inward curl, is virtually foolproof.
Can I use multiple barrier methods together for caladiums? Absolutely, and I highly recommend it. This is called integrated pest management. My most successful setup involves a primary perimeter of copper mesh around the entire bed, supplemented by a dry ring of diatomaceous earth immediately around the plant stems during dry weather as a second line of defense. This addresses both climbers and ground-crawlers.
How often do I need to maintain or replace these barriers? Maintenance is key. Inspect weekly. For copper tape, check for gaps, bridges, and peeling. Re-seal or re-tack as needed. For diatomaceous earth, you must reapply after any rain, heavy dew, or irrigation. Copper mesh and well-anchored cloches need only occasional checking to ensure soil hasn’t eroded away from the base or that plant growth isn’t creating a bridge.
Protecting caladiums from snails doesn’t require harmful chemicals or endless night hunts. A strategic, well-maintained barrier is the most effective and sustainable solution. The key is understanding that no single method is perfect for every situation. Copper tape is excellent for containers but demands vigilance. Diatomaceous earth works wonders in dry, protected spots. For ultimate, set-and-forget protection, especially in-ground, investing in copper mesh has proven, in my garden, to be worth every penny. Start by cleaning the battlefield, choose your barrier based on your specific garden layout and climate, install it meticulously, and maintain it regularly. Your caladiums will reward you with a full season of flawless, breathtaking foliage, completely free from snail damage.





