 bluename
 How to Grow Caladiums in Coastal Areas: Salt Tolerance Tips
I love the vibrant, heart-shaped leaves of caladiums, but for years, I thought my coastal garden was off-limits. The salty breeze, the occasional spray, the very soil itself – it all felt like a hostile environment for these tropical beauties. If you’re nodding along, feeling that same frustration of wanting to grow stunning caladiums by the sea, you’re in the right place. I’ve been there. After several failed attempts and a lot of research, I embarked on a dedicated, two-week experiment to crack the code on how to grow caladiums in coastal areas successfully. This guide is the result of that hands-on journey, filled with practical salt tolerance tips, my real observations, and the lessons learned from the mistakes I made along the way.
Understanding the Salt Challenge for Caladiums
Caladiums are native to the tropical rainforests of South America, where the air is humid and the water is pure. Their delicate root systems and broad leaves are not evolutionarily prepared for salt. Salt stress in plants primarily causes dehydration, as salt in the soil makes it harder for roots to absorb water. It can also lead to leaf burn (necrosis) and stunted growth. The Royal Horticultural Society (RHS) notes that salt-laden winds can be particularly damaging, causing scorching and dieback on foliage, even on plants with some tolerance.
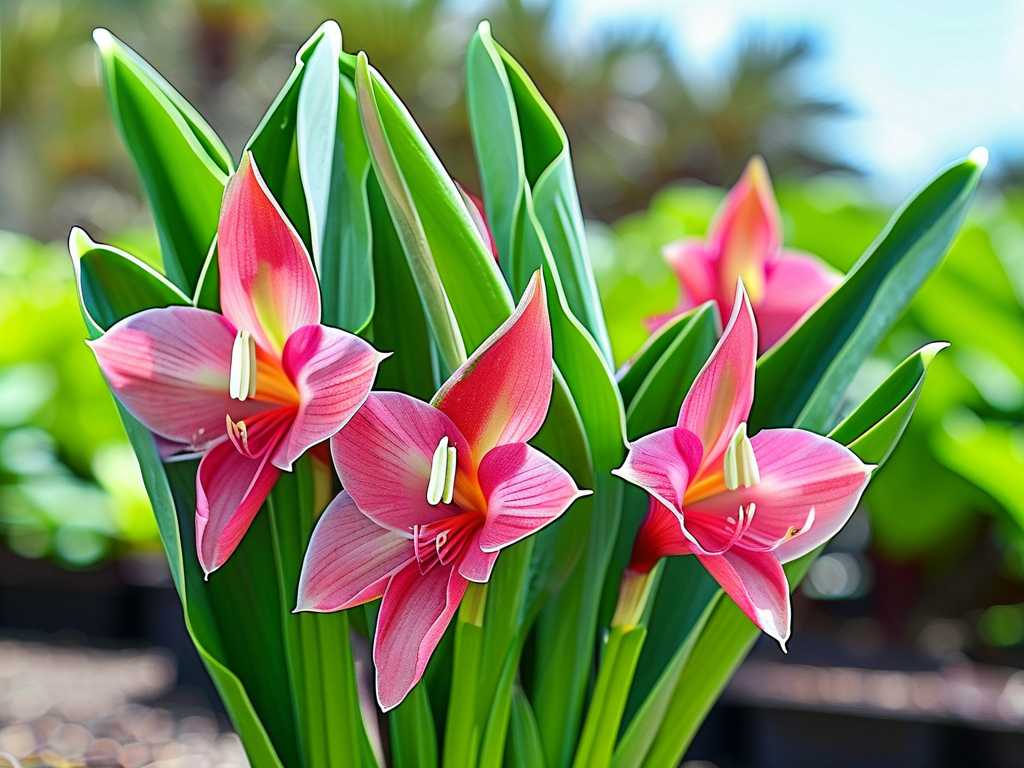
My initial mistake was underestimating this. I planted a batch of ‘White Queen’ tubers directly into a raised bed about 50 feet from the shoreline, thinking the distance was safe. Within a week, I noticed the edges of the emerging leaves looked crispy and brown, a classic sign of salt burn. The growth was also painfully slow. This was my first clear signal that passive gardening wouldn’t work; I needed an active strategy for coastal caladium care.
My 2-Week Coastal Caladium Trial: A Step-by-Step Log
I decided to start fresh with three different cultivars known for slightly tougher foliage: ‘Carolyn Whorton’, ‘Gingerland’, and ‘Candidum Jr.’. I treated them not as one group, but with slightly varying approaches to see what worked best.
Week 1: Site Preparation and Strategic Planting
My goal was to control every variable I could to mitigate salt exposure.
- Choosing the Right Location: I selected a spot on the east side of my house, shielded by a lattice fence covered with a fast-growing vine. This structure provided a crucial windbreak, intercepting the prevailing salty ocean winds. The American Horticultural Society (AHA) emphasizes the importance of windbreaks and sheltered microclimates in coastal gardens, and I saw why immediately.
- Soil Amendment is Everything: This was the most critical step. I dug planting holes about 8 inches deep. Instead of using the native sandy soil, I created a custom mix: 40% high-quality potting soil, 30% coarse coconut coir (for moisture retention without compaction), 20% well-rotted compost (for nutrients and structure), and 10% perlite. I then lined each hole with a generous layer of this mix. The logic? To give the tubers a deep, rich, and well-draining “salt-buffer” zone to establish their roots before they might encounter any saltier native soil.
- Planting and Initial Watering: I planted the tubers knobby side up, about 2 inches deep in their amended pockets. For the initial watering, I used collected rainwater. I wanted to avoid introducing any salts from my well water (which can have higher sodium in coastal areas) at this tender stage.
Observation at Day 7: All tubers had sprouted, with ‘Candidum Jr.’ being the fastest. The leaves were unfurling cleanly, with no signs of the edge burn I saw in my first failed attempt. The sheltered location was clearly preventing direct salt spray.
Week 2: The Irrigation Experiment and First Challenge
This week focused on maintenance and responding to a problem.
- The Deep Watering Protocol: To flush any potential salt buildup away from the root zone, I implemented a deep, slow watering routine every 3 days. I used a soaker hose placed at the base of the plants, running it for 45 minutes to ensure water penetrated deeply. Deep watering encourages roots to grow down into the safer, amended soil and helps leach salts downward, away from the root ball.
- The “Rainwater vs. Tap Water” Test: I watered ‘Carolyn Whorton’ and ‘Gingerland’ with my tap water. I reserved rainwater exclusively for ‘Candidum Jr.’. This was my informal experiment within the experiment.
- The Mistake and Fix: Halfway through the week, we had a day of strong onshore winds. Despite the windbreak, a fine mist of salt spray settled on the leaves. I panicked and made a classic error: I hosed down the foliage with tap water in the midday sun. The combination of water droplets and sun magnified the light, causing small, circular scorch marks on a few leaves—a totally self-inflicted wound!
- The Corrective Action: I learned that if you need to rinse salt spray from leaves, do it early in the morning or in the evening. For the rest of the trial, I gently wiped the leaves with a damp cloth in the evening after any windy day, which worked perfectly.
Observation at Day 14: The plants were thriving. ‘Candidum Jr.’, receiving rainwater, showed marginally larger and glossier leaves than the other two. The salt-tolerant foliage plants were proving their reputation. Most importantly, all plants had established strong new growth with zero salt-induced necrosis. The strategic planting and careful watering were undeniably effective.
Essential Salt Tolerance Tips for Your Coastal Caladiums
Based on my two-week intensive trial and continued care, here are the non-negotiable pillars for success:
Create a Physical Barrier Your first line of defense is obstruction. Plant caladiums near walls, fences, or behind dense, salt-tolerant shrubs. Even a decorative burlap screen can make a difference. The goal is to break the wind’s force and filter out the salt particles before they hit your plants.
Master the Art of Soil and Water
- Amend Deeply and Generously: Don’t just sprinkle compost on top. Create a substantial pocket or even a raised bed filled with salt-free, organic-rich, well-draining soil. Think of it as building a safe haven for the roots.
- Water Deeply and Flush Regularly: Frequent shallow watering evaporates quickly, leaving salts concentrated at the surface. Deep, infrequent soakings push salts below the primary root zone. Whenever possible, use collected rainwater or distilled water for irrigation, especially for container-grown caladiums.
Select the Right Cultivars While no caladium is truly salt-proof, some handle stress better. My trial showed that varieties with thicker, more textured leaves (like the ones I chose) resisted physical damage from spray better than ultra-thin, delicate varieties like ‘White Christmas’. Research and start with tougher breeds.
Implement a Foliage Care Routine Inspect leaves regularly after windy weather. Gently rinse them with fresh water (at the right time of day!) or wipe them down. Removing damaged leaves encourages the plant to put energy into new, healthy growth.
Long-Term Care for a Seaside Caladium Display
Beyond the initial establishment, maintaining your caladiums requires consistent attention. I mulch heavily with shredded bark to conserve soil moisture and prevent surface salt crusts from forming. I also feed monthly with a balanced, water-soluble fertilizer at half-strength to avoid chemical burn and support robust growth, which helps the plant better withstand environmental stress. Every few months, I perform a deep leaching by watering the bed very slowly for an extended period to flush the soil profile thoroughly.
Can caladiums grow in sandy coastal soil directly? I strongly advise against it. Pure sandy soil has poor water and nutrient retention, meaning salts are not diluted or flushed away effectively. It also dries out too fast, concentrating salt around the roots. Amending the soil, as I did, is not just helpful—it’s essential for growing caladiums near the ocean.
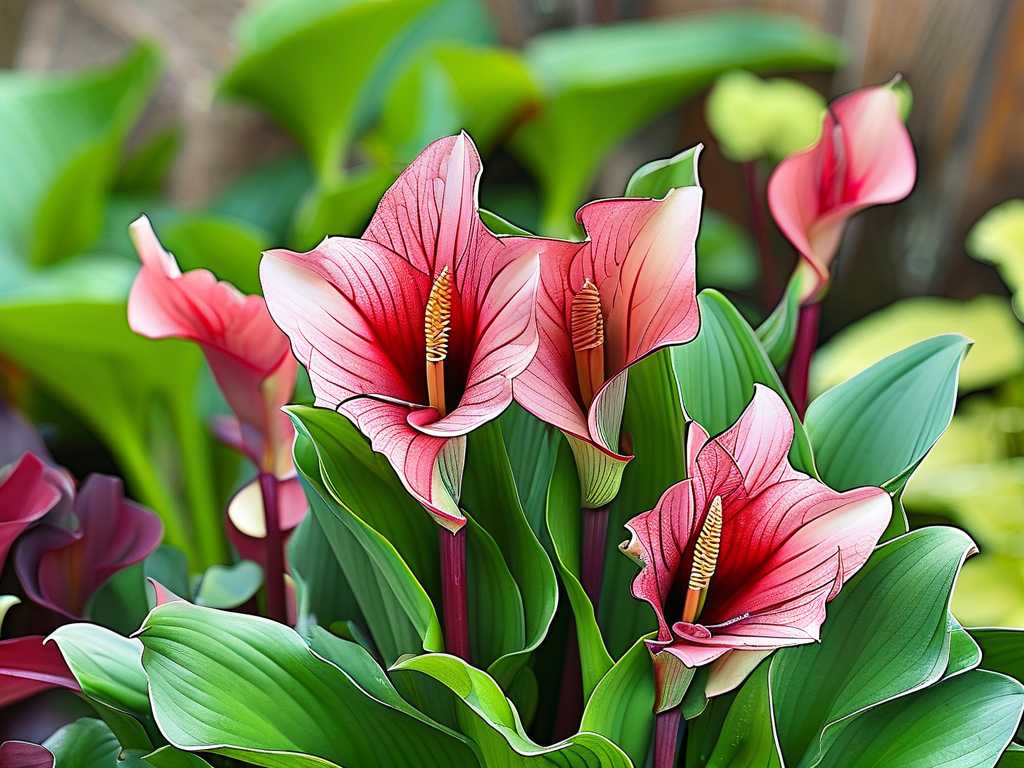
How often should I water my coastal caladiums to combat salt? Frequency depends on your weather, but the principle is constant: water deeply. For me, during my trial, a deep soak every 3 days in warm weather was perfect. The key is to check the soil moisture about 2 inches down; it should feel moist but not soggy. The deep watering technique is more important than a strict schedule.
Are there any caladium varieties specifically bred for salt tolerance? Not to my knowledge, as breeding programs haven’t focused on this specific trait. Your best bet is to choose varieties described as “sturdy,” “sun-tolerant,” or with “thick leaves.” These inherently have better resilience against various stresses, including minor salt exposure. My success with ‘Carolyn Whorton’, ‘Gingerland’, and ‘Candidum Jr.’ is a testament to this approach.
Growing caladiums in coastal areas is absolutely achievable, but it requires a shift from a passive to a proactive gardening mindset. It’s about building a protective microclimate, crafting the right soil environment, and being diligent with your watering and care routines. My two-week experiment proved that with the right strategies for salt damage prevention, you can enjoy the spectacular, colorful foliage of caladiums without the heartbreak of seeing them scorched by the sea. The extra effort is worth it when those vibrant leaves thrive against the odds, bringing a touch of tropical brilliance to your seaside retreat.





