 bluename
 How to Grow Caladiums in Sandy Soil: Moisture Fixes for Lush Foliage
I love caladiums. Their stunning, heart-shaped leaves in shades of pink, red, white, and green are like living art in my shade garden. But for years, I struggled. My garden soil is predominantly sandy—great for drainage, terrible for moisture retention. Every time I planted these tropical beauties, which crave consistent moisture, I’d watch them wilt and suffer, their vibrant colors fading. The classic advice of “well-draining soil” felt like a cruel joke; my soil drained too well. I was constantly watering, yet the plants were perpetually thirsty. If you’re battling sandy soil and dreaming of thriving caladiums, I’ve been there. This guide isn’t just theory; it’s the proven moisture-fixing strategy I developed through trial, error, and a dedicated two-week experiment that finally unlocked success.
Understanding the Sandy Soil Challenge
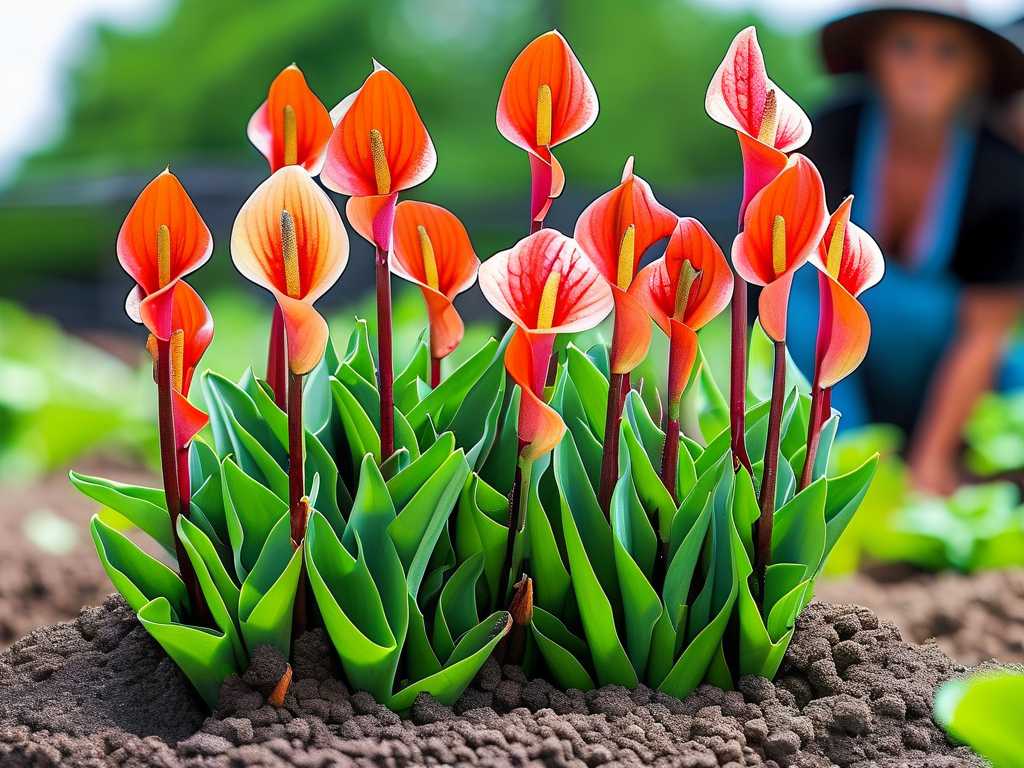
Sandy soil particles are large, creating massive air pockets. Water flows through it like a sieve, taking vital nutrients with it. For caladiums, which are native to the understory of tropical forests and grow from tubers, this is a disaster. Their roots and tubers need a consistently moist (not soggy) environment to uptake water and nutrients for producing those spectacular leaves. In sand, moisture vanishes in hours, leaving tubers dehydrated and stressed.
The goal isn’t to turn sand into clay. It’s to transform it into a moisture-retentive yet still well-aerated mix. This balance is the key.
My Two-Week Sandy Soil Transformation Experiment
I decided to stop guessing and start testing. I sectioned off a new bed in my sandy garden area and committed to a 14-day process to prepare it for caladiums. I documented everything—moisture levels, amendments, and results.
Week 1: Building the Foundation
My first step was a soil test. As the Royal Horticultural Society (RHS) emphasizes, understanding your starting point is crucial. The test confirmed what I knew: fast drainage, low organic matter, and slightly acidic pH (caladiums prefer slightly acidic to neutral).
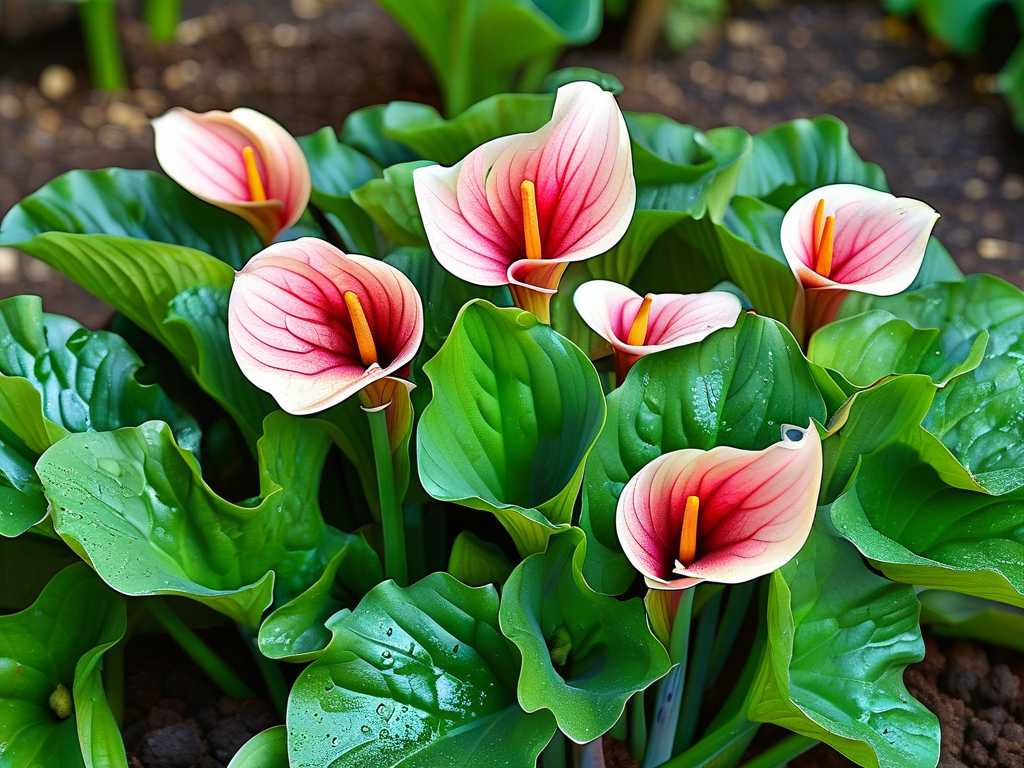
Here was my action plan:
- Clear and Loosen: I cleared the area of weeds and debris. Then, I dug down about 12 inches. Not just a shallow turn—a proper, deep loosening to break up compaction and welcome amendments.
- The Magic Mix: Incorporating Organic Matter. This is the non-negotiable fix for sandy soil. I chose a two-pronged approach:
- Compost: I worked in a 4-inch layer of high-quality, finished compost. This “black gold” is fantastic for improving water retention and adding a slow release of nutrients.
- Coco Coir: Based on advice from the American Horticultural Society (AHS), which notes its excellent water-holding capacity, I also added a 2-inch layer of hydrated coco coir. Unlike peat moss, it’s renewable and rewets easily.
- Worm Castings: For a microbial boost and gentle nutrition, I mixed in a generous amount of worm castings.
I thoroughly blended these into the native sand. The texture changed immediately—from gritty and loose to darker, crumblier, and spongier.
- The Moisture Lock: Adding a Hydrogel Polymer. This was my controversial “secret weapon.” I used a non-toxic, potassium-based hydrogel (following package instructions meticulously). Mixed into the root zone, these crystals absorb hundreds of times their weight in water and release it slowly to the roots. Skeptical? I was too.
Initial Planting and Baseline
After amending the bed, I planted healthy caladium tubers (eyes up, about 2 inches deep). I gave the entire bed a deep, thorough watering to settle the soil and activate the hydrogel. I also planted a single tuber in an unamended sandy spot as a “control” for my observation.
I inserted simple soil moisture meters in both the amended bed and the control spot. The reading in my new bed stayed in the “moist” range for an impressive 48 hours after watering. The control spot was back to “dry” within 5 hours.
Week 2: Observation, Adjustment, and Overcoming Pitfalls
The real test began. I committed to only watering when the top inch of the amended bed felt dry to the touch.
- Day 1-4: The amended bed held moisture beautifully. The control plant showed slight stress by day 2. I watered the control daily; I did not water the amended bed.
- Day 5: The top inch of the amended bed was dry. I watered. The moisture meter showed the water penetrated deeply and was held effectively in the root zone.
- The Pitfall – Surface Crusting: Around Day 7, I noticed the bed surface had formed a slight crust after watering, which could lead to runoff. This is common when incorporating fine organic matter. My Solution: I applied a 3-inch layer of shredded pine bark mulch. Mulch is absolutely essential for growing caladiums in sandy soil. It shades the soil, dramatically reduces surface evaporation, keeps tubers cool, and prevents crusting. The difference was instant.
- Day 8-14: With mulch in place, the watering interval stretched further. I was now watering only every 5-6 days, compared to the daily watering needed for the control. The caladiums in the amended bed began to show strong, healthy sprouts. The control plant’s growth was stunted and its leaves were smaller, with crispy edges.
The Verdict: After two weeks, the transformed sandy soil was a success. It provided the consistent moisture habitat caladiums need without waterlogging. The plants were visibly happier and more vigorous.
Long-Term Maintenance for Continuous Success
Fixing sandy soil isn’t a one-time job. Organic matter decomposes. Here’s my ongoing regimen:
- Smart Watering: I use a soaker hose or water deeply at the base. Frequent, light sprinklings are useless in sand; water must reach the root zone. The hydrogel and mulch now allow me to water less frequently but more effectively.
- Annual Feeding: Sandy soil leaches nutrients. I feed my caladiums every 4-6 weeks during the growing season with a balanced, water-soluble fertilizer. Compost tea is another excellent option I use monthly.
- Mulch Replenishment: I top up the mulch layer once a year, usually in early spring when I plant the tubers.
- Seasonal Tuber Care: In fall, I dig up the tubers from this improved soil. They are noticeably plumper and healthier than tubers I’ve dug from pure sand in the past, storing more energy for the next season.
Troubleshooting Common Sandy Soil Caladium Issues
- Yellowing Leaves: In sand, this is often due to nutrient deficiency (especially nitrogen) from leaching. Implement a regular feeding schedule.
- Stunted Growth: Consistent underwatering. Re-evaluate your soil amendments—you may need more organic matter or a thicker mulch layer.
- Tubers Not Sprouting: They may have dried out before sprouting. Ensure planting depth is adequate (1.5-2 inches) and the soil mix stays evenly moist during the initial sprouting phase.
Frequently Asked Questions
Can I grow caladiums directly in pure sandy soil if I water them multiple times a day? Technically, you could, but it’s an uphill battle. You’ll stress the plant, wash away nutrients, and likely end up with smaller, less vibrant leaves and undersized tubers. The constant wet-dry cycle is detrimental. Amending the soil is far more efficient and creates a resilient growing environment.
What is the single best amendment for retaining moisture in sandy soil for caladiums? There’s no single “best,” but if I had to choose one, it would be high-quality compost. It improves moisture retention, adds nutrients, and builds soil structure. For a powerful combo, pair it with a thick organic mulch like shredded bark or leaves.
I amended my sandy soil, but my caladiums still seem dry. What did I miss? The most common oversight is the mulch layer. Without it, the sun and wind will wick moisture from your beautifully amended soil very quickly. Ensure you have at least 3 inches of mulch on top. Also, check that you watered deeply enough after planting and amendment to fully saturate the root zone.
Growing caladiums in sandy soil is not about fighting your garden’s nature, but working with it. By aggressively adding organic matter, considering moisture-retention aids, and committing to a diligent mulching practice, you can create a micro-environment that mimics the caladium’s preferred habitat. My two-week experiment turned a problem area into a showcase bed. It requires an initial investment of effort, but the reward—a summer-long display of breathtaking, healthy caladium foliage—is absolutely worth it. Start your soil transformation this season, and watch those tropical leaves thrive.





