 bluename
 How to Treat Caladium Root Rot: Soil Drying Steps That Saved My Plants
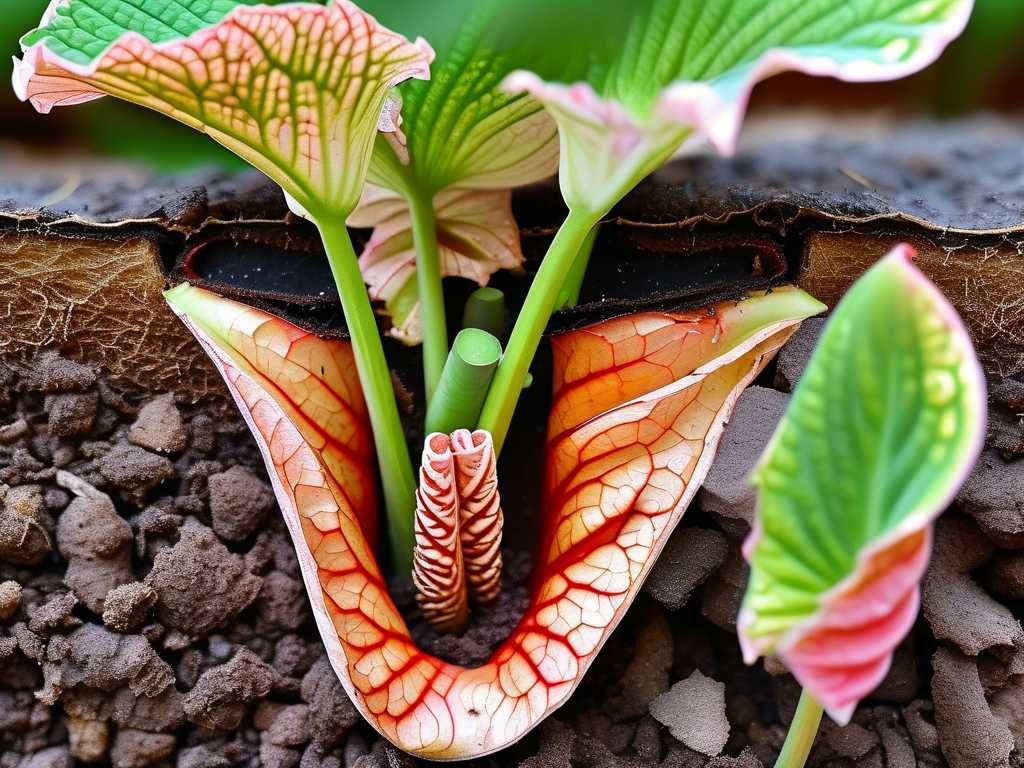
I’ll never forget the sinking feeling of pulling my favorite ‘White Queen’ caladium from its pot. What should have been a network of firm, creamy roots was a mushy, brown, and frankly, smelly mess. Root rot. That phrase alone is enough to make any plant lover’s heart drop. If you’re here, you likely know that panic, watching those beautiful, heart-shaped leaves wilt and yellow despite your care. The culprit is almost always overwatering and poorly draining soil, creating a suffocating, wet environment where harmful fungi thrive. The most critical, immediate step to save your plant is not a fancy fungicide, but mastering the process of soil drying. In this guide, I’ll walk you through the exact, step-by-step soil drying steps I used to rescue my caladiums, based on two weeks of meticulous observation, the mistakes I made along the way, and the proven methods recommended by horticultural authorities.
Understanding the Enemy: What is Caladium Root Rot?
Before we dive into action, it’s crucial to know what we’re fighting. Root rot is a disease caused by soil-borne fungi like Pythium and Rhizoctonia. These pathogens attack the root system when the soil is consistently waterlogged, depriving roots of oxygen. The roots decay, lose their ability to absorb water and nutrients, and the damage travels upward, causing the spectacular collapse of the plant above soil. The American Horticultural Society (AHS) emphasizes that prevention is always best, as treatment success depends on early intervention. The first sign is often wilting leaves that don’t perk up after watering, followed by yellowing and stunted growth. A foul odor from the soil is a definitive red flag.
The Emergency Rescue Protocol: Step-by-Step Soil Drying
This isn’t just about letting the pot dry out. It’s a strategic surgical procedure to give your caladium a fighting chance.
Step 1: Immediate Unpotting and Root Assessment Gently remove the entire plant from its pot. Carefully shake and rinse away the old, wet soil under a gentle stream of lukewarm water. This is where the truth is revealed. Healthy caladium roots are firm and tuberous. Rotted roots are brown/black, slimy, and fall apart to the touch. My mistake the first time? I was too timid. I left “slightly soft” roots, hoping they’d recover. They didn’t; they spread the rot. Be ruthless.
Step 2: The Surgical Removal Using sterilized scissors or pruners (wipe with rubbing alcohol), cut away every single rotted root and any soft, mushy part of the tuber (the central bulb). Sterilization is non-negotiable to prevent spreading pathogens. Cut back until you see only healthy, firm, white or cream-colored tissue. If the tuber itself is extensively mushy, the plant may be unsalvageable. After pruning, I let the tuber and remaining roots air-dry on a paper towel for about an hour. This forms a slight callous over the cuts.
Step 3: The Critical Soil Drying & Repotting Process Do not put the plant back into old soil. It’s contaminated.
- Pot Choice: Choose a clean pot with ample drainage holes. I now use unglazed terracotta pots, as they wick away excess moisture from the soil, actively aiding the drying process for caladium roots.
- Soil Mix: This is the most important factor for long-term success. A generic potting mix holds too much water. I create a custom, airy blend: 40% high-quality potting soil, 40% perlite, and 20% orchid bark chunks. The Royal Horticultural Society (RHS) advises a “well-drained, peaty potting mix” for aroids, highlighting the need for aeration. My mix ensures water flows through quickly, creating the slightly moist but never soggy environment caladiums crave.
- Repotting: Place a layer of your new, dry mix in the pot. Position the treated tuber and spread the remaining healthy roots. Fill in around it with more mix, gently firming it. Do not water it at this stage. This seems counterintuitive, but the goal is to let the tuber settle in dry, aerated soil. The minimal moisture in the fresh potting mix is sufficient.
Step 4: The Post-Op Care & Observation Period Place the repotted caladium in bright, indirect light. Avoid direct sun, which adds stress. Now, the waiting begins. Do not water. This was my second big mistake—watering too soon “to help it settle.” It undoes all the drying work.
My Two-Week Observation Diary: What Actually Happened
- Days 1-3: The remaining leaves looked sad and wilted. I fought every instinct to water. The soil surface felt dry, but I knew moisture might still be present deeper down.
- Days 4-7: One smaller leaf yellowed completely and was removed. This is normal as the plant redirects energy to root recovery. The other leaves stabilized; they stopped wilting further. This was the first sign of hope—the rot progression had halted.
- Days 8-10: I performed the “knuckle test,” sticking my finger deep into the soil. It was completely dry. Only then, on the morning of day 10, did I give it a thorough but careful watering until water just trickled from the drainage holes. The pot felt significantly lighter beforehand.
- Days 11-14: The plant’s posture improved. No new yellowing appeared. The soil dried out again appropriately within 5-6 days. By the end of the second week, I was cautiously optimistic. The treatment for root rot in caladiums was working because I had enforced a strict drying period.
Preventing a Relapse: Long-Term Watering and Soil Strategy
Rescuing your plant is only half the battle. To prevent a repeat nightmare, you must change your care habits.
- Water Only on Demand: Never water on a schedule. Always check the soil first. For my caladiums, I water only when the top 1-2 inches of soil are dry to the touch. In cooler months, this can mean watering every 10-14 days or even less.
- Ensure Environmental Consistency: Use a moisture meter for accuracy if needed. Provide consistent warmth and humidity, as stressed plants are more susceptible. Good air circulation around the plant also helps soil dry evenly.
- Monitor and Adjust: Your plant will tell you what it needs. Vigorous growth means you’re on track. Persistent yellowing means reassess your watering and soil drainage immediately.
Can a caladium come back from severe root rot? Yes, but it depends on the tuber’s health. If more than 50% of the tuber is firm and healthy after pruning, there’s a good chance. If the rot has consumed the entire tuber and there are no firm, white sections left, recovery is unlikely. The plant’s ability to bounce back hinges on those remaining healthy storage tissues.
How long should I let the soil dry after repotting a rotted plant? There’s no universal timeline, as it depends on your environment. My process took 10 days before the first watering. The correct method is to wait until the entire soil mass, checked at root depth with your finger or a chopstick, is completely dry. This initial deep drying is critical to stop fungal activity.
What are the best soil components to prevent future root rot? Incorporate chunky, inorganic materials that create air pockets. Perlite, pumice, and coarse horticultural sand are excellent for improving drainage. Organic materials like orchid bark or coconut coir help retain slight moisture without compaction. A blend of these creates the ideal, well-aerated home for caladium roots, making proper caladium care and root rot prevention a built-in feature of your potting mix.
Watching a caladium struggle with root rot is a stressful experience, but it’s often a recoverable one. The journey taught me that the most powerful tool isn’t the watering can, but patience and observation. Success lies in the swift, decisive action of removing rot, the disciplined drought period after repotting, and a permanent shift to a well-draining soil home. By understanding and meticulously executing these soil drying steps, you’re not just treating a disease; you’re creating a foundation for a healthier, more resilient plant. Your caladium can reward you with a stunning comeback, its vibrant leaves a testament to your careful, informed care.





